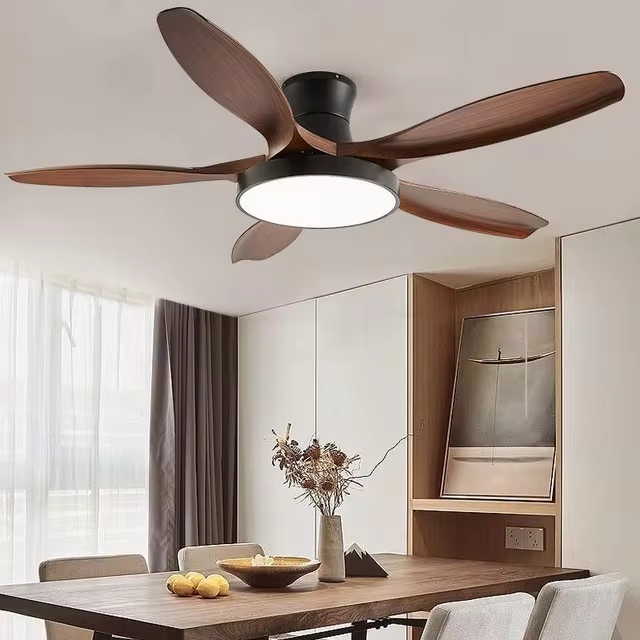
As technology continues to advance, our options for home comfort are becoming smarter, more efficient, and increasingly convenient. One innovation that has gained popularity in recent years is the outdoor smart ceiling fan. These fans not only help keep outdoor spaces cool but also offer features that enhance usability and energy efficiency, making them a perfect addition to patios, porches, and other outdoor areas.
In this article, we’ll delve into the features, benefits, and considerations for selecting the right outdoor smart ceiling fan for your space. We’ll also provide installation tips and recommendations for some of the best models available on the market today.
What Are Outdoor Smart Ceiling Fans?
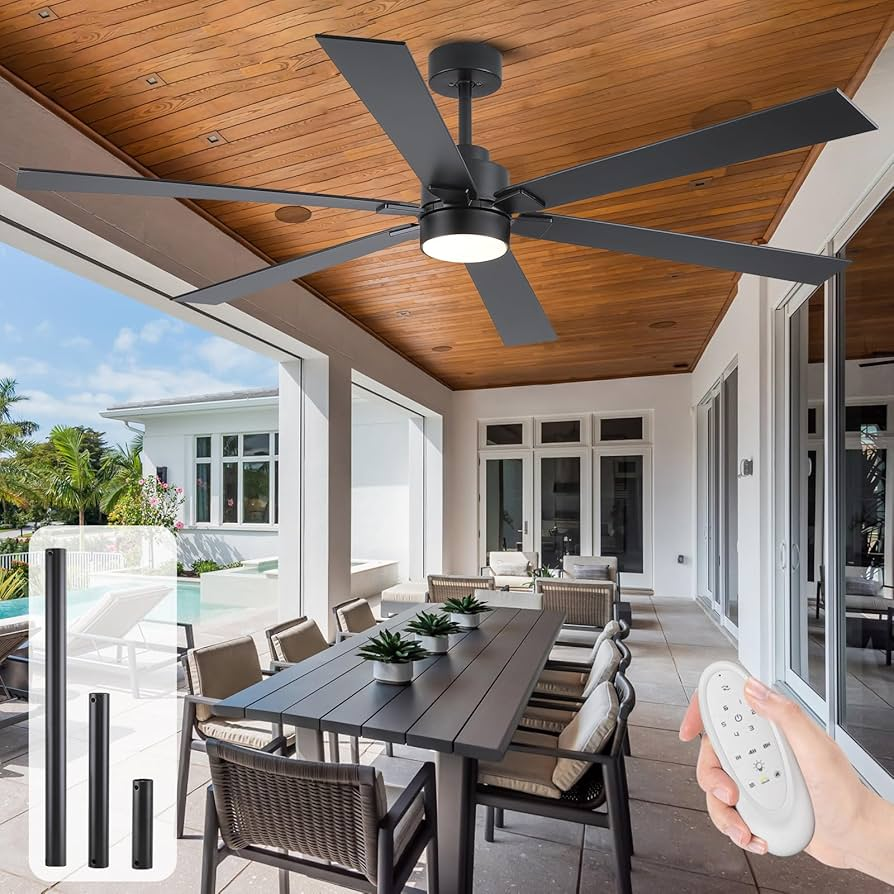
Outdoor smart ceiling fans are advanced ceiling fans designed specifically for outdoor use, equipped with smart technology that allows users to control their operation via smartphone apps, voice commands, or smart home systems. Unlike traditional outdoor fans, these models can connect to your home Wi-Fi network, enabling you to manage them remotely and integrate them into your broader smart home ecosystem.
These fans are typically built to withstand outdoor conditions, featuring moisture-resistant components and durable materials that can handle varying weather conditions. They come with features such as programmable timers, customizable speed settings, and even built-in lighting options, making them not just functional but also stylish additions to outdoor spaces.
Read too: Shiplap Ceiling in Kitchen: A Timeless Trend for a Stylish and Cozy Space
Key Features of Outdoor Smart Ceiling Fans
When selecting an outdoor smart ceiling fan, it’s essential to understand the features that enhance its functionality and convenience. Here are some key features to look for:
1. Smart Connectivity
The primary advantage of smart ceiling fans is their connectivity. Look for fans compatible with popular smart home platforms like Amazon Alexa, Google Assistant, or Apple HomeKit. This allows for voice control and integration with other smart devices in your home.
2. Remote Control and App Management
Most outdoor smart ceiling fans come with remote control options. Additionally, many offer mobile apps that let you adjust fan settings from anywhere, making it easy to control airflow and lighting without needing to be physically present.
3. Weather Resistance
Since these fans are intended for outdoor use, ensure they have a damp or wet rating. Wet-rated fans can withstand direct exposure to rain and moisture, making them suitable for patios or outdoor areas that are not covered.
4. Energy Efficiency
Many outdoor smart ceiling fans come with energy-efficient motors that consume less electricity while delivering optimal airflow. Look for fans that are ENERGY STAR certified for maximum efficiency.
5. Integrated Lighting Options
Some models feature built-in LED lights, allowing you to illuminate your outdoor space without needing additional fixtures. This can enhance your outdoor environment, making it more functional for evening use.
6. Reversible Motor Functionality
A reversible motor allows the fan to change direction, providing both cooling and heating benefits. In warmer months, the fan can circulate cool air, while in colder months, reversing the direction can help distribute warm air that rises.
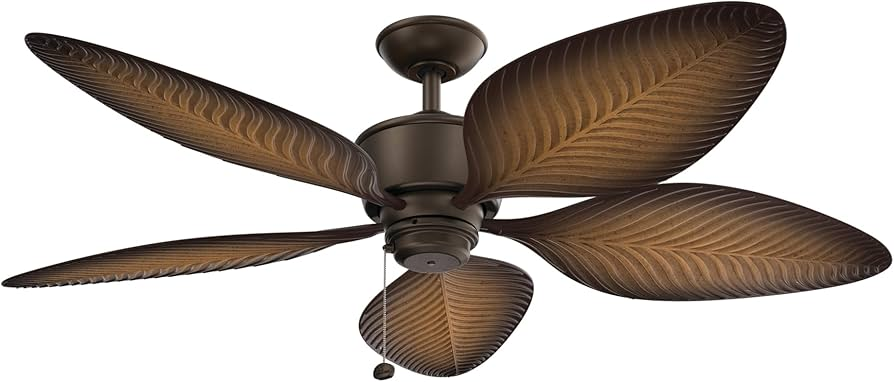
7. Stylish Design Options
Outdoor smart ceiling fans come in various styles and finishes, allowing you to select one that complements your outdoor decor. Whether your style is modern, rustic, or traditional, there are options to fit your aesthetic.
Benefits of Outdoor Smart Ceiling Fans
1. Enhanced Comfort
Outdoor smart ceiling fans help maintain a comfortable temperature in outdoor living spaces by promoting air circulation. This can make evenings on the patio more enjoyable, especially during the hot summer months.
2. Energy Savings
Using smart ceiling fans in conjunction with air conditioning can lead to significant energy savings. By circulating air, these fans reduce the load on your cooling system, allowing it to operate more efficiently.
3. Convenient Control
With smart technology, controlling your outdoor ceiling fan is as easy as tapping your smartphone or speaking a command. This convenience is especially useful for larger outdoor areas where reaching the fan’s pull chain or wall switch may be difficult.
4. Integration with Smart Home Systems
Outdoor smart ceiling fans can be integrated with other smart home devices, allowing for automated scheduling and enhanced control. For instance, you can program your fan to turn on at sunset and off at midnight or adjust its settings based on the temperature outside.
5. Increased Home Value
Installing smart technology in your home, including outdoor smart ceiling fans, can increase property value. Homebuyers often appreciate energy-efficient and technologically advanced features, making your home more attractive on the market.
How to Choose the Right Outdoor Smart Ceiling Fan
Selecting the perfect outdoor smart ceiling fan involves considering several factors to ensure it meets your needs and fits your outdoor space. Here’s a helpful guide:
1. Assess Your Outdoor Space
Measure the area where you intend to install the fan. Smaller areas may require fans with a blade span of 36 to 48 inches, while larger areas might need fans with a blade span of 52 inches or more. Make sure the fan is proportionate to the size of your space for optimal airflow.
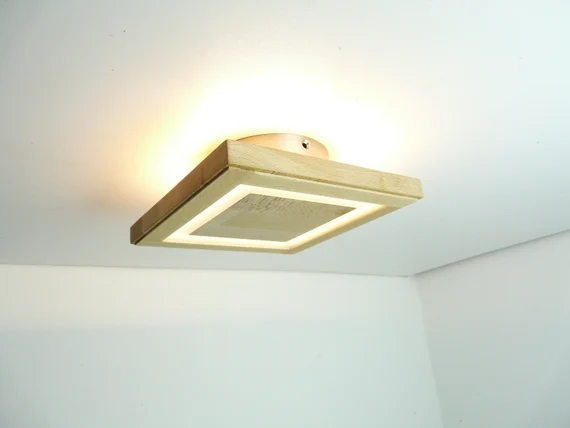
2. Consider the Ceiling Height
For outdoor spaces with low ceilings, a ceiling hugger fan may be ideal as it mounts flush against the ceiling. Ensure that the fan you select allows for sufficient head clearance.
3. Check Weather Ratings
Look for fans with a damp or wet rating based on your installation location. Wet-rated fans can be exposed to rain, while damp-rated fans are suitable for covered outdoor spaces.
4. Look for Energy Efficiency
Opt for fans that are ENERGY STAR certified to ensure you are choosing an energy-efficient model. This will help save on electricity bills while being environmentally friendly.
5. Evaluate Smart Features
Consider what smart features are important to you. Do you prefer a model that integrates with your existing smart home devices? Do you want mobile app control or voice control capabilities? Choose a fan that aligns with your preferences.
6. Select a Style That Fits
Choose a fan that matches your outdoor decor. From sleek, modern designs to classic styles, the right fan can enhance the visual appeal of your outdoor space.
Installation Tips for Outdoor Smart Ceiling Fans
Installing an outdoor smart ceiling fan may require some technical know-how, but with the right tools and preparation, it can be a manageable DIY project. Here are some installation tips:
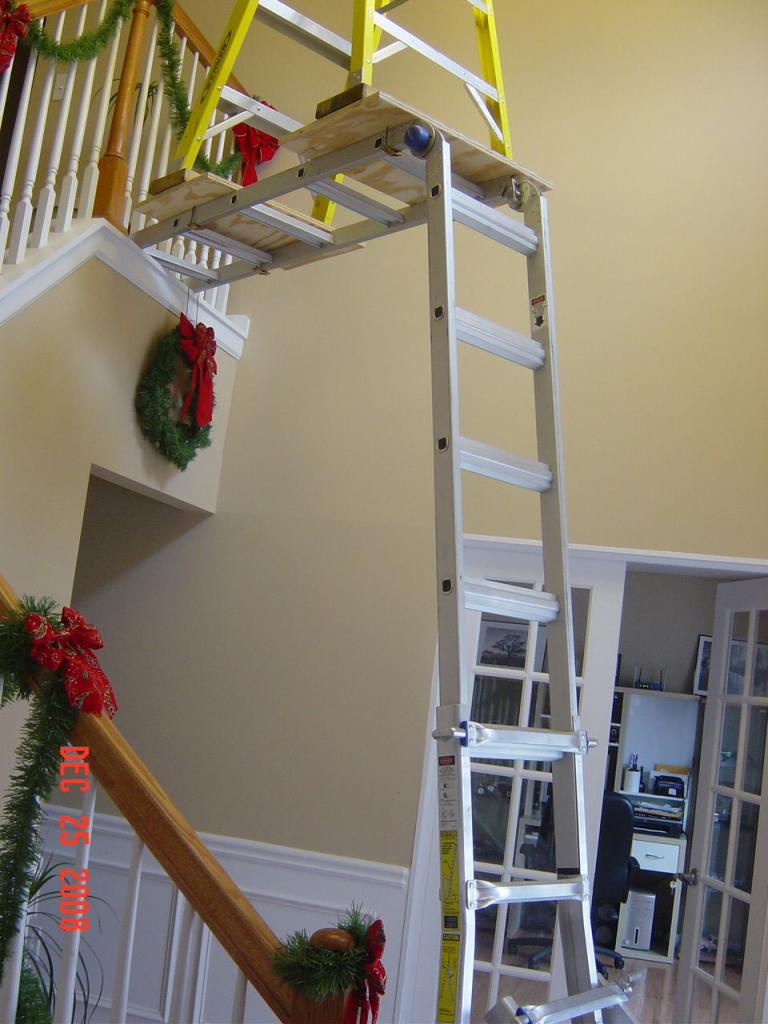
1. Gather Necessary Tools
Before starting, gather all necessary tools, including a ladder, screwdriver, wire strippers, and safety goggles. Ensure you have the manufacturer’s installation manual handy for reference.
2. Ensure Proper Electrical Wiring
Ensure that your electrical supply is adequate for the fan you are installing. If you’re unsure, consult with a licensed electrician to ensure safety and compliance with local electrical codes.
3. Use a Suitable Junction Box
Install the fan using a junction box rated for ceiling fans. This box should be securely mounted to the ceiling to support the fan’s weight and movement.
4. Follow Manufacturer Instructions
Each fan model will have specific installation instructions. Follow these carefully to ensure proper assembly and wiring. Pay attention to safety precautions and ensure the power is turned off at the circuit breaker before working on electrical components.
5. Test the Fan After Installation
Once installed, turn on the power and test the fan to ensure it operates correctly. Check for any wobbling or unusual noises, which may indicate a need for adjustment.
Top Outdoor Smart Ceiling Fans to Consider
When shopping for an outdoor smart ceiling fan, here are some popular models that stand out for their performance and features:
1. Hunter Signal Outdoor Smart Ceiling Fan
The Hunter Signal is a wet-rated fan featuring a sleek design and a powerful motor. It connects easily to smart home systems and includes remote control options. With integrated LED lighting and three-speed settings, it’s a versatile option for outdoor spaces.
2. Minka-Aire Light Wave Smart Fan
The Minka-Aire Light Wave combines modern design with smart technology. This fan features a unique wave blade design that offers exceptional airflow and energy efficiency. It is compatible with various smart home platforms and has an integrated LED light.
3. Harbor Breeze Armitage Smart Ceiling Fan
This stylish fan from Harbor Breeze is both energy-efficient and functional. It offers three-speed settings and integrates with Alexa and Google Assistant for voice control. The Armitage is perfect for covered patios and comes with a remote control.
4. Westinghouse Zinna Outdoor Ceiling Fan
The Westinghouse Zinna fan is a budget-friendly option that doesn’t compromise on quality. It features a durable design suitable for outdoor use, is energy efficient, and can be controlled via remote. It offers a contemporary style that can enhance any outdoor decor.
Maintenance Tips for Outdoor Smart Ceiling Fans
To ensure your outdoor smart ceiling fan remains in top condition, follow these maintenance tips:
1. Regular Cleaning
Dust and debris can accumulate on the fan blades over time. Regularly clean the blades with a soft cloth or a feather duster. For more stubborn dirt, a damp cloth can be used—just ensure the fan is off before cleaning.
2. Check for Wear and Tear
Inspect the fan periodically for any signs of wear, such as frayed wires or loose components. Addressing these issues early can prevent more significant problems down the line.
3. Lubricate Moving Parts
If your fan has exposed moving parts, ensure they are lubricated to maintain smooth operation. This can reduce noise and extend the fan’s lifespan.
4. Monitor Smart Functionality
Regularly check the smart features to ensure the fan is functioning correctly with your home network. If you experience connectivity issues, resetting the fan or your Wi-Fi router may help.
Conclusion
Investing in an outdoor smart ceiling fan is a great way to enhance your outdoor living space, providing both comfort and convenience. With various features tailored to modern living, these fans can significantly improve your outdoor experience, whether you’re entertaining guests or enjoying a quiet evening.
By understanding the key features, benefits, and considerations for selecting the right fan, you can make an informed decision that complements your outdoor area. With the right installation and maintenance, your outdoor smart ceiling fan can become an integral part of your home for years to come.