Duravent Ceiling Support Box for Ventilation Systems: Exploring the Benefits

Learn about the essential role of the Duravent Ceiling Support Box in ensuring safe and efficient ventilation. Discover why this component is crucial for your home’s ventilation system.

Duravent Ceiling Support Box

Understanding Duravent Ceiling Support Box

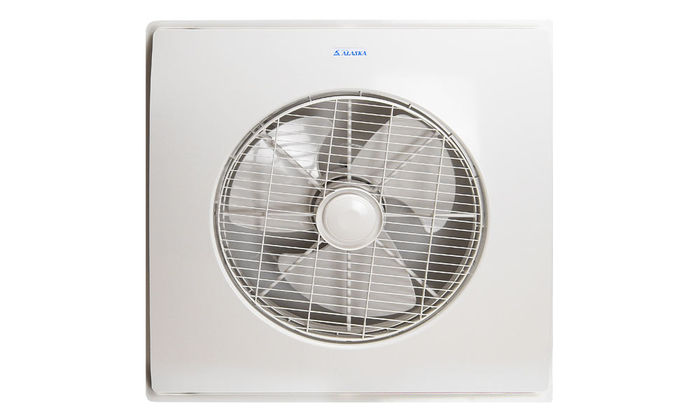
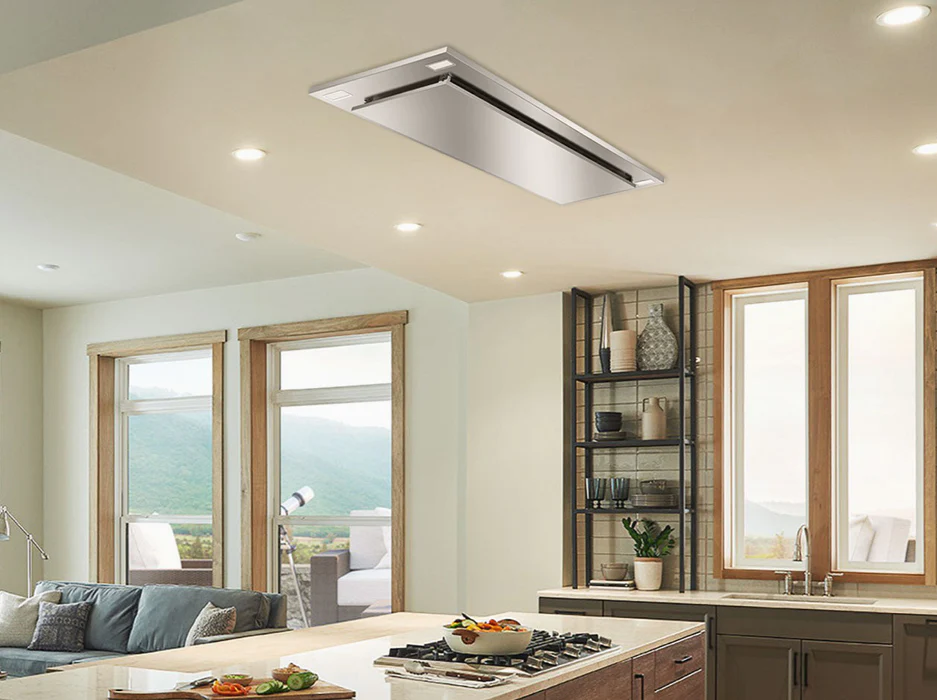
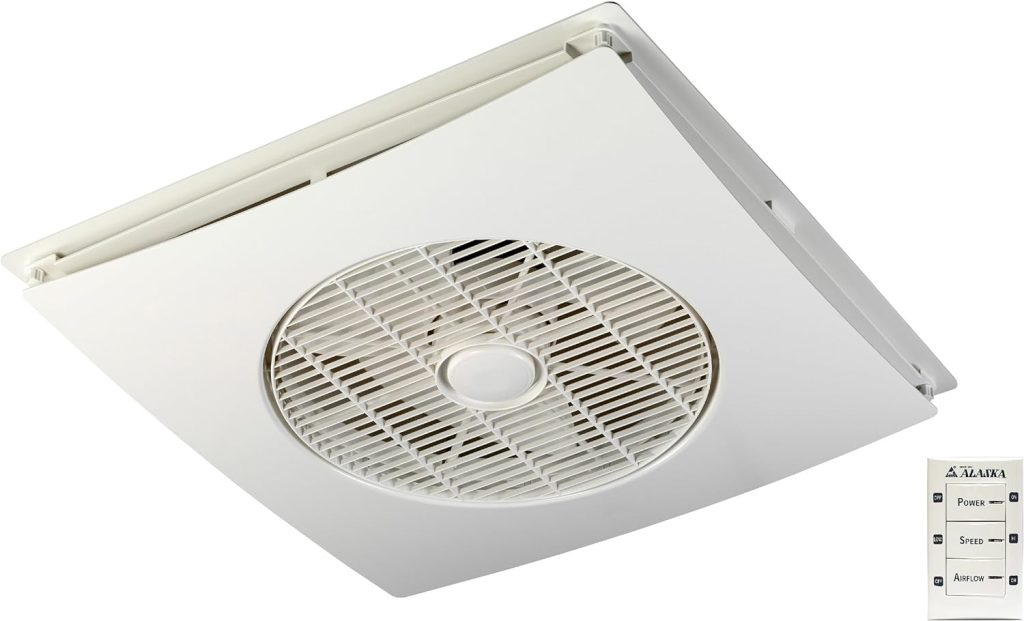
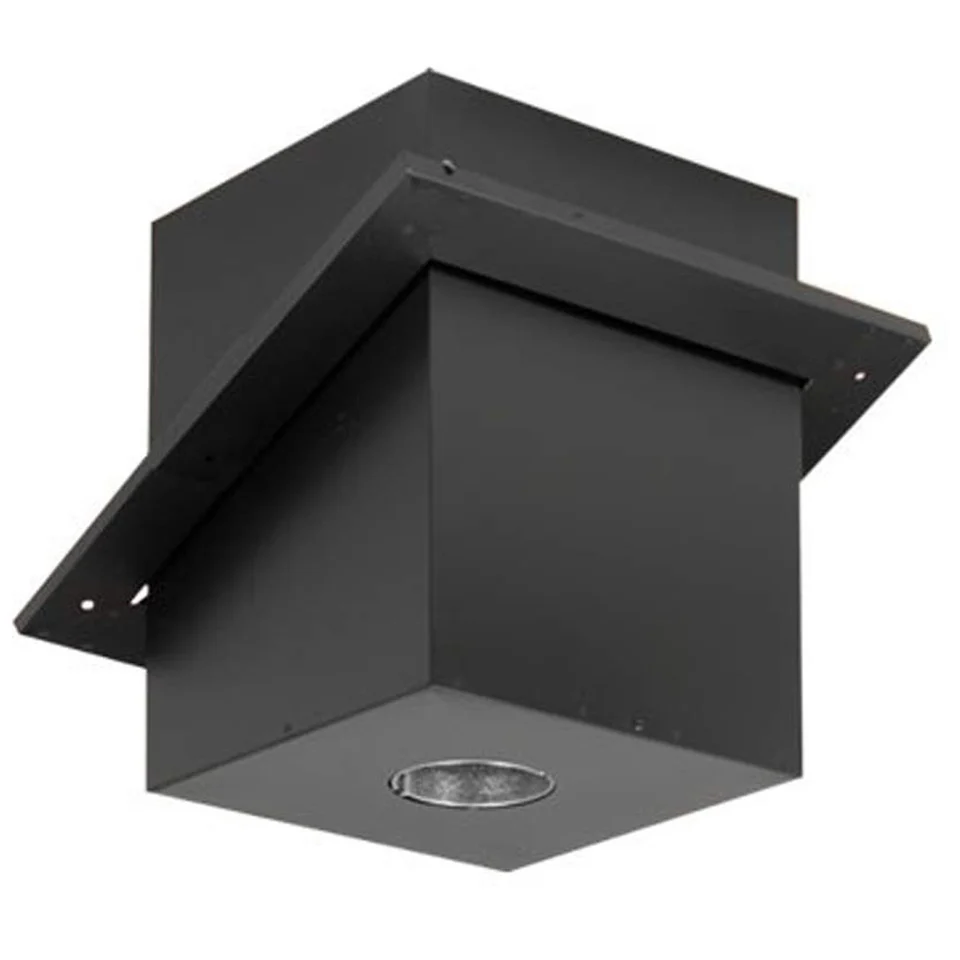
The Duravent Ceiling Support Box is a key component used in ventilation systems to support and secure vent pipes as they pass through ceilings or attic spaces. Designed for durability and ease of installation, this box ensures that vent pipes remain stable and properly aligned, preventing sagging or damage over time.

Read too: Kitchen Lighting For A Vaulted Ceiling: Illuminating Your Space with Style and Functionality

Importance of Duravent Ceiling Support Box

  1. Structural Integrity: The support box maintains the structural integrity of the vent pipe by providing a stable connection between the ceiling and the attic or upper floor. This prevents the pipe from shifting or bending under its own weight or due to external factors.
  2. Fire Safety: Properly installed support boxes help maintain fire safety by ensuring that vent pipes are securely sealed where they penetrate ceilings. This reduces the risk of fire spreading between floors through unsealed gaps around the pipe.
  3. Aesthetic Appeal: Duravent support boxes are designed to blend seamlessly with different ceiling types and architectural styles. They offer a clean and finished look to vent penetrations, enhancing the overall aesthetics of the space.
  4. Easy Installation: These support boxes are engineered for easy installation, typically requiring basic tools and hardware. They come with detailed instructions and are compatible with various vent pipe sizes and configurations.

Choosing the Right Duravent Ceiling Support Box

When selecting a Duravent Ceiling Support Box for your ventilation system, consider the following factors:

Size and Compatibility

Ensure that the support box is compatible with the diameter and type of your vent pipe. Measure the pipe diameter accurately to select the appropriate size support box for a snug fit.

Material and Durability

Duravent support boxes are commonly made from durable materials such as galvanized steel or aluminum, which offer corrosion resistance and longevity. Choose a material that suits your environmental conditions and ensures long-term reliability.

Installation Method

Consider whether the support box requires ceiling joist mounting or if it can be suspended from above. Choose a mounting method that aligns with your ceiling structure and allows for secure installation.

Code Compliance

Verify that the Duravent Ceiling Support Box complies with local building codes and regulations regarding ventilation system installations. Compliance ensures safety and legal conformity for your home or building.

Installation Process for Duravent Ceiling Support Box

Installing a Duravent Ceiling Support Box involves several steps to ensure proper functionality and safety:

Preparation

Gather all necessary tools and materials, including the support box, fasteners, and sealing materials. Turn off any power to the area where you’ll be working to avoid accidents.

Marking and Cutting

Mark the location on the ceiling where the vent pipe will penetrate. Use a pencil and measuring tape to ensure accurate placement. If necessary, cut a hole in the ceiling to accommodate the support box.

Securing the Support Box

Position the support box over the vent pipe penetration point and secure it in place according to the manufacturer’s instructions. Use appropriate fasteners and ensure a tight seal around the edges to prevent air leaks.

Testing and Inspection

After installation, conduct a visual inspection to verify that the support box is securely mounted and the vent pipe is properly aligned. Test the ventilation system to ensure adequate airflow and functionality.

Maintaining Duravent Ceiling Support Box

To maintain optimal performance of your Duravent Ceilings Support Box, follow these maintenance tips:

  • Regular Inspection: Periodically inspect the support box and vent pipe for signs of wear, corrosion, or damage. Address any issues promptly to prevent structural compromise.
  • Cleaning: Keep the support box clean by wiping it with a damp cloth as needed to remove dust or debris. Avoid using abrasive cleaners that could damage the finish.
  • Sealing Gaps: Check for gaps or openings around the vent pipe and support box. Seal any gaps with appropriate sealant to prevent air leakage and maintain energy efficiency.
  • Professional Service: If you notice any significant issues with the support box or ventilation system, consult a professional HVAC technician for inspection and repairs.

Conclusion

The Duravent Ceilings Support Box plays a vital role in ensuring the efficiency, safety, and aesthetic appeal of your home’s ventilation system. By providing structural support, enhancing fire safety, and offering easy installation, these support boxes are essential components for any vent pipe penetration through ceilings or attic spaces. Consider the factors discussed when selecting and installing a Duravent Ceilings Support Box to optimize ventilation in your home or building.

Bathroom Exhaust Fan Drop Ceiling: Enhancing Ventilation Efficiency in Your Home

In modern home design, the efficiency and effectiveness of ventilation systems like the bathroom exhaust fan are crucial. One innovative solution gaining popularity is installing the Bathroom Exhaust Fan Drop Ceiling. This article explores the benefits, installation process, considerations, and maintenance tips for this setup.

Bathroom Exhaust Fan Drop Ceiling

Understanding the Importance of Bathroom Exhaust Fans

Bathroom exhaust fans play a pivotal role in maintaining indoor air quality by removing excess moisture, odors, and pollutants from the bathroom space. They help prevent mold growth, improve air circulation, and enhance the overall comfort of your home. Traditional installations involve mounting these fans directly on the ceiling or wall. However, the drop ceiling method offers distinct advantages worth exploring.

Benefits of Installing a Bathroom Exhaust Fan in a Drop Ceiling

Installing a Bathroom Exhaust Fan Drop Ceiling provides several benefits:

  1. Enhanced Aesthetic Appeal: Unlike surface-mounted fans, drop ceiling installations conceal the fan unit and ductwork, resulting in a cleaner and more streamlined appearance.
  2. Reduced Noise: The drop ceiling acts as a natural sound buffer, reducing operational noise from the exhaust fan, creating a quieter bathroom environment.
  3. Improved Airflow Efficiency: By positioning the fan closer to the source of moisture and odors, the system operates more efficiently, expelling unwanted air directly outside.
  4. Flexible Installation: Drop ceilings offer flexibility in positioning the fan, allowing for strategic placement that maximizes airflow and minimizes ductwork bends.

Installing a Bathroom Exhaust Fan in a Drop Ceiling

The installation process involves several key steps:

  1. Planning and Preparation: Measure the space and determine the optimal location for the fan unit. Ensure there is access to an external vent for proper air circulation.
  2. Cutting the Drop Ceiling Tiles: Use appropriate tools to cut an opening in the drop ceiling tiles to accommodate the exhaust fan unit and ductwork.
  3. Mounting the Fan Unit: Securely install the fan unit into the ceiling opening according to manufacturer instructions. Connect the ductwork to ensure proper ventilation.
  4. Electrical Connections: Hire a qualified electrician to connect the fan to the power source, following local building codes and safety guidelines.
  5. Testing and Adjustments: Test the fan for proper operation and adjust settings as needed to achieve optimal airflow and ventilation.

Considerations for Installing a Bathroom Exhaust Fan Drop Ceiling

Before embarking on this installation, consider the following:

  • Building Codes and Regulations: Ensure compliance with local building codes regarding ventilation requirements and electrical installations.
  • Maintenance: Regularly clean and inspect the fan unit and ductwork to prevent clogs and ensure efficient operation.
  • Professional Help: Seek assistance from professionals for electrical connections and complex installations to ensure safety and performance.

Maintaining Your Bathroom Exhaust Fan Drop Ceiling System

To prolong the lifespan and effectiveness of your Bathroom Exhaust Fans Drop Ceiling, adopt these maintenance practices:

  • Cleaning: Periodically clean the fan blades and grille to remove dust and debris that can hinder airflow.
  • Inspecting Ductwork: Check the ductwork for any signs of damage or blockages and clear them promptly.
  • Testing: Regularly test the fan to ensure it activates and operates smoothly when needed.

Read too: A Comprehensive Mr Cool Ceiling Cassette Review: Unveiling Excellence

Conclusion

Installing a Bathroom Exhaust Fans Drop Ceiling offers a practical and aesthetically pleasing solution to enhance ventilation in your home. By understanding its benefits, installation process, considerations, and maintenance tips, you can make an informed decision to improve indoor air quality and comfort. Whether you’re renovating your bathroom or planning new construction, consider the advantages of this innovative ventilation approach.

Flush Ceiling Mount Range Hood with Remote Control: Enhance Your Kitchen Experience

A well-equipped kitchen is not just about appliances; it’s also about the convenience and functionality they offer. When it comes to range hoods, the flush ceiling mount design with remote control capabilities is a game-changer. In this guide, we’ll delve into the features, benefits, and installation of the flush ceiling mount range hood with remote control, and why it’s a must-have addition to any modern kitchen.

Flush Ceiling Mount Range Hood With Remote

Understanding Flush Ceiling Mount Range Hoods with Remote Control

What is a Flush Ceiling Mount Range Hood?

A flush ceiling mount range hood is a type of ventilation hood that is installed directly into the ceiling, creating a seamless and integrated look with the kitchen space. Unlike traditional range hoods that protrude from the wall or cabinets, flush ceiling mount hoods sit flush with the ceiling, providing a sleek and minimalist appearance.

Features and Benefits

  • Space-saving Design: Flush ceiling mount range hoods are ideal for kitchens with limited space or low ceilings, as they do not take up valuable wall or cabinet space.
  • Enhanced Airflow: Despite their discreet appearance, flush ceiling mount range hoods offer powerful ventilation capabilities, effectively removing smoke, odors, and grease from the kitchen environment.
  • Remote Control Operation: The inclusion of a remote control allows for convenient operation of the range hood from a distance, eliminating the need to reach up and manually adjust settings.
  • Adjustable Fan Speeds: With multiple fan speeds, users can customize the airflow according to cooking needs, from gentle ventilation during simmering to high-speed extraction during intense cooking sessions.
  • LED Lighting: Many flush ceiling mount range hoods feature built-in LED lighting, providing bright and energy-efficient illumination over the cooktop area.

Installation of Flush Ceiling Mount Range Hoods

Installing a flush ceiling mount range hood with remote control requires careful planning and attention to detail. Here’s a general overview of the installation process:

  1. Selecting the Location: Determine the optimal location for the range hood, taking into account the size and layout of the kitchen, as well as the proximity to the cooktop or range.
  2. Preparing the Ceiling: Cut an opening in the ceiling according to the dimensions provided by the manufacturer, ensuring proper clearance for ventilation ducts and wiring.
  3. Mounting the Hood: Secure the mounting bracket to the ceiling joists or rafters, then attach the range hood to the bracket using the provided hardware.
  4. Connecting Electrical Wiring: Follow the manufacturer’s instructions to connect the electrical wiring, ensuring proper grounding and compliance with local building codes.
  5. Testing and Adjustment: Once installed, test the range hood to ensure proper operation of the fan, lights, and remote control functions. Make any necessary adjustments to fan speed and airflow direction.

Applications and Considerations

  • Open-Concept Kitchens: Flush ceiling mount range hoods are well-suited for open-concept kitchen layouts, where a seamless integration with the ceiling enhances the overall aesthetic appeal.
  • Modern Kitchen Designs: For homeowners seeking a modern and minimalist look, flush ceiling mount range hoods offer clean lines and unobtrusive functionality.
  • Low Ceilings: In kitchens with low ceilings or limited clearance, flush mount range hoods provide effective ventilation without compromising headroom or obstructing sightlines.
  • Remote Control Convenience: The convenience of remote control operation allows users to adjust fan speeds and lighting levels without interrupting cooking activities.

Read too: Exploring the Efficiency of Radiant Ceiling Heater Electric: A Comprehensive Guide

Conclusion

A flush ceiling mount range hood with remote control brings together form and function, offering powerful ventilation performance in a sleek and stylish package. Whether you’re renovating your kitchen or designing a new space, consider the benefits of incorporating this innovative appliance into your culinary environment. With its space-saving design, customizable features, and convenient remote control operation, the flush ceiling mount range hood is sure to elevate your cooking experience to new heights.

Unveiling the Benefits of 24X24 Drop Ceiling Exhaust Fan: Enhancing Ventilation Efficiency

Discover a revolution in ventilation with our guide to 24X24 Drop Ceiling Exhaust Fan. Explore how these powerful fans not only provide efficient air circulation but also seamlessly blend with your interior design, ensuring a comfortable and stylish environment.

24X24 Drop Ceiling Exhaust Fan

Revolutionizing Airflow with 24X24 Drop Ceiling Exhaust Fan

Understanding 24X24 Drop Ceiling Exhaust Fans:

  1. Optimal Size for Spacious Areas: Dive into the significance of the 24X24 size, catering to larger spaces. Learn how these fans are designed to provide superior airflow in rooms with expansive dimensions.
  2. Installation Versatility: Explore the various installation possibilities for these fans. From commercial spaces to residential areas, understand how 24X24 Drop Ceiling Exhaust Fans can be seamlessly integrated into different environments.

Performance and Efficiency: 24X24 Drop Ceiling Exhaust Fan

  1. High CFM Ratings: Delve into the high Cubic Feet per Minute (CFM) ratings of these fans. Discover how this metric reflects the fan’s efficiency in moving air and maintaining a well-ventilated space.
  2. Energy-Efficient Solutions: Learn about the energy-efficient features incorporated into 24X24 Drop Ceiling Exhaust Fans. From advanced motor technologies to smart control options, explore how these fans contribute to sustainability.

Read too: Exploring the Advantages of Ceiling Mount Air Handler Systems: Revolutionizing Indoor Comfort

Design Integration:

  1. Sleek and Modern Aesthetics: Uncover the sleek and modern designs of these fans. Explore how manufacturers have prioritized aesthetics, ensuring that the fan not only performs well but also complements your interior décor.
  2. Quiet Operation: Understand the importance of quiet operation in drop ceiling exhaust fans. Explore how advancements in fan technology minimize noise, making these fans an unobtrusive yet effective addition to your space.

Installation and Maintenance:

  1. DIY Installation Tips: Learn about the DIY-friendly installation process for 24X24 Drop Ceiling Exhaust Fan. Follow step-by-step instructions to ensure a hassle-free setup.
  2. Routine Maintenance Practices: Discover routine maintenance practices to keep your fan performing optimally. From cleaning the blades to inspecting the motor, these tips will help extend the lifespan of your exhaust fan.