When it comes to lighting a room with a sloped ceiling, finding the right lighting solution can be a bit challenging. Fortunately, sloped ceiling recessed lighting 4 inch fixtures offer a sleek, space-saving, and efficient way to illuminate your space while accentuating its design. In this comprehensive guide, we’ll dive into the details of sloped ceiling recessed lighting, its advantages, considerations for installation, and how to choose the best options for your home.

What is Sloped Ceiling Recessed Lighting 4 Inch?
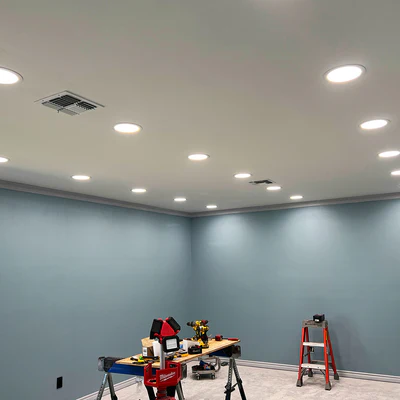
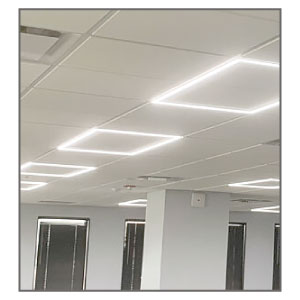
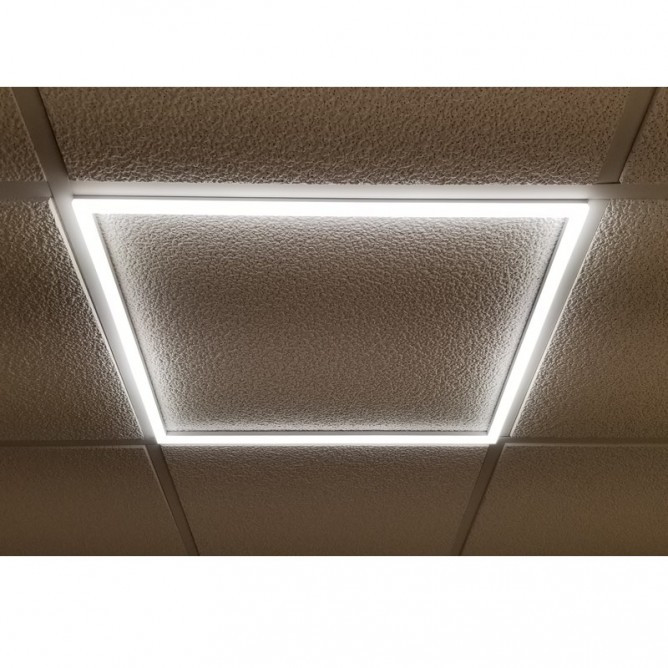
Recessed lighting is a popular lighting option where the light fixture is installed into a hollow opening in the ceiling, making it flush with the surface. Sloped ceiling recessed lighting 4 inch is specifically designed for angled or sloped ceilings, allowing for a more aesthetically pleasing and functional solution for overhead lighting in rooms with unconventional ceiling designs, such as vaulted, cathedral, or pitched ceilings.
The 4-inch measurement refers to the diameter of the recessed light housing. This size strikes a perfect balance between functionality and design, offering sufficient lighting without overwhelming the space. The small size is particularly beneficial for smaller rooms or when you want to maintain a minimalist look while optimizing illumination.
Read too: Kitchen Lighting For A Vaulted Ceiling: Illuminating Your Space with Style and Functionality
Why Choose Sloped Ceiling Recessed Lighting 4 Inch?
1. Space Efficiency
Unlike traditional pendant or flush mount fixtures, recessed lighting is built into the ceiling, saving valuable space. This makes it a perfect solution for rooms with sloped ceilings where the space could feel cramped or uneven. Sloped ceiling recessed lighting 4 inch is particularly useful in bedrooms, living rooms, and kitchens with slanted roofs, providing a sleek and unobtrusive light source.
2. Enhanced Aesthetic Appeal
Recessed lights are known for their ability to provide clean, modern, and streamlined aesthetics. They are especially suitable for rooms with sloped ceilings because they complement the angle of the ceiling, contributing to the overall design rather than detracting from it. When strategically placed, sloped ceiling recessed lighting 4 inch fixtures can create subtle highlights, enhance architectural features, and add to the room’s atmosphere.
3. Optimized Light Distribution
One of the main challenges with sloped ceilings is achieving even light distribution. With sloped ceiling recessed lighting 4 inch, you can position the light fixtures to direct light exactly where it’s needed, whether to highlight artwork, illuminate dark corners, or simply brighten the entire room. This allows for greater control over how light interacts with the space.
4. Energy Efficiency
Many sloped ceiling recessed lighting 4 inch models come with energy-efficient LED bulbs, which consume less electricity and have a longer lifespan than traditional incandescent bulbs. LED recessed lights are a great choice for homeowners looking to reduce their energy consumption while still enjoying bright, effective lighting.
How Does Sloped Ceiling Recessed Lighting Work?
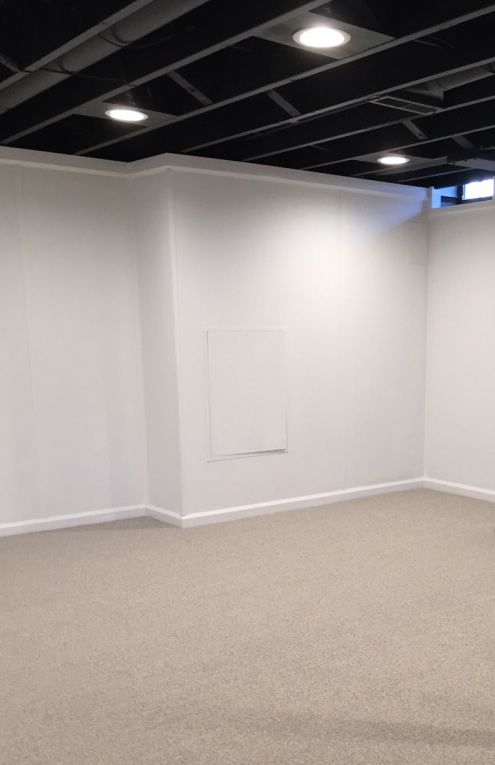
Sloped ceiling recessed lighting works by using a special housing designed to tilt or rotate, allowing the light to adjust to the angle of the ceiling. This ensures that the light beam is directed precisely where it’s needed, despite the ceiling’s slope.
There are two main types of sloped ceiling recessed lighting 4 inch fixtures:
- Adjustable Tilt Fixtures: These fixtures can be tilted to various angles, providing flexibility in directing light. They are ideal for sloped ceilings because they can accommodate different angles and offer precise control over the direction of the light.
- Fixed Fixtures: These are designed with a fixed angle and provide consistent illumination across the room. They are typically used in spaces with a consistent slope where adjustable lighting isn’t necessary.
Most sloped ceiling recessed lights are designed for easy installation, but the process does require some careful planning, especially if you have a particularly steep angle or uneven ceiling.
Where to Install Sloped Ceiling Recessed Lighting 4 Inch?
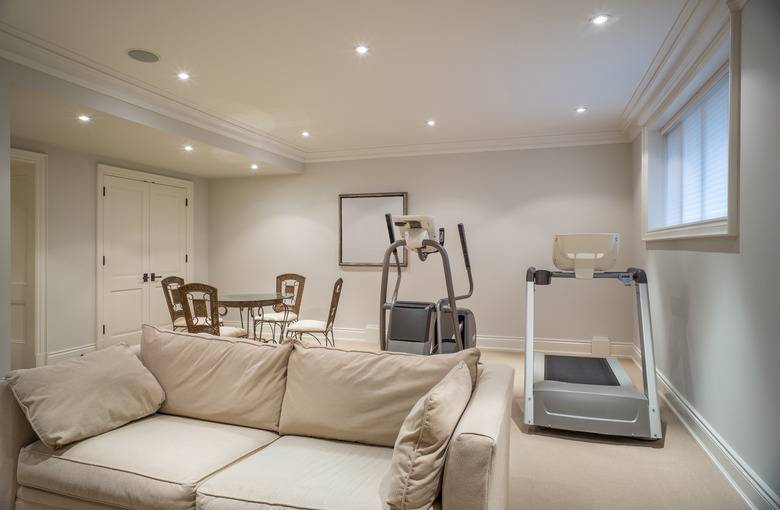
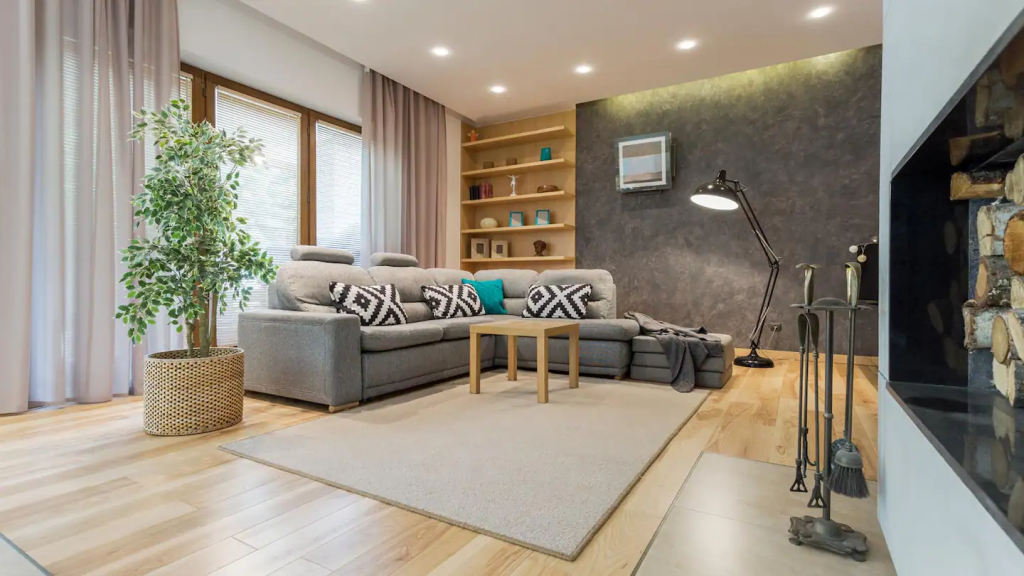
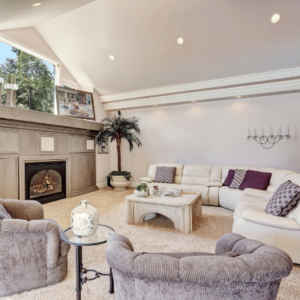
1. Living Rooms
Sloped ceiling recessed lighting can enhance the aesthetics of living rooms by creating an even, soft light that accentuates the room’s architecture. Strategically placed lighting can highlight the focal points, such as a fireplace, artwork, or entertainment area.
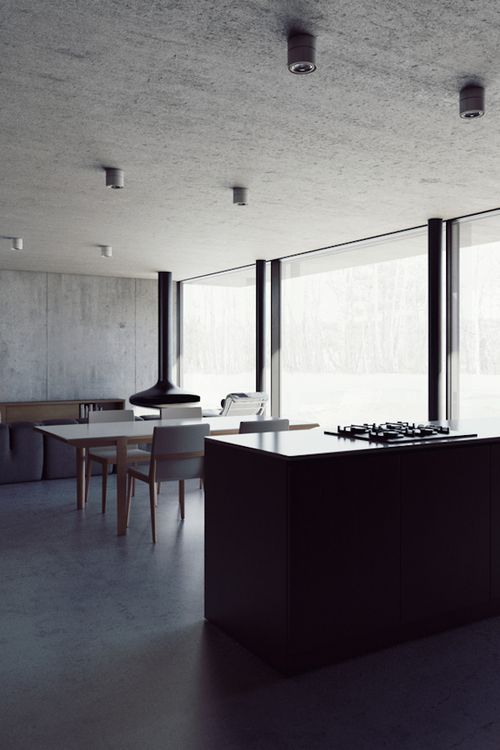
2. Kitchens
Kitchens with sloped ceilings often require good lighting for both practical and aesthetic reasons. Installing sloped ceiling recessed lighting 4 inch fixtures can brighten workspaces, like countertops and islands, while contributing to a welcoming atmosphere.
3. Hallways and Entryways
For homes with vaulted entryways or angled hallways, sloped ceiling recessed lighting 4 inch is an ideal choice. It can help guide guests through the space while offering enough light to prevent areas from feeling dark or cramped.
4. Bathrooms
Sloped ceilings in bathrooms can present challenges when it comes to lighting. Recessed lighting works well in bathrooms with angled ceilings because it provides adequate brightness while maintaining a sleek, modern appearance.
Key Considerations Before Installing Sloped Ceiling Recessed Lighting 4 Inch
1. Ceiling Angle
The angle of the ceiling plays a critical role in determining the type of recessed lighting fixture that would work best. Make sure to choose a sloped ceiling recessed lighting 4 inch fixture that can adjust or is designed specifically for the ceiling’s angle.
2. Lighting Requirements
Consider how much light you need in the space. For areas with larger sloped ceilings or high ceilings, you may need to install multiple recessed lights or use higher lumen output bulbs to provide sufficient illumination. Additionally, the brightness of sloped ceiling recessed lighting 4 inch will vary depending on the type of bulb you choose, such as LED or incandescent.
3. Fixture Placement
Proper placement of recessed lights is essential for achieving the desired lighting effects. When planning your installation, ensure that you position the lights evenly to prevent dark spots or areas of excessive brightness. Consider the function of each area in the room to place the lights where they will be most effective.
4. Type of Bulb
LED bulbs are the most common choice for recessed lighting due to their energy efficiency, longevity, and bright light output. Consider the color temperature (measured in Kelvins) of the bulbs to create the desired atmosphere. A warmer tone (2700K-3000K) creates a cozy environment, while a cooler tone (4000K-5000K) offers a more energetic and crisp feel.
Installation Guide for Sloped Ceiling Recessed Lighting 4 Inch
Step 1: Turn Off the Power
Ensure the electrical power is turned off at the breaker box to prevent electrical accidents during installation.
Step 2: Choose the Right Placement
Use a pencil and a level to mark where each light will be installed. Ensure the placement suits the slope of the ceiling and the functionality of the room.
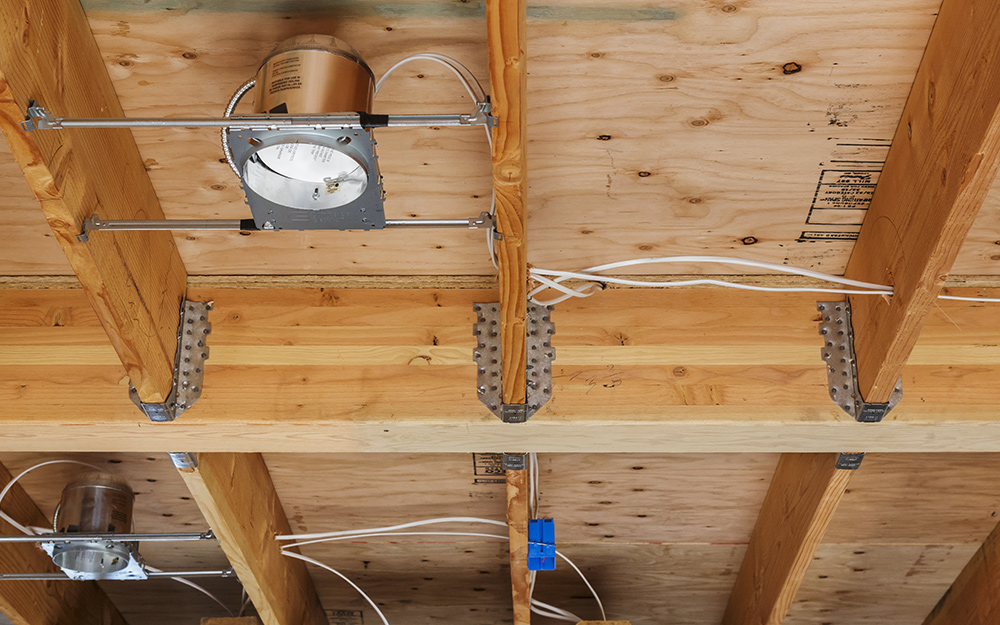
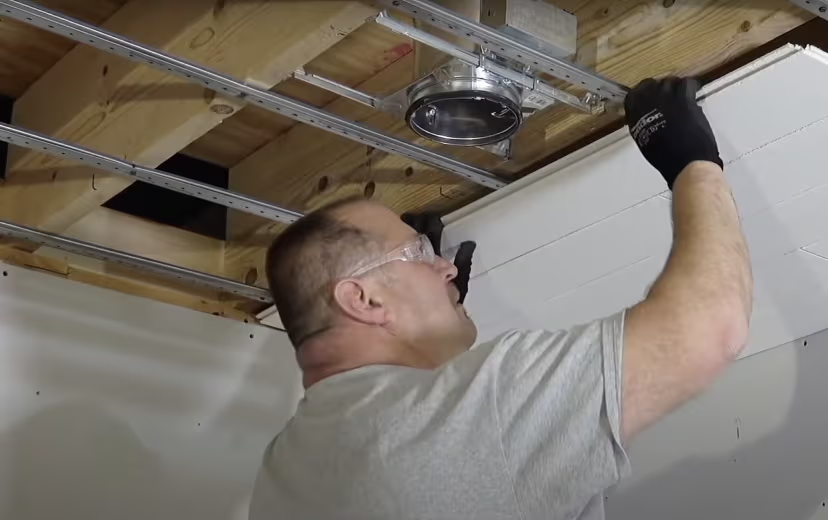
Step 3: Install the Housing
The housing is the part of the fixture that sits inside the ceiling and holds the light bulb. Cut a hole in the ceiling according to the dimensions of the housing. Install the housing in the cutout and secure it with screws.
Step 4: Wire the Fixture
Connect the wiring of the recessed light to the electrical supply. Use wire nuts to secure the connections.
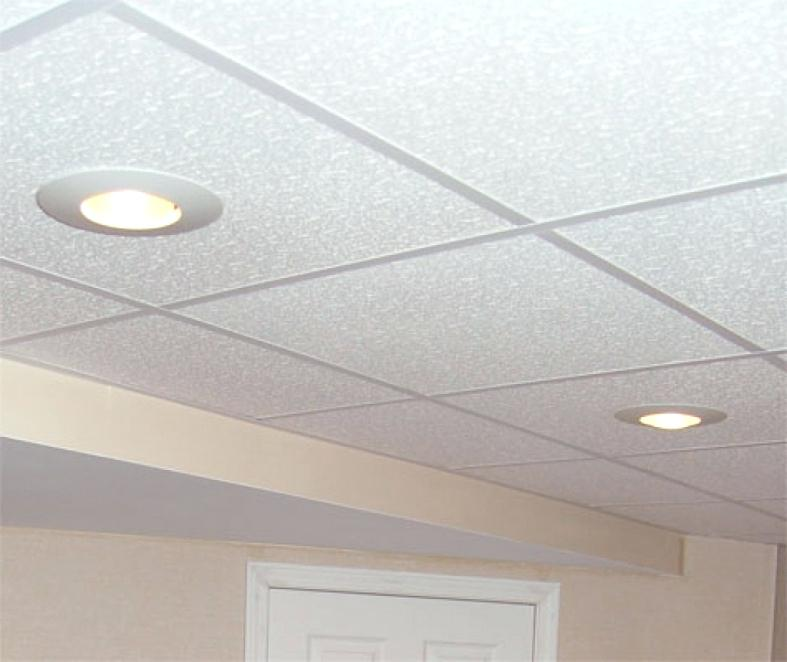
Step 5: Install the Trim and Bulb
Once the wiring is secure, insert the light bulb and attach the trim around the light. The trim should be aligned to the ceiling and securely fastened.
Step 6: Test the Light
After installation, turn the power back on and test the lights to ensure they are functioning properly.
Conclusion: Why Choose Sloped Ceiling Recessed Lighting 4 Inch for Your Home?
Sloped ceiling recessed lighting 4 inch fixtures are an excellent choice for enhancing both the look and function of spaces with sloped or vaulted ceilings. With their sleek design, adjustable angles, and energy-efficient options, these lighting solutions provide an effective way to illuminate a room while maintaining a clean and modern aesthetic. Whether you’re designing a new space or upgrading your current lighting, sloped ceiling recessed lights offer a versatile and stylish option for achieving the perfect lighting effect.