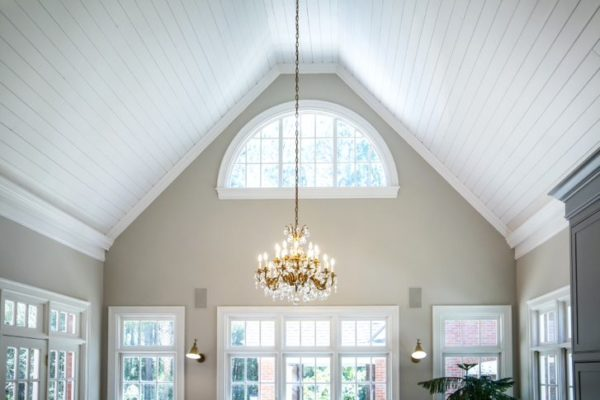
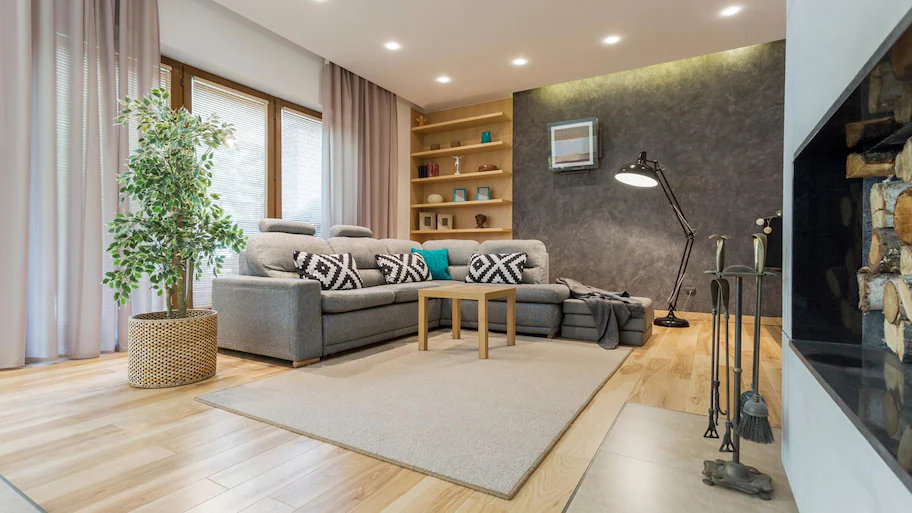
When designing the interior of a room with vaulted ceilings, one of the key considerations is how to effectively illuminate the space. Vaulted ceilings offer a sense of grandeur and openness, but they can present unique challenges when it comes to lighting. Traditional lighting options may not be suitable for such high and angled ceilings. That’s where Track Lighting For Vaulted Ceilings comes into play.

Track lighting is an excellent solution for providing adequate and focused illumination to rooms with vaulted ceilings. The flexibility of track lighting allows it to be adjusted to suit the layout and design of your space, making it a perfect choice for homes with high ceilings. In this article, we will explore the benefits, installation tips, and styling options for Track Lighting For Vaulted Ceilings, helping you create a beautiful, well-lit environment.
Read too: Bathroom Flooded Through the Ceiling: A Comprehensive Guide
What is Track Lighting?
Track lighting is a lighting system that involves a series of light fixtures mounted on a track. The track itself is installed along the ceiling, and the light fixtures can be adjusted along the track to direct light exactly where it’s needed. This lighting style is highly flexible, offering versatility in how light is distributed throughout a room.
In the context of Track Lighting For Vaulted Ceilings, this system provides an ideal solution for illuminating the height and angles that are characteristic of vaulted spaces. The track system can be mounted along the ridge line of the vaulted ceiling or along the walls to highlight specific areas of the room.
Benefits of Track Lighting For Vaulted Ceilings
Vaulted ceilings, with their dramatic slopes and high peaks, often require specialized lighting solutions to highlight the beauty of the architecture while providing functional lighting. Track Lighting For Vaulted Ceilings offers several advantages:
1. Flexibility in Light Direction
One of the main advantages of track lighting is its ability to adjust the direction of the light. With vaulted ceilings, where traditional ceiling-mounted fixtures may not reach or illuminate the space effectively, track lighting allows you to position the lights to shine down on specific areas or highlight architectural features.
You can focus the lighting on areas that need more attention, such as artwork, focal walls, or seating arrangements, while avoiding over-lighting or under-lighting certain parts of the room.
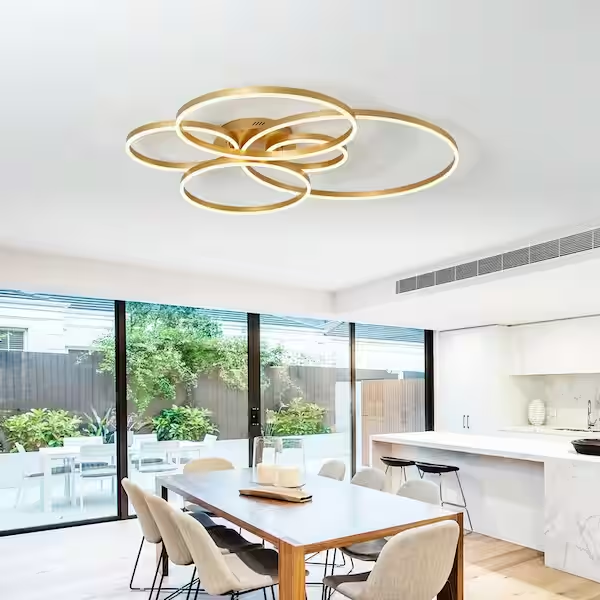
2. Aesthetic Appeal
Track lighting is available in a variety of styles, finishes, and configurations, allowing you to choose a design that complements the aesthetics of your vaulted ceiling. Whether you’re going for a rustic, modern, or industrial look, track lighting can be adapted to suit your style preferences.
Additionally, track lighting fixtures come in different shapes and sizes. From sleek and minimalistic designs to more dramatic and artistic options, there is a wide range of choices to fit any space.
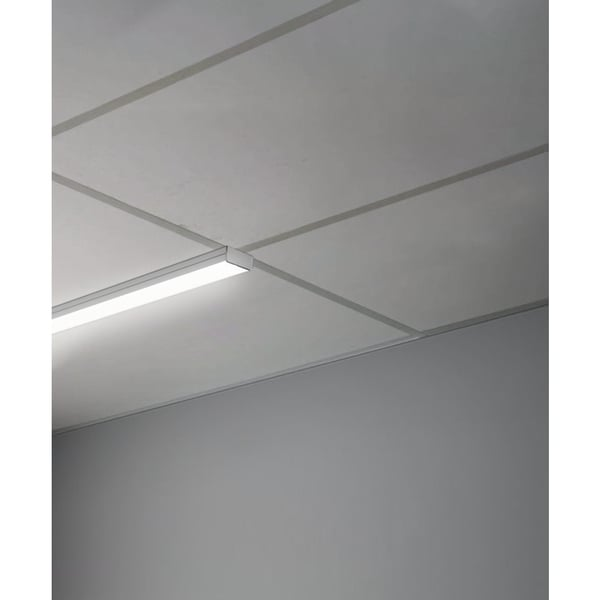
3. Ideal for High Ceilings
Vaulted ceilings are often very high, making it difficult to install traditional lighting fixtures that may not provide adequate light distribution. Track Lighting For Vaulted Ceilings provides a perfect solution, as it can be mounted at the peak or along the ridge of the ceiling, where the light fixtures are positioned to cast light downward, ensuring the room is well-lit.
4. Energy Efficiency
Track lighting often uses LED bulbs, which are energy-efficient and have a longer lifespan compared to traditional incandescent bulbs. This means you can illuminate your vaulted ceilings without worrying about high electricity bills or frequent bulb replacements.
Additionally, the ability to direct the light where it is needed reduces light wastage, making track lighting a more energy-efficient option.
How to Install Track Lighting For Vaulted Ceilings
While track lighting is versatile and easy to use, installing it in a room with vaulted ceilings does require some planning. Below, we break down the steps for installing Track Lighting For Vaulted Ceilings:
1. Measure and Plan the Track Placement
The first step in installing track lighting is to measure the area where you want the track to be placed. For vaulted ceilings, this could be along the ridge of the ceiling or along the walls. Plan where you want the fixtures to be located, taking into consideration where you want to focus the light and the layout of the room.
2. Choose the Right Track System
There are two main types of track lighting systems: two-wire tracks and three-wire tracks. Two-wire tracks are typically simpler and more budget-friendly, while three-wire tracks provide additional flexibility by allowing the lights to be powered from multiple sources.
Select the track lighting system that fits your needs based on the size of the room and the lighting requirements. A three-wire track system may be ideal for large, open vaulted spaces that require different lighting zones.
3. Install the Track
Once you’ve chosen your track system, the next step is to install it on the ceiling. You’ll need to drill holes in the ceiling at the marked locations and insert anchors to secure the track system. If you’re installing the track along the ridge of the vaulted ceiling, you may need additional support to ensure the track is level.
It’s important to follow the manufacturer’s instructions when installing track lighting, especially when dealing with high ceilings. If you’re not comfortable working at height or handling electrical components, consider hiring a professional electrician for the installation.
4. Install the Light Fixtures
After securing the track to the ceiling, the next step is to install the light fixtures. Track lighting fixtures are typically designed to slide into the track and lock into place. Once the fixtures are attached, you can adjust them to point in the desired direction.
Make sure that the light fixtures are properly connected to the track system, and always check the bulb specifications to ensure you’re using the correct wattage and type of bulbs.
5. Connect the Wiring
With the track and fixtures in place, you’ll need to connect the wiring. If you’re working with a pre-installed track system, this step may involve simply connecting the power to the track. However, if you’re installing a new system, you may need to wire the track to a power source and make sure the electrical connections are secure.
Always turn off the power at the circuit breaker before performing any electrical work to ensure safety.
6. Test the Lighting
Once everything is installed and the power is restored, test the lighting to ensure the fixtures are working correctly. Adjust the direction of the light and check for any flickering or malfunctions. If everything is functioning properly, your track lighting system should provide efficient, customizable lighting for your vaulted ceilings.
Styling Ideas for Track Lighting in Vaulted Ceilings
While the functionality of Track Lighting For Vaulted Ceilings is essential, the design and style can add an extra layer of beauty to your space. Here are some styling ideas:
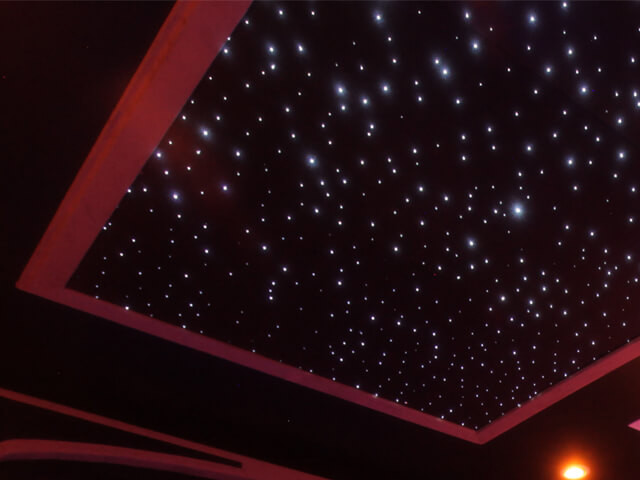
1. Highlight Architectural Features
Use track lighting to highlight the unique features of your vaulted ceiling. Whether it’s exposed beams, trusses, or high windows, track lighting can direct light to showcase these stunning elements.
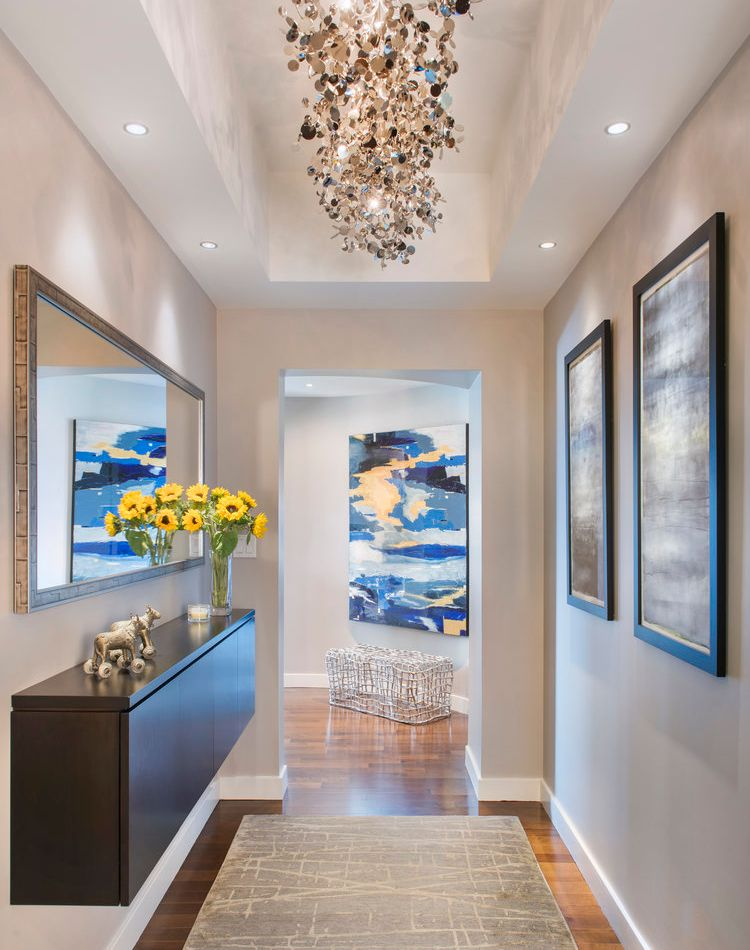
2. Accent Walls and Artwork
Track lighting can also be used to focus on accent walls or artwork. Use adjustable fixtures to create a spotlight effect on your favorite pieces, enhancing the room’s decor and adding drama.
3. Ambient and Task Lighting
By using multiple light fixtures, you can create layers of lighting in your space. Use track lighting to provide ambient light throughout the room while adding task lighting above workspaces or reading areas.
Conclusion
Track Lighting For Vaulted Ceilings is an excellent solution for lighting high and angled spaces. Its flexibility, efficiency, and aesthetic appeal make it a perfect choice for homeowners who want to illuminate a room with vaulted ceilings while highlighting its architectural beauty. With the right track system, proper installation, and creative styling, track lighting can transform your vaulted ceiling space into a well-lit, visually striking environment.