Explore the nuances of dealing with a common household issue – the crack between wall and ceiling. Learn how to identify, prevent, and remedy this concern for a seamless and aesthetically pleasing living space.
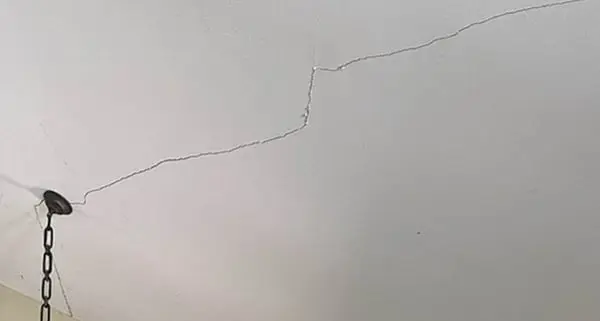
Decoding the Issue – Crack Between Wall and Ceiling
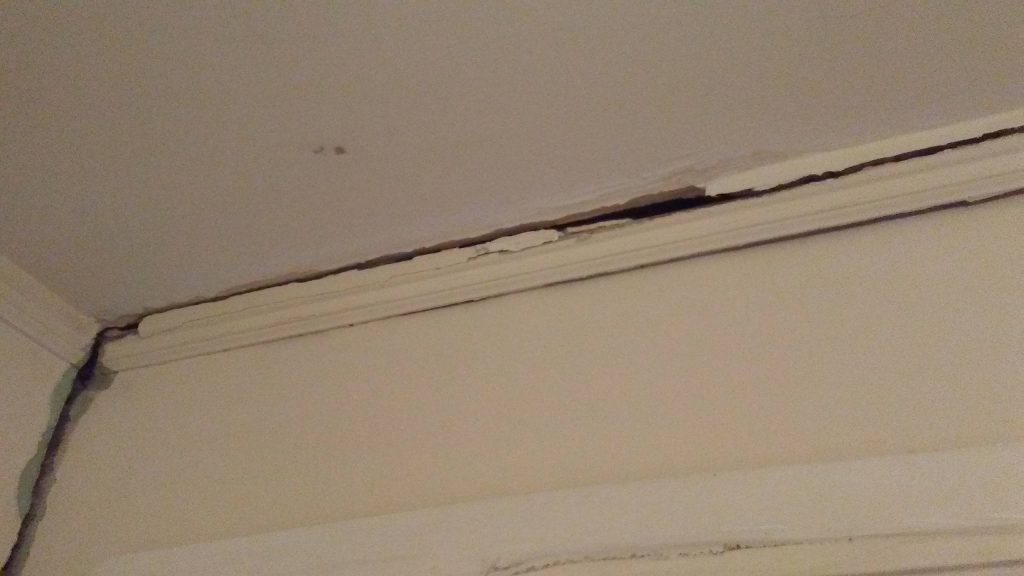
Unravel the mysteries behind the crack between wall and ceiling and empower yourself with insights on addressing this common household dilemma.
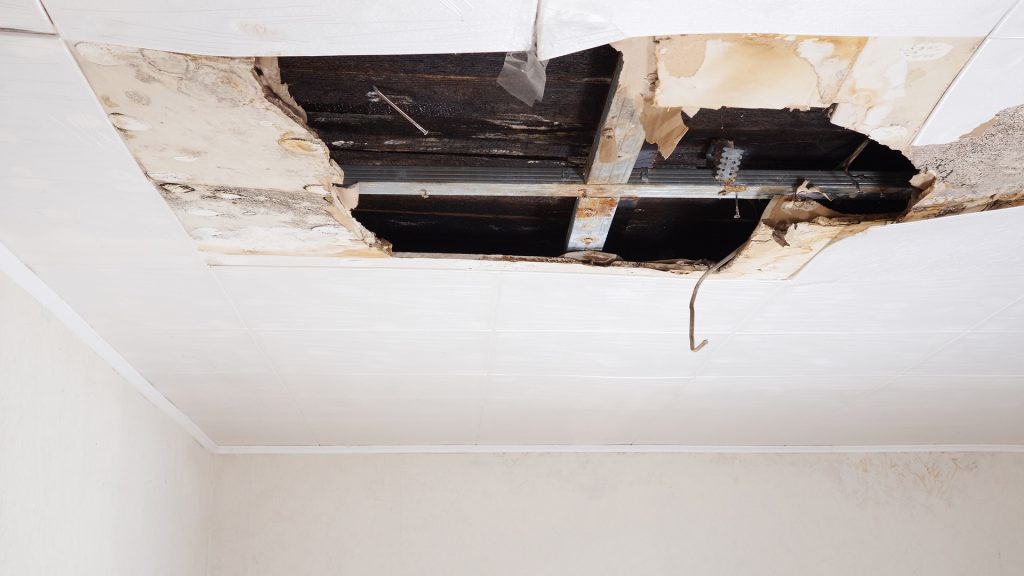
Identifying the Causes of a Crack Between Wall and Ceiling:
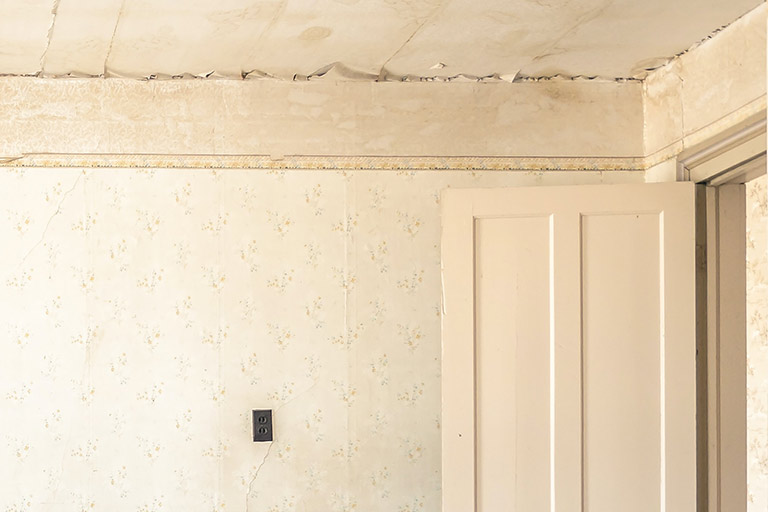
- Settling Foundation:
- Understand how a settling foundation can lead to shifts in the structure, causing cracks to emerge between the wall and ceiling.
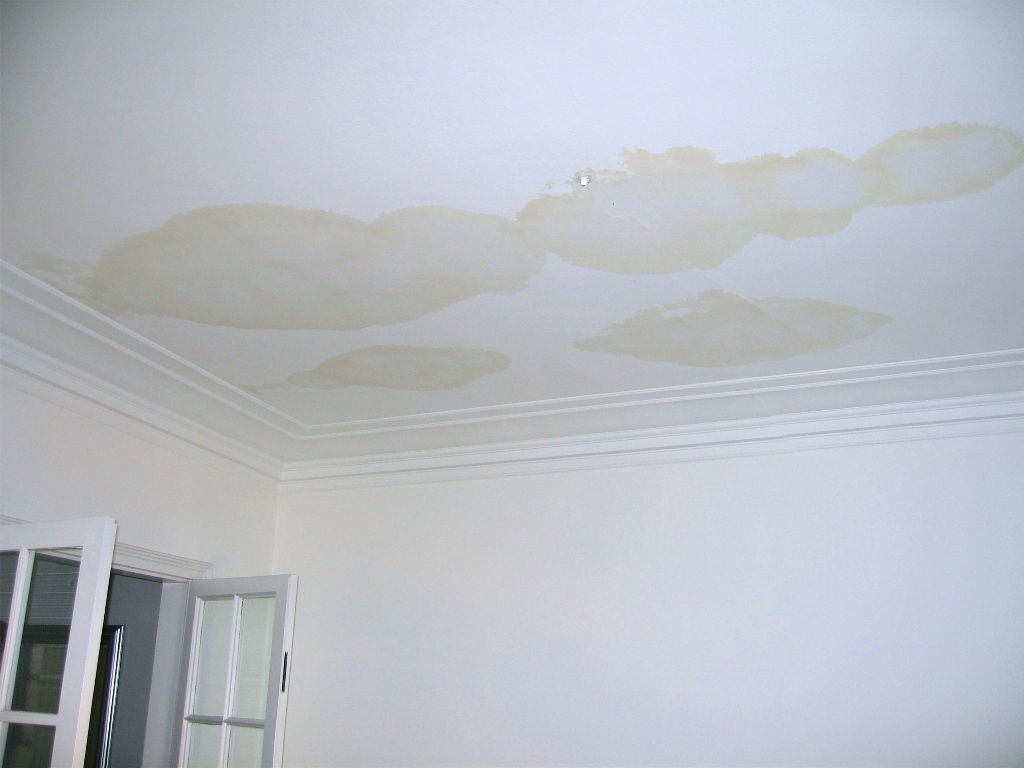
- Temperature Fluctuations:
- Explore the impact of temperature variations on building materials, contributing to the development of cracks over time.
- Drywall Issues:
- Delve into how problems with drywall installation or materials can manifest as cracks in the junction between the wall and ceiling.
- Structural Movement:
- Learn about structural movements and how they can create stress points, resulting in visible cracks.
Addressing the Crack Between Wall and Ceiling:
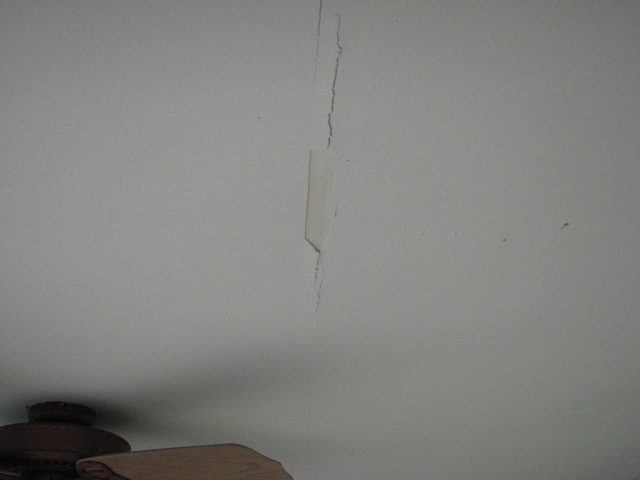
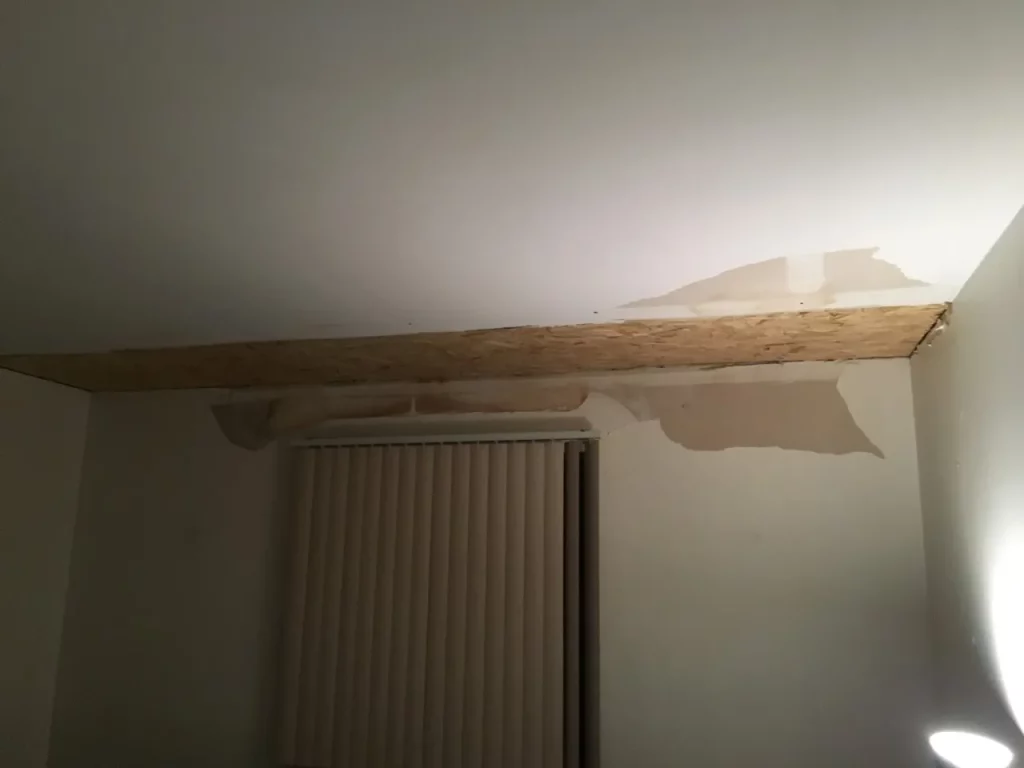
- Inspect and Assess:
- Begin by thoroughly inspecting the crack’s size, location, and pattern. Assess whether it’s a superficial issue or indicative of a more significant structural concern.
- Fill with Joint Compound:
- For smaller, cosmetic cracks, use joint compound to fill and smooth the surface. Sand and repaint for a seamless finish.
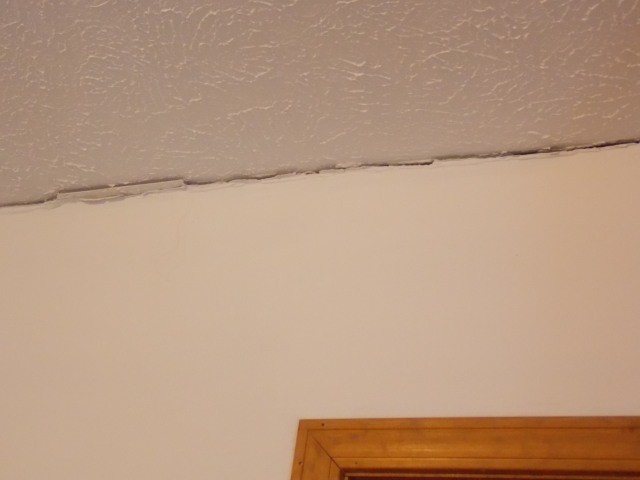
- Utilize Flexible Caulk:
- In cases where flexibility is needed, opt for flexible caulk to fill the crack. This is particularly useful for addressing cracks caused by minor structural movements.
- Address Underlying Issues:
- If the crack is recurrent or indicative of a deeper issue, such as foundation settling, consult with professionals to address the root cause.
Preventing Future Cracks:
- Manage Humidity Levels:
- Control indoor humidity levels to prevent materials from expanding and contracting, reducing the likelihood of cracks.
- Regular Maintenance:
- Implement a routine maintenance schedule to identify and address minor cracks before they escalate.
- Proper Installation:
- Ensure proper installation of drywall and other building materials during construction or renovations.
- Foundation Inspection:
- Periodically inspect your home’s foundation for signs of settling or movement, addressing issues promptly.
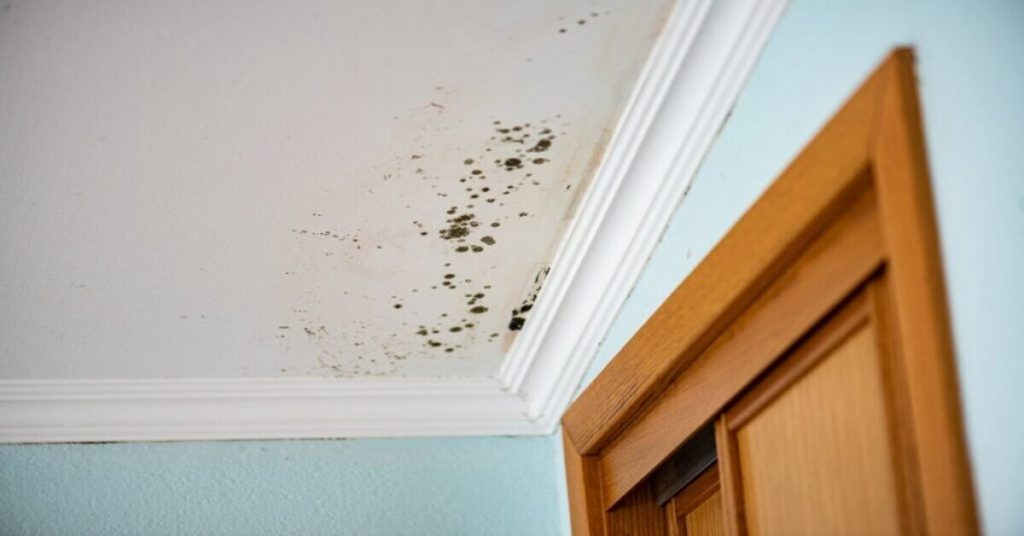
Read too: Is Bathroom Ceiling Mold Dangerous to Your Health and Home? Unveiling the Threat
When to Seek Professional Assistance:
- Large or Growing Cracks:
- If cracks are substantial or expanding, consult with structural engineers or contractors to assess and rectify the problem.
- Persistent Issues:
- Persistent or recurrent cracks may indicate underlying structural issues that require professional intervention.
- Concerns About Foundation:
- Any concerns about the foundation, such as visible shifts or settling, warrant immediate attention from professionals.
Conclusion: Maintaining the Integrity of Your Living Space
In conclusion, understanding the dynamics of a crack between wall and ceiling empowers homeowners to address and prevent this common issue. Whether it’s a cosmetic concern or a sign of deeper structural problems, timely intervention ensures the integrity and aesthetics of your living space.
Regular inspections, proactive maintenance, and professional assistance when needed contribute to a home that stands the test of time, free from the unsightly presence of cracks between walls and ceilings.