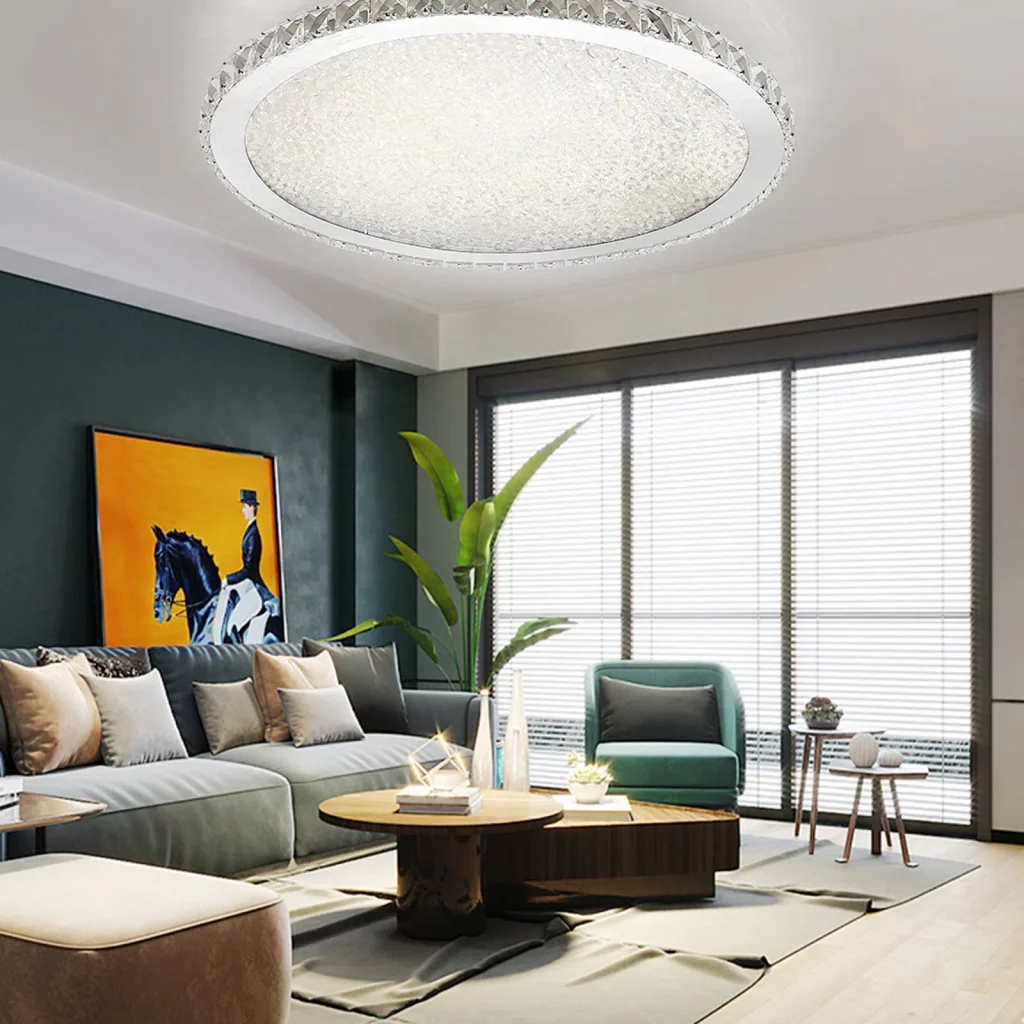
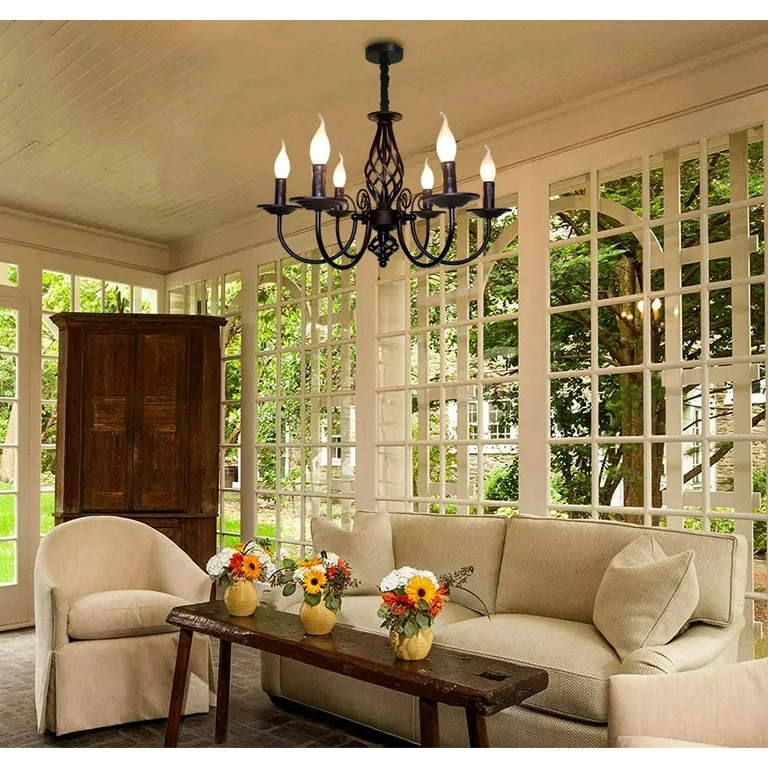
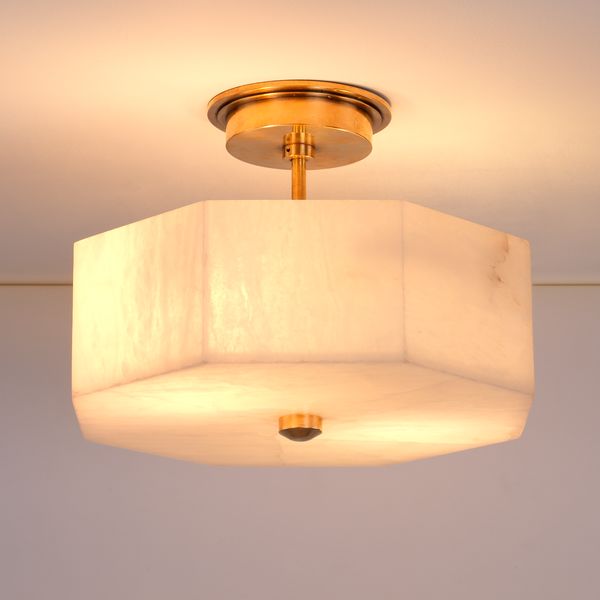
Step into a world of refined beauty and exquisite illumination with the Alabaster Flush Mount Ceiling Light. This article unveils the captivating features, installation insights, and the unmatched aesthetic appeal of this lighting fixture, setting a new standard for elegance in your living spaces.
Understanding the Alabaster Flush Mount Ceiling Light:
- Alabaster Elegance: Explore the allure of alabaster and its transformative effect on light diffusion. Learn how this ceiling light elevates ambiance with its unique material properties.
- Design Dynamics: Delve into the design intricacies that make this flush mount ceiling light a statement piece. From intricate patterns to minimalist designs, understand how it seamlessly blends with diverse interior styles.
Installation Tips and Practical Insights: Alabaster Flush Mount Ceiling Light
- Installation Made Easy: Get a comprehensive guide to installing this ceiling light. Whether you’re a DIY enthusiast or relying on professional help, these tips ensure a hassle-free setup.
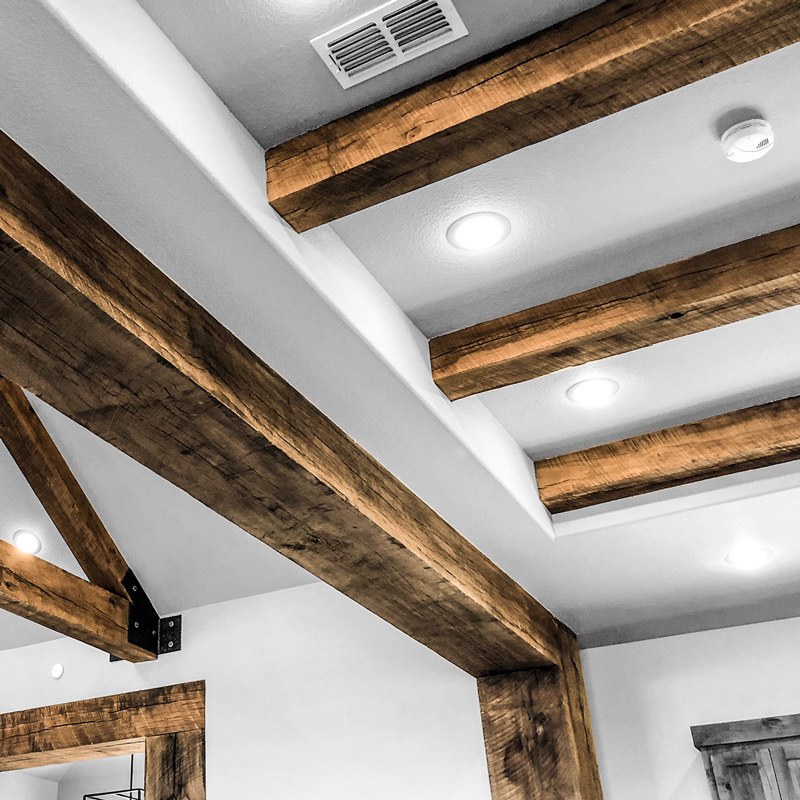
- Ideal Placement Scenarios: Discover the versatility of placement options for this ceiling light. From entryways to bedrooms, explore how this ceiling light can enhance different areas of your home.
Aesthetic Appeal and Style:
- Soft and Warm Illumination: Understand how the alabaster material influences the quality of light emitted. Learn how this ceiling light provides a soft and warm glow, creating a welcoming atmosphere.
- Versatile Design Options: Explore the variety of design options available for this lighting fixture. From classic and traditional to modern and contemporary, find a design that resonates with your interior preferences.
Performance and Durability:
- Longevity and Durability: Uncover the durability features that make the Alabaster Flush Mount Ceiling Light a lasting investment. From robust construction to high-quality materials, ensure your lighting fixture stands the test of time.
- Energy Efficiency: Learn about the energy-efficient aspects of this ceiling light. Explore how it combines aesthetic appeal with eco-friendly technology, contributing to a sustainable and stylish home.
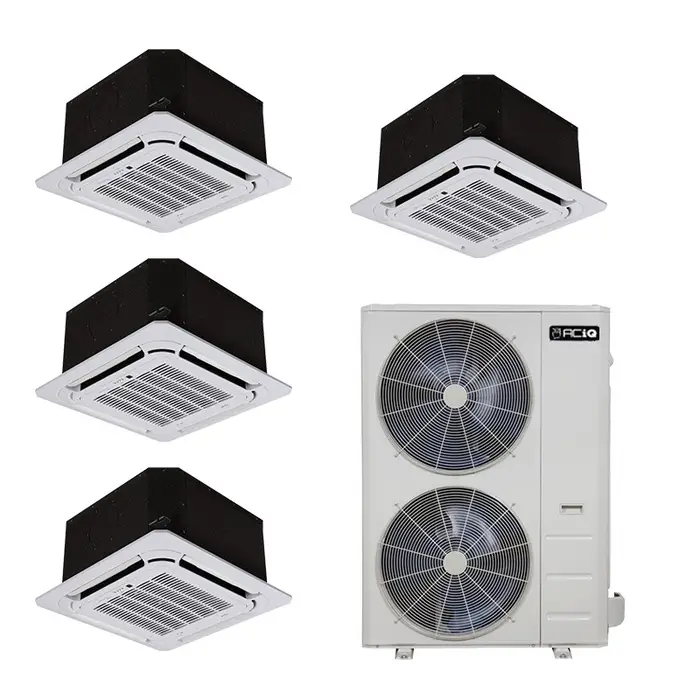
Read too: Exploring the Advantages of Ceiling Mount Air Handler Systems: Revolutionizing Indoor Comfort