Suspended ceiling fluorescent light, also known as drop ceiling lights, offer a versatile and efficient lighting solution for a variety of spaces, including offices, schools, retail stores, and residential areas. In this comprehensive guide, we’ll explore the benefits of suspended ceiling fluorescent lights, discuss their installation and maintenance, and provide creative ideas for incorporating them into your space.
Understanding Suspended Ceiling Fluorescent Lights
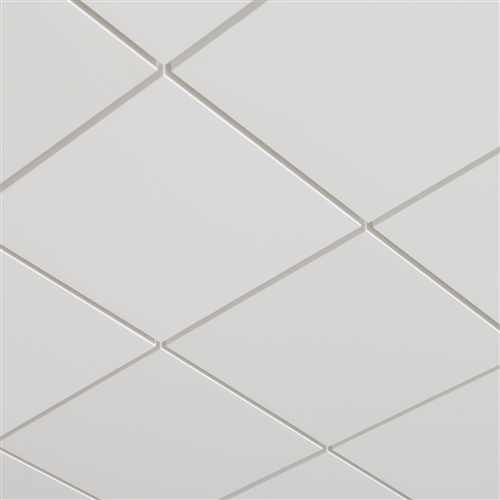
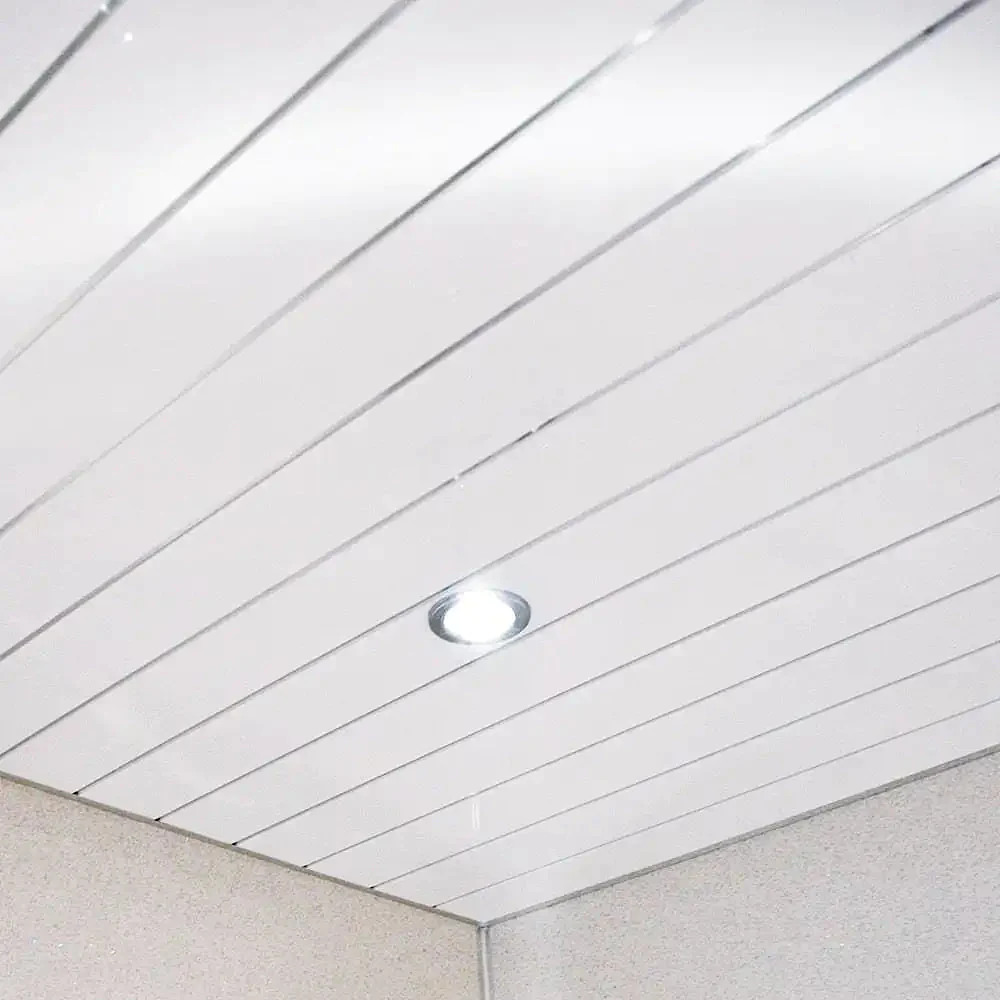
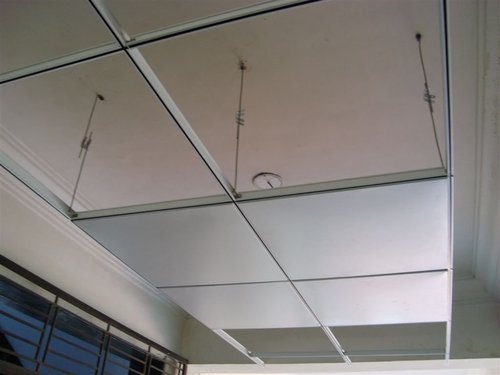
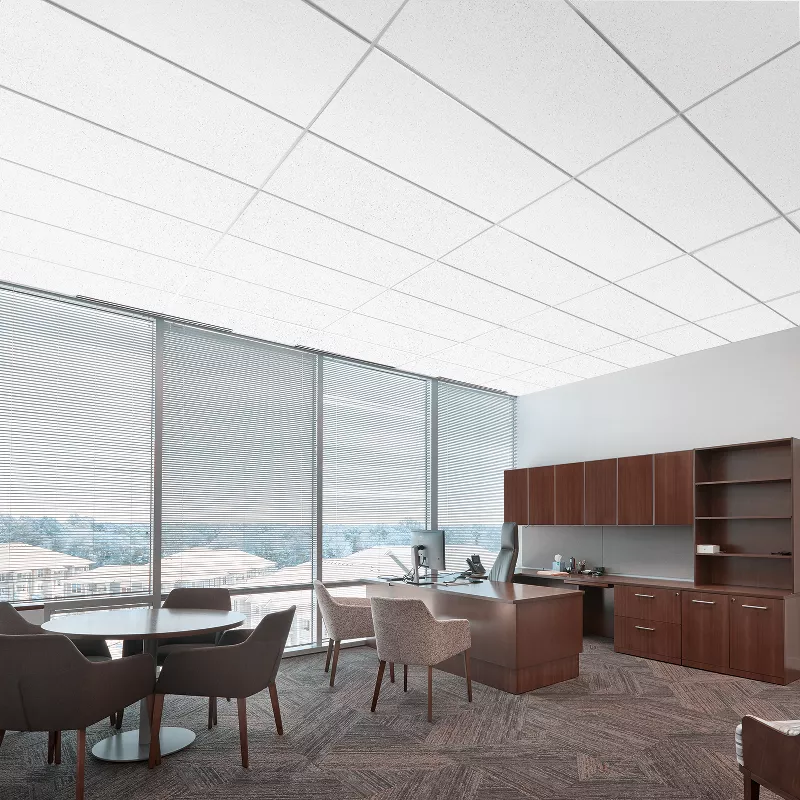
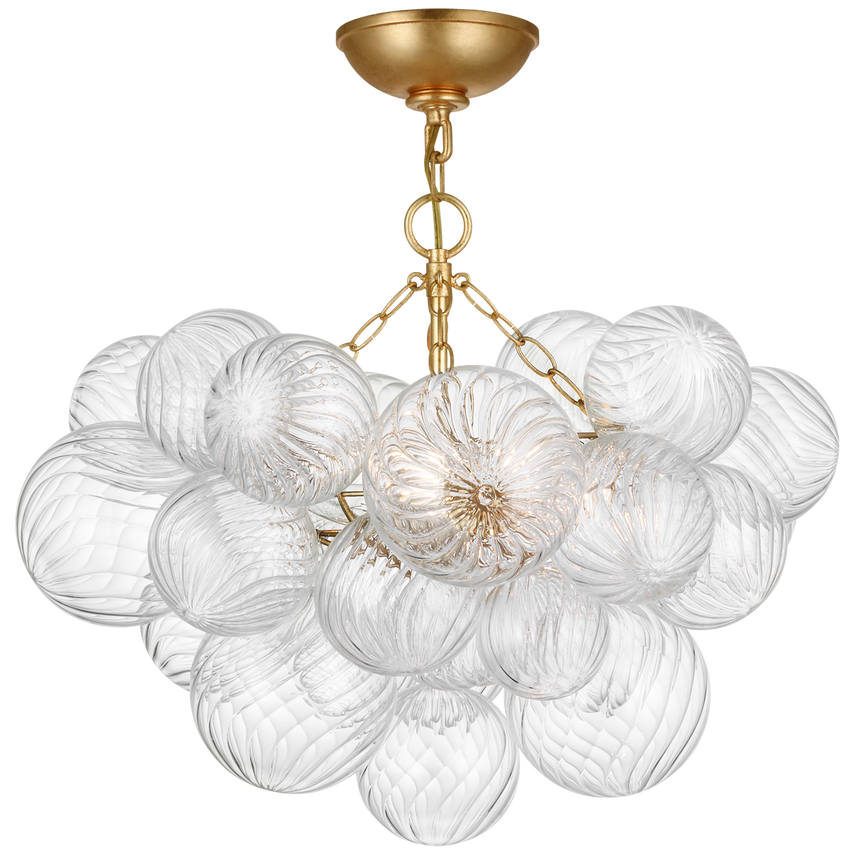
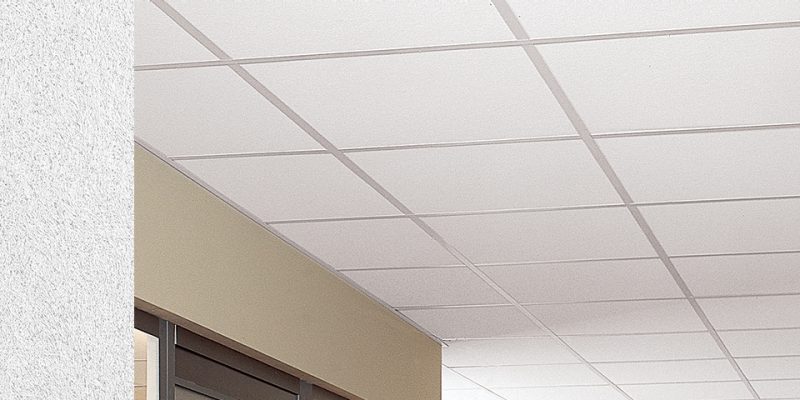
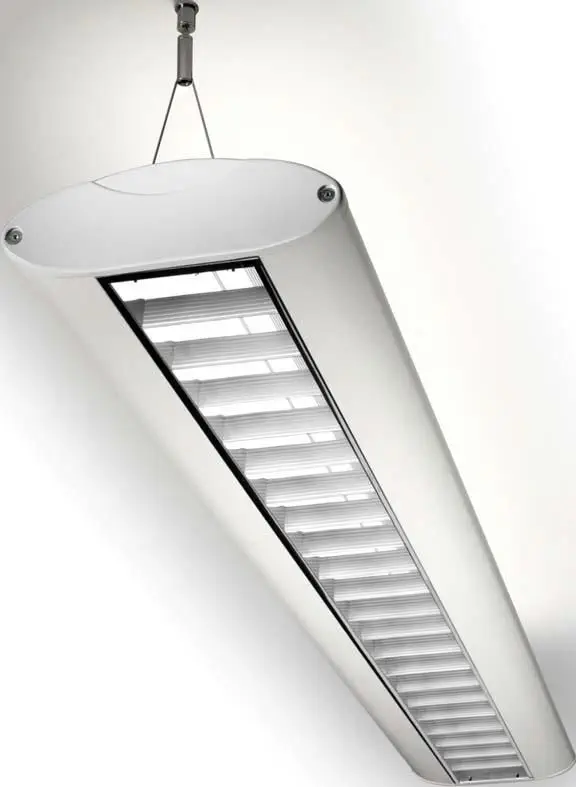
Suspended ceiling fluorescent lights are fixtures mounted within a dropped ceiling grid, creating a seamless and uniform lighting effect. These lights consist of fluorescent tubes housed in a decorative or functional fixture, suspended from the ceiling by wires or rods. They are available in various sizes, shapes, and styles to suit different aesthetic preferences and lighting requirements.
Benefits of Suspended Ceiling Fluorescent Lights
- Energy Efficiency: Suspended ceiling fluorescent lights are known for their energy efficiency, consuming less power than traditional incandescent bulbs while providing ample illumination. This makes them an eco-friendly lighting option that can help reduce energy costs and environmental impact.
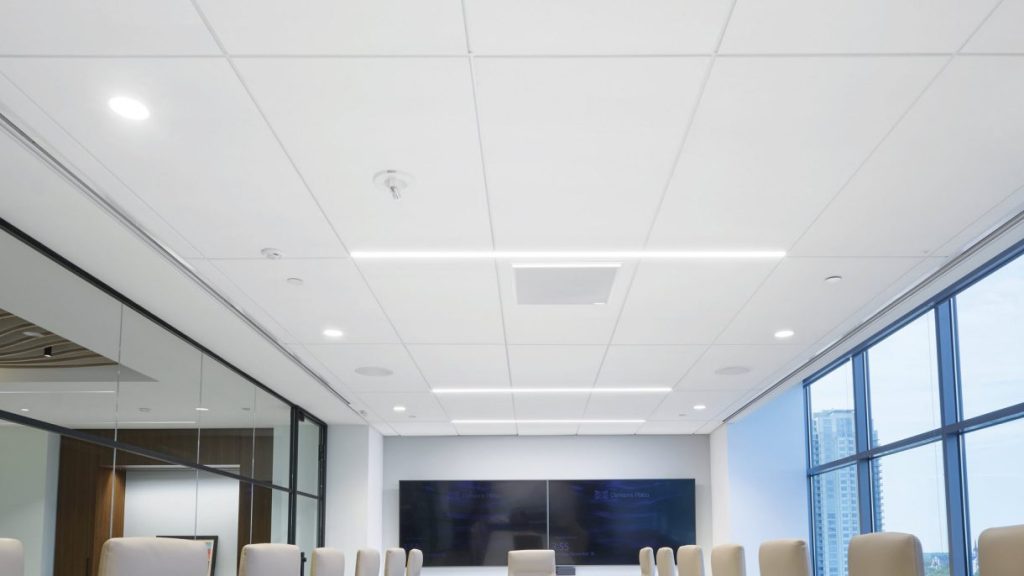
- Even Illumination: One of the key advantages of fluorescent lighting is its ability to produce uniform and flicker-free illumination across a large area. Suspended ceiling fluorescent lights distribute light evenly, reducing glare and shadows for a comfortable and visually pleasing environment.
- Long Lifespan: Fluorescent tubes have a longer lifespan compared to incandescent bulbs, lasting up to 10,000 hours or more with proper maintenance. This reduces the frequency of bulb replacements and lowers maintenance costs for commercial and residential properties.
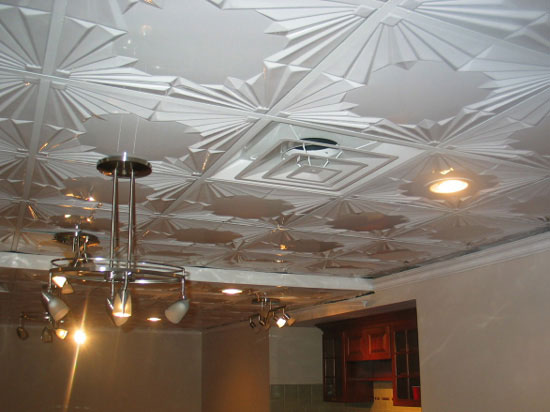
- Versatility: Suspended ceiling fluorescent lights come in a variety of styles and configurations, allowing for versatile design possibilities. Whether you prefer sleek and modern fixtures or traditional and decorative designs, there are options available to complement any space.
Installation and Maintenance
Installing suspended ceiling fluorescent lights requires careful planning and attention to detail to ensure optimal performance and safety. Here are some essential steps to follow:
- Prepare the Ceiling Grid: Before installing the lights, ensure that the ceiling grid is properly aligned and securely fastened. Make any necessary adjustments to accommodate the size and layout of the light fixtures.
- Mount the Fixtures: Attach the fluorescent light fixtures to the ceiling grid using the provided mounting hardware. Ensure that the fixtures are level and evenly spaced for uniform lighting distribution.
- Connect the Wiring: Follow the manufacturer’s instructions to wire the fixtures to the electrical system. Be sure to turn off the power supply before making any electrical connections and consult a licensed electrician if necessary.
- Test the Lights: Once the installation is complete, test the lights to ensure they are functioning correctly. Check for any flickering, buzzing, or dimming issues and address them promptly.
- Regular Maintenance: To maintain optimal performance, clean the light fixtures regularly to remove dust and debris buildup. Replace fluorescent tubes as needed to prevent dimming or flickering.
Creative Ideas for Using Suspended Ceiling Fluorescent Lights
- Office Lighting: Create a bright and productive work environment by installing suspended ceiling fluorescent lights in office spaces. Opt for recessed fixtures for a streamlined look or decorative pendant lights for added visual interest.
- Retail Displays: Illuminate retail displays and merchandise with strategically placed fluorescent lights. Use track lighting systems or adjustable spotlights to highlight products and attract customers’ attention.
- Classroom Lighting: Enhance learning environments with suspended ceiling fluorescent lights in classrooms and educational facilities. Choose fixtures with diffusers to reduce glare and provide comfortable illumination for students and teachers.
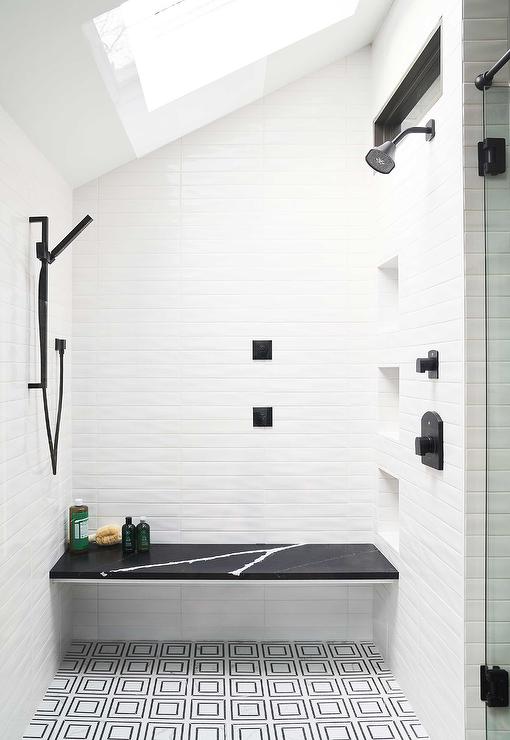
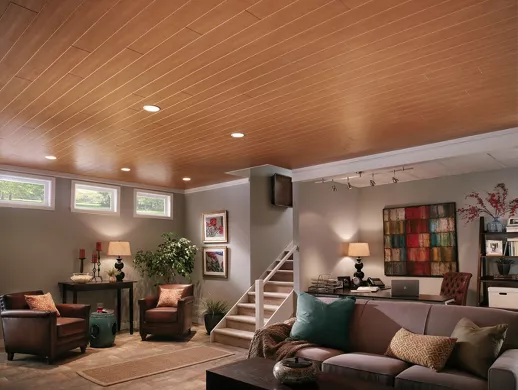
- Residential Lighting: Incorporate suspended ceiling fluorescent lights into residential spaces such as kitchens, bathrooms, and basements. Install dimmable fixtures to create mood lighting or bright task lighting as needed.
Read too: Exploring the Efficiency of Radiant Ceiling Heater Electric: A Comprehensive Guide
Conclusion
Suspended ceiling fluorescent light offer a versatile, energy-efficient, and cost-effective lighting solution for various indoor environments. Whether used in offices, retail stores, classrooms, or residential spaces, these lights provide even illumination and enhance the aesthetic appeal of any room. By understanding their benefits, installation process, and creative applications, you can transform your space with stylish and functional lighting solutions.