Ceiling Grid Wire Hanger: Essential Guide for Installation and Maintenance

Ceiling grid wire hangers play a crucial role in the installation and maintenance of suspended ceiling systems. Whether you are setting up a new grid ceiling or repairing an existing one, understanding how to use and maintain these hangers effectively is vital. In this comprehensive guide, we’ll explore everything you need to know about ceiling grid wire hanger, including their types, installation methods, and maintenance tips.

Ceiling Grid Wire Hangers

What Are Ceiling Grid Wire Hangers?

Ceiling grid wire hangers are metal wires used to support and stabilize the framework of a suspended ceiling system. These hangers ensure that the ceiling grid remains securely in place and can handle the weight of ceiling tiles, lights, and other fixtures. Typically made from galvanized steel or other durable metals, ceiling grid wire hangers are essential for maintaining the structural integrity of ceiling installations.

Types of Ceiling Grid Wire Hangers

There are several types of ceiling grid wire hangers, each designed for specific purposes and installation scenarios:

  1. Pre-Cut Wire Hangers: Pre-cut wire hangers come in standardized lengths and are ready to use straight out of the package. They are ideal for quick installations where precise measurements are not critical.
  2. Adjustable Wire Hangers: Adjustable wire hangers offer flexibility in installation, allowing you to modify the length of the hanger to fit various ceiling heights. They are particularly useful in situations where exact measurements are required or when dealing with uneven ceiling surfaces.
  3. Drop Wire Hangers: Drop wire hangers are designed to provide vertical support to the ceiling grid. They are typically used in conjunction with other suspension systems, such as threaded rods, to secure the grid in place.
  4. J-Hooks: J-hooks are shaped like the letter “J” and are used to secure wires or cables along the ceiling grid. They help organize and support electrical and data cables, preventing them from sagging or becoming entangled.
  5. Loop Hangers: Loop hangers form a loop at the end of the wire and are used to anchor the ceiling grid to structural components, such as beams or rafters. They provide a stable attachment point for the grid system.

Installation of Ceiling Grid Wire Hangers

Proper installation of ceiling grid wire hangers is crucial for ensuring a stable and durable ceiling system. Follow these steps for an effective installation:

1. Plan and Measure

Before installing the ceiling grid wire hangers, it’s important to plan the layout of your ceiling grid. Measure the dimensions of the room and determine the placement of the grid system. Mark the locations where the hangers will be installed.

2. Install Main Tees

The main tees are the primary support beams of the ceiling grid. Secure them in place according to the manufacturer’s instructions. Ensure that they are level and properly aligned.

3. Attach Wire Hangers

  1. Determine Hanger Placement: Based on your measurements and the layout of the main tees, decide where to place the wire hangers. Typically, hangers should be spaced 4 to 6 feet apart along the length of the main tees.
  2. Cut and Position Wire: If using pre-cut wire hangers, position them vertically from the ceiling to the main tees. For adjustable hangers, cut the wire to the desired length and attach it to the ceiling and main tees.
  3. Secure the Wire: Use wire clips or fasteners to secure the wire hangers to the ceiling structure. Make sure the wire is tightly secured and does not move.
  4. Attach to Main Tees: Connect the wire hangers to the main tees using appropriate fasteners or clips. Ensure that the connection is secure and that the grid is properly supported.

4. Check Alignment and Stability

After attaching all the wire hangers, check the alignment and stability of the ceiling grid. Ensure that the grid is level and that there are no loose or wobbly sections. Adjust the hangers as needed to achieve proper alignment.

Read too: Bathroom Flooded Through the Ceiling: A Comprehensive Guide

Maintenance Tips for Ceiling Grid Wire Hangers

Regular maintenance of ceiling grid wire hangers is essential to ensure the long-term stability and safety of your ceiling system. Follow these tips for effective maintenance:

1. Inspect Regularly

Periodically inspect the ceiling grid wire hangers for signs of wear or damage. Check for rust, corrosion, or any signs of deterioration. Replace any damaged hangers immediately to prevent structural issues.

2. Tighten Loose Hangers

Check for any loose wire hangers and tighten them as needed. Loose hangers can cause the ceiling grid to sag or shift, leading to potential safety hazards.

3. Clear Debris

Keep the area around the ceiling grid clean and free of debris. Accumulated dust or debris can affect the performance of the hangers and the stability of the ceiling grid.

4. Address Water Damage

If you notice any signs of water damage or leaks, address the issue promptly. Water damage can weaken the ceiling grid and wire hanger, leading to potential structural problems.

5. Follow Manufacturer’s Guidelines

Always follow the manufacturer’s guidelines for installation and maintenance. Different ceiling grid systems may have specific requirements for wire hangers and their placement.

Conclusion

Ceiling grid wire hanger are a fundamental component of suspended ceiling systems, providing essential support and stability. Understanding the different types of hangers and how to install and maintain them is crucial for ensuring a secure and long-lasting ceiling installation. By following the guidelines and maintenance tips outlined in this article, you can ensure that your ceiling grid remains in excellent condition and performs effectively over time.
Armstrong Prelude Ceilings Grid Systems: Exploring the Versatility

When it comes to creating stylish and functional ceilings, Armstrong Prelude Ceiling Grid systems stand out as a versatile solution. Whether you’re renovating an office space, commercial building, or residential property, Armstrong Prelude Ceiling Grid offers a wide range of benefits and customization options. In this comprehensive guide, we’ll delve into the features, installation process, and applications of Armstrong Prelude Ceilings Grid, providing you with valuable insights to enhance your next ceiling project.

Armstrong Prelude Ceiling Grid

Introducing Armstrong Prelude Ceiling Grid

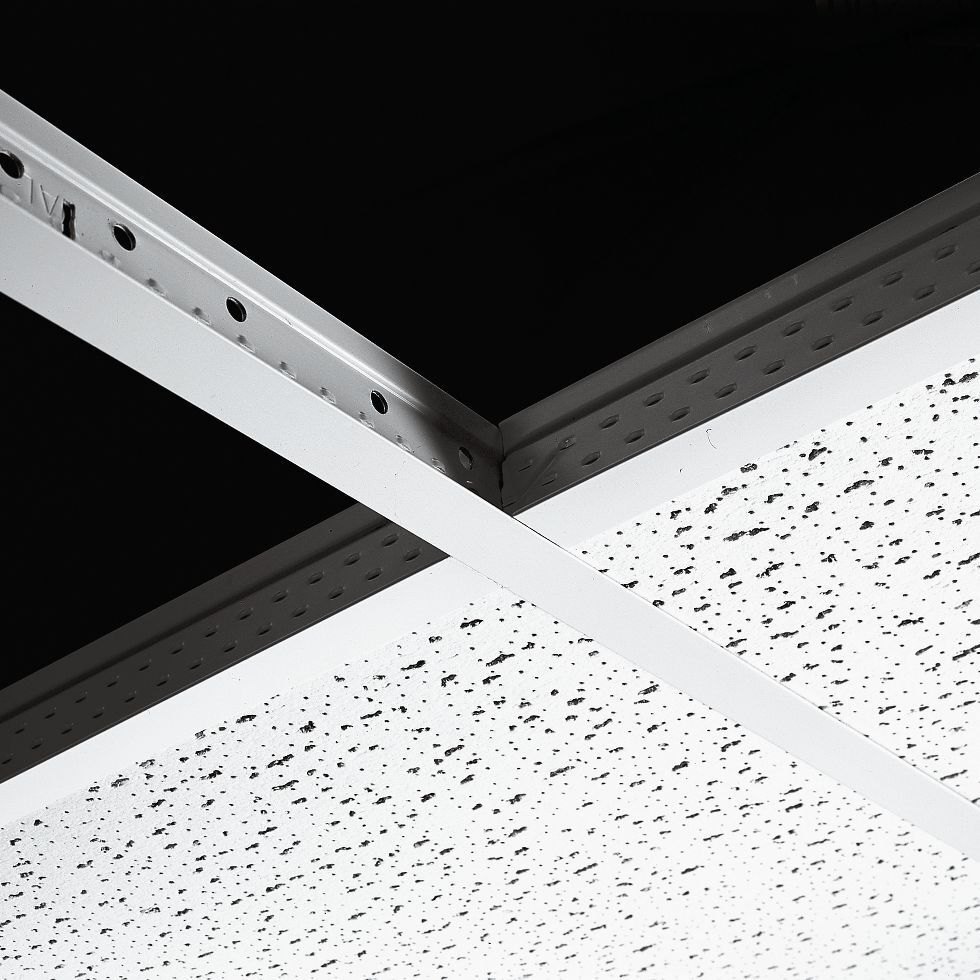
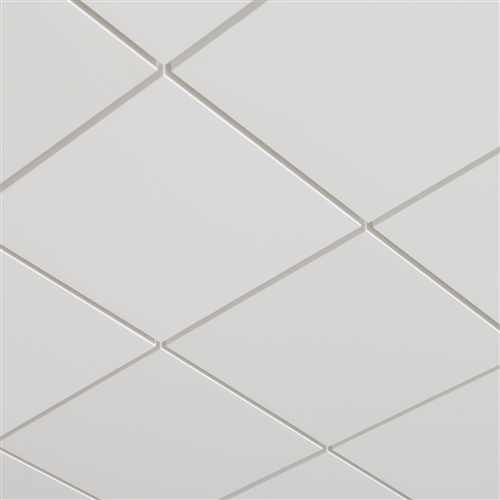
Armstrong Prelude Ceiling Grid is a popular choice among architects, contractors, and homeowners due to its durability, flexibility, and ease of installation. Designed to support various ceiling panel types, including acoustical panels, wood planks, and metal tiles, Prelude Ceiling Grid provides a stable foundation for creating visually stunning ceilings in any environment.

Features and Benefits

  • Durable Construction: Made from high-quality galvanized steel, Armstrong Prelude Ceiling Grid offers exceptional strength and longevity, ensuring long-lasting performance.
  • Versatile Design: With a wide range of profiles, colors, and finishes available, Prelude Ceiling Grid allows for endless design possibilities, from traditional to contemporary styles.
  • Easy Installation: The innovative clip-and-hook system of Armstrong Prelude Ceiling Grid simplifies the installation process, reducing labor time and costs.
  • Seismic Performance: Armstrong Prelude Ceiling Grid systems are engineered to withstand seismic movements, making them suitable for use in earthquake-prone regions.
  • Integrated Solutions: Prelude Ceiling Grid is compatible with Armstrong’s extensive range of ceiling panels and accessories, providing a complete ceiling solution for any project.

Applications

Armstrong Prelude Ceiling Grid systems are suitable for various applications, including:

  1. Commercial Spaces: Offices, retail stores, restaurants, and healthcare facilities benefit from the aesthetic appeal and functionality of Armstrong Prelude Ceiling Grid.
  2. Educational Institutions: Schools, colleges, and universities can create conducive learning environments with the acoustic performance of Prelude Ceiling Grid.
  3. Residential Properties: Homeowners appreciate the versatility and customizable options of Armstrong Prelude Ceiling Grid for enhancing living spaces.

Installation Process

Installing Armstrong Prelude Ceiling Grid is a straightforward process that can be completed in a few simple steps:

  1. Planning and Measurement: Determine the layout of the ceiling grid and measure the space accurately.
  2. Assembly: Connect the main runners and cross tees to form the grid framework, ensuring proper alignment and spacing.
  3. Panel Installation: Install ceiling panels within the grid framework, securing them in place according to manufacturer guidelines.
  4. Finishing Touches: Add trim components, lighting fixtures, and other accessories to complete the ceiling design.

Conclusion

Armstrong Prelude Ceilings Grid offers a versatile, durable, and visually appealing solution for a wide range of ceiling applications. Whether you’re renovating a commercial space or upgrading your home, Prelude Ceiling Grid provides the flexibility and performance you need to achieve stunning results.

Read too: Exploring the Benefits and How-Tos of DIY Ceiling Cassette Mini Split Installation: Revolutionizing Comfort

Unlocking the Potential of 9 16 Ceiling Grid: A Comprehensive Guide to Installation and Benefits

In the realm of interior design and architecture, every detail matters. From the color of the walls to the flooring, each element contributes to the overall aesthetic and functionality of a space. One often-overlooked aspect is the ceiling grid, specifically the 9 16 ceiling grid. While it may seem insignificant compared to other design elements, the ceiling grid plays a crucial role in both commercial and residential settings. In this comprehensive guide, we will delve into the world of 9 16 ceiling grids, exploring their installation process, benefits, and design possibilities.

9 16 Ceiling Grid

Understanding the 9 16 Ceiling Grid

The 9 16 ceiling grid, also known as the 15/16-inch ceiling grid, refers to the standard size of ceiling grid systems commonly used in commercial and residential buildings. The term “9 16” denotes the width of the grid’s main runners, which measure 9/16 of an inch. These grids are designed to accommodate various ceiling tiles, providing a versatile solution for different spaces.

Installation Process

Installing a 9 16 ceiling grid requires careful planning and execution to ensure optimal functionality and aesthetics. Here are the basic steps involved in the installation process:

  1. Preparation: Before beginning the installation, assess the ceiling’s condition and ensure that it can support the weight of the grid and tiles. Clear the area of any obstacles and gather all necessary tools and materials.
  2. Layout and Measurement: Determine the layout of the ceiling grid, taking into account the dimensions of the space and any obstructions such as lights or vents. Use a chalk line or laser level to mark the layout on the ceiling accurately.
  3. Installation of Main Runners: Start by installing the main runners along the perimeter of the room, ensuring they are straight and securely attached to the ceiling. Use screws or clips to secure the runners in place, following the manufacturer’s instructions.
  4. Installation of Cross Tees: Once the main runners are in place, install the cross tees to create the grid pattern. Ensure that the tees are aligned correctly and securely locked into the main runners to prevent sagging.
  5. Placement of Ceiling Tiles: With the grid framework in place, install the ceiling tiles by inserting them into the grid openings. Ensure a snug fit to prevent any gaps or unevenness in the ceiling surface.
  6. Finishing Touches: Once all the tiles are in place, make any necessary adjustments to ensure a uniform appearance. Trim any excess tile edges if needed, and clean the ceiling surface to remove any dust or debris.

Benefits of 9 16 Ceiling Grid

The 9 16 ceilings grid offers several advantages that make it a popular choice for both commercial and residential applications:

  1. Versatility: The standard size of the 9 16 ceiling grid allows for compatibility with a wide range of ceiling tiles, giving designers flexibility in choosing the right style and material for their project.
  2. Ease of Installation: Compared to other ceiling grid systems, the 9 16 grid is relatively easy to install, making it a cost-effective option for both DIY enthusiasts and professional installers.
  3. Accessibility: The modular nature of the ceiling grid system makes it easy to access the space above the ceiling for maintenance or repairs, ensuring long-term durability and functionality.
  4. Aesthetic Appeal: With its clean lines and uniform grid pattern, the 9 16 ceilings grid adds a polished and professional look to any space, enhancing its overall aesthetic appeal.

Design Possibilities

Beyond its practical benefits, the 9 16 ceiling grids opens up a world of design possibilities for architects and interior designers. By combining different tile materials, colors, and patterns, designers can create custom ceiling designs that complement the overall theme of the space. Whether it’s a sleek and modern office environment or a cozy residential setting, the versatility of the 9 16 ceiling grid allows for endless creative expression.

Conclusion

In conclusion, the 9 16 ceiling grid is a versatile and practical solution for enhancing the aesthetic appeal and functionality of any interior space. From its ease of installation to its design flexibility, this standard grid size offers numerous benefits for both commercial and residential applications. Whether you’re renovating an existing space or designing a new one from scratch, consider incorporating the 9 16 ceilings grid into your project for a stylish and functional finish.

Read too: Discovering the Charm of Nautical Outdoor Ceiling Fans for Your Coastal Retreat: Sail into Style