Ceiling fans are more than just a way to cool your home; they are now an essential part of interior design. The Matthews Irene Ceiling Fans stands out as a top choice for those who want a fan that combines modern aesthetics with outstanding performance. In this article, we’ll explore everything you need to know about the Matthews Irene Ceiling Fan, including its features, benefits, styles, and tips for selecting the right model for your space.
Why Choose the Matthews Irene Ceiling Fan?
The Matthews Irene Ceiling Fan is known for its unique design and innovative features. Here’s why it has gained popularity among homeowners and interior designers alike:
1. Exceptional Design
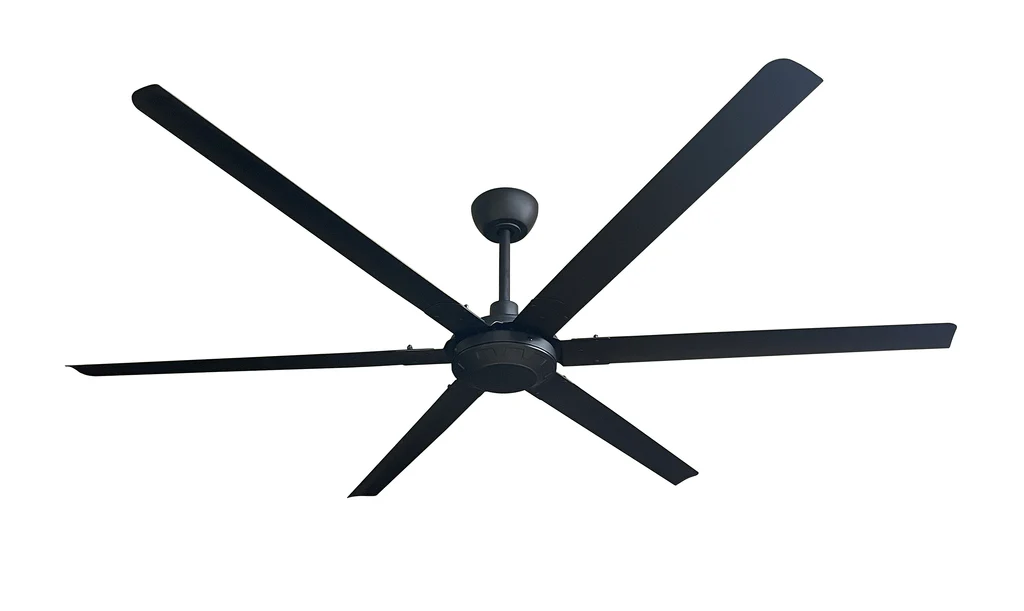
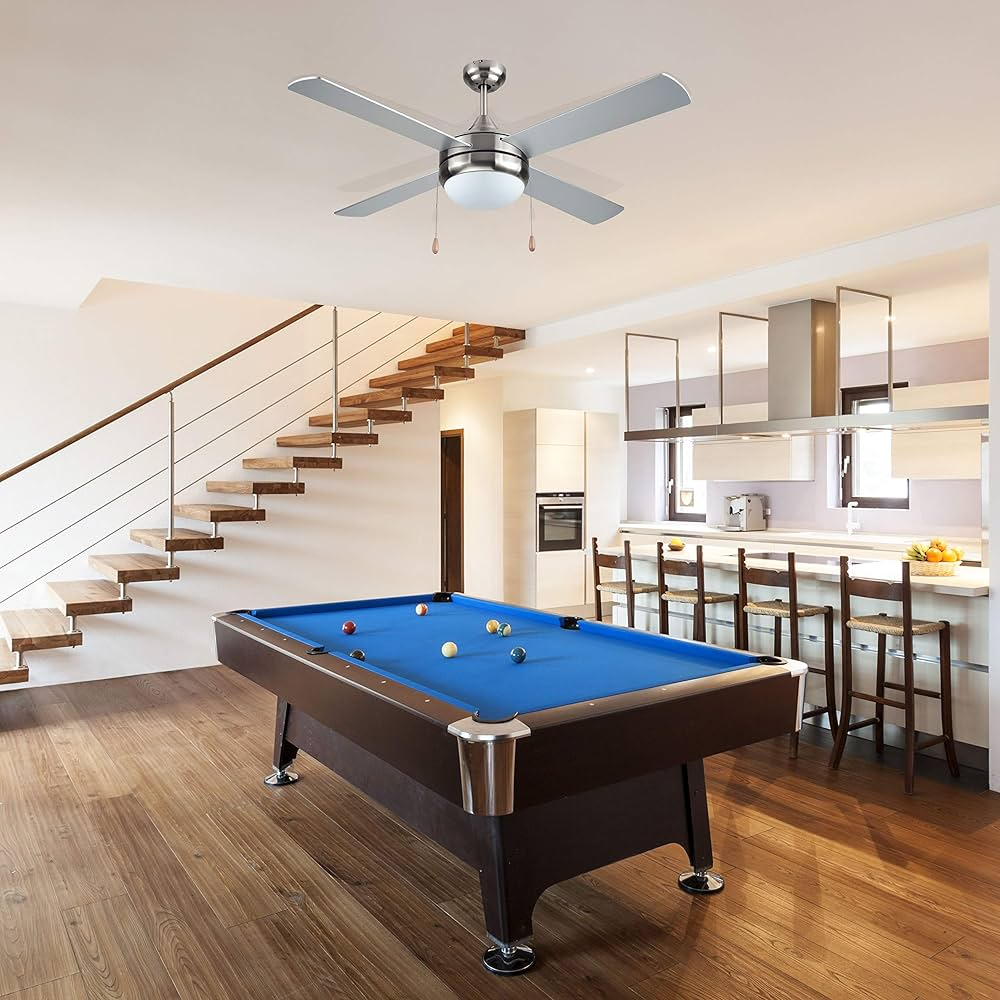
The fan features a sleek, modern design with elegantly curved blades. Its minimalist look makes it a perfect fit for contemporary, industrial, or even rustic interiors.
2. Energy Efficiency
Equipped with energy-efficient DC motors, the Matthews Irene Ceiling Fan helps reduce electricity costs without compromising on performance.
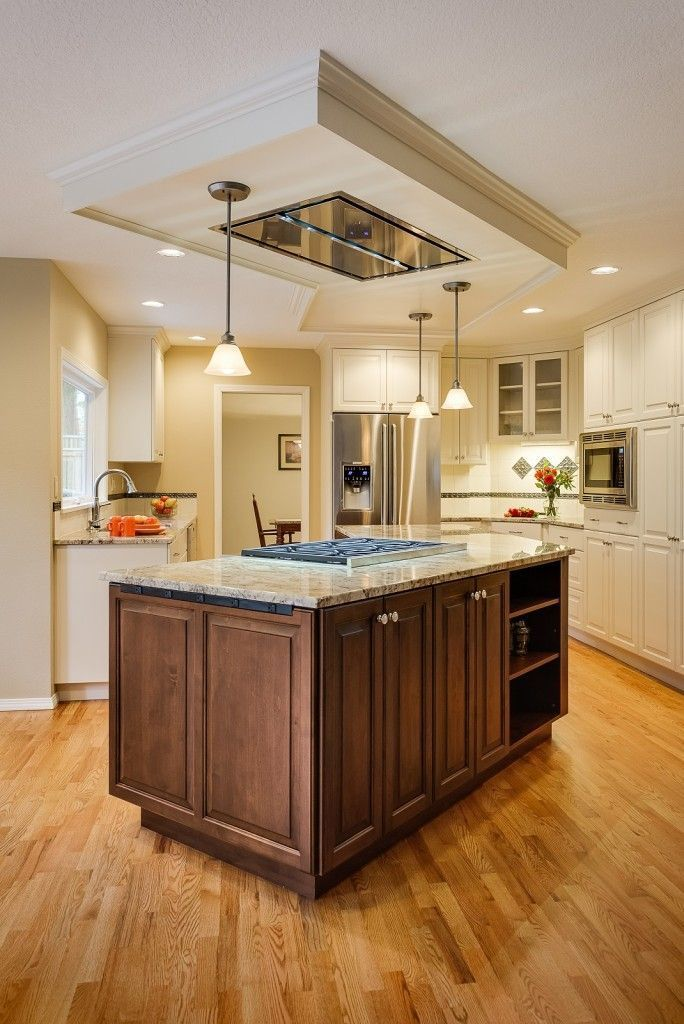
Read too: Kitchen Lighting For A Vaulted Ceiling: Illuminating Your Space with Style and Functionality
3. Quiet Operation
Unlike traditional ceiling fans, the Matthews Irene operates quietly, making it an excellent choice for bedrooms, living rooms, or offices.
4. High-Quality Materials
Built with durable materials such as wood and aluminum, the Matthews Irene Ceiling Fan ensures long-lasting performance and adds a touch of luxury to any space.
5. Multiple Size Options
Available in various blade spans, the Matthews Irene Ceiling Fan suits rooms of different sizes, from compact spaces to large open areas.
Key Features of the Matthews Irene Ceiling Fan
When choosing a ceiling fan, understanding its features can help you make an informed decision. Here are the standout features of the Matthews Irene Ceiling Fan:
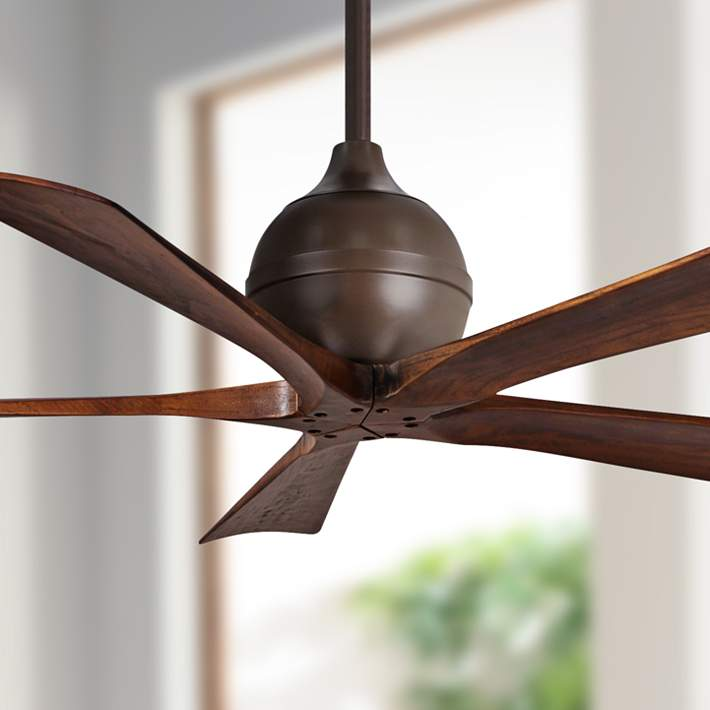
1. Blade Options
- Material: The fan’s blades are typically made from high-quality materials such as solid wood or aluminum.
- Shape: The elegantly curved blades mimic the appearance of airplane propellers, offering a unique aesthetic.
- Finishes: Choose from a variety of finishes, including walnut, matte black, and brushed nickel.
2. Motor Efficiency
The Matthews Irene Ceiling Fan features a DC motor, known for its energy-saving capabilities and superior performance compared to traditional AC motors.
3. Multiple Speed Settings
Enjoy complete control with several speed options, allowing you to customize airflow to your liking.
4. Reversible Functionality
The reversible motor enables year-round use by circulating warm air during winter and cool air in summer.
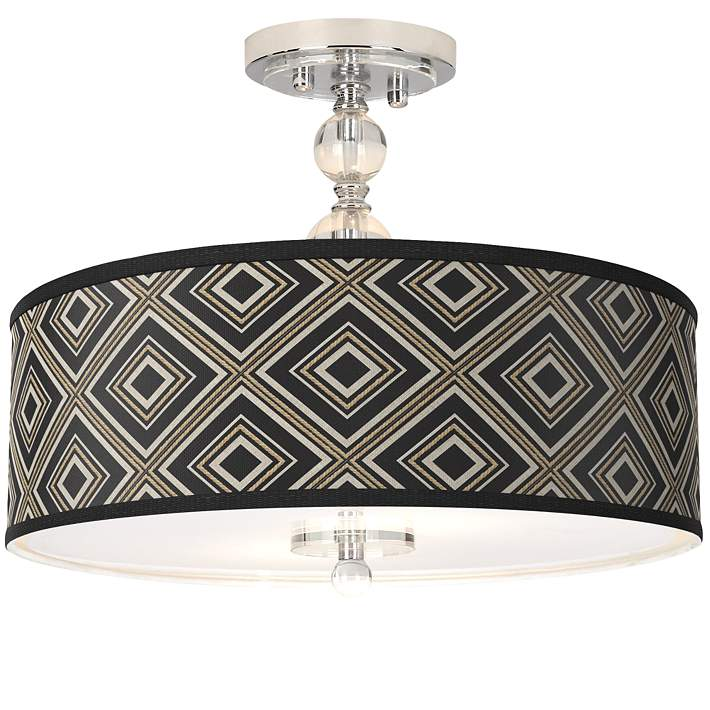
5. Integrated LED Lighting
Some models come with integrated LED light kits, providing illumination and ventilation in a single unit.
Matthews Irene Ceiling Fan Styles
The Matthews Irene Ceiling Fan comes in various styles to match different interior designs. Here’s a look at some popular options:
1. Irene-3H
This model features three blades and a hugger design, ideal for spaces with low ceilings. Its minimalist look is perfect for modern homes.
2. Irene-5H
With five blades and a slightly larger profile, this fan offers enhanced airflow and works well in larger rooms.
3. Irene-3HLK
This version includes an LED light kit, making it a practical choice for areas where additional lighting is needed.
4. Outdoor Models
For patios and outdoor spaces, the Matthews Irene Ceiling Fan comes in damp-rated models that withstand humidity and outdoor conditions.
Matthews Irene Ceiling Fan: Installation Tips
Installing the Matthews Irene Ceiling Fan is straightforward, but here are some tips to ensure optimal performance and safety:
1. Choose the Right Size
Select a blade span that matches the size of your room. For example:
- Small rooms: 42–48 inches
- Medium rooms: 48–56 inches
- Large rooms: 56 inches or larger
2. Position the Fan Correctly
Ensure the fan is positioned at the center of the room and at least 7 feet above the floor for safety.
3. Hire a Professional
If you’re not confident in your DIY skills, consider hiring a professional electrician for installation.
4. Test the Fan
After installation, test the fan at different speeds to ensure it operates smoothly and quietly.
Matthews Irene Ceiling Fan Maintenance
Regular maintenance can prolong the lifespan of your ceiling fan and ensure it operates efficiently:
1. Clean the Blades
Dust the blades regularly using a microfiber cloth to prevent buildup that can affect performance.
2. Check the Motor
Inspect the motor and other components for wear and tear. Tighten any loose screws or connections.
3. Lubricate as Needed
Although the Matthews Irene Ceiling Fan typically requires minimal maintenance, lubricate moving parts if specified in the user manual.
4. Replace LED Lights
If your fan includes an integrated LED light kit, replace the bulbs as needed to maintain optimal lighting.
Matthews Irene Ceiling Fan: Pros and Cons
Pros
- Stylish and modern design
- Energy-efficient DC motor
- Quiet operation
- Versatile blade and finish options
- Reversible motor for year-round use
Cons
- Higher price point compared to standard fans
- Limited availability in some regions
Where to Buy the Matthews Irene Ceiling Fan
The Matthews Irene Ceiling Fan is available at various online retailers and specialty lighting stores. Here are some popular options:
- Amazon: Offers competitive pricing and fast shipping.
- Wayfair: A great place to find different models and finishes.
- Specialty Stores: Visit lighting or home improvement stores for expert advice and installation services.
Why the Matthews Irene Ceiling Fan is a Great Investment
The Matthews Irene Ceiling Fans is more than just a cooling solution—it’s a design statement. Its combination of form and function makes it a valuable addition to any home. While the initial cost may be higher, its durability, energy efficiency, and timeless appeal ensure you get excellent value for your investment.