Installing a ceiling fan on a vaulted ceiling can significantly enhance comfort and airflow in your home, providing efficient cooling and ventilation in high-ceilinged rooms. In this comprehensive guide, we’ll explore the process of installing a ceiling fan on a vaulted ceiling, along with design considerations and benefits to help you make the most of your elevated living space.
Understanding Ceiling Fans on Vaulted Ceilings
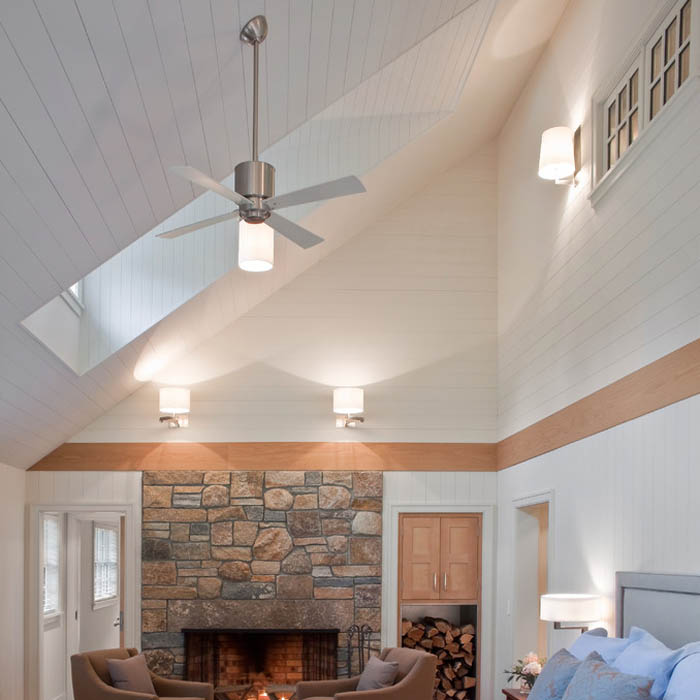
Ceiling fans are popular additions to homes with vaulted ceilings, as they help circulate air and maintain a comfortable temperature throughout the room. However, installing a ceiling fans on a vaulted ceiling requires careful planning and consideration to ensure proper functionality and aesthetics.
Read too: Discovering the Charm of Nautical Outdoor Ceiling Fans for Your Coastal Retreat: Sail into Style
Installation Guide
Follow these steps to install a ceiling fans on a vaulted ceiling:
1. Determine Mounting Method
- Choose between a standard downrod mount or an angled mount adapter, depending on the slope and height of your vaulted ceiling.
- Measure the angle of the ceiling slope to determine the appropriate mounting method for your ceiling fan.
2. Select the Right Size Fan
- Choose a ceiling fans size that complements the scale of your room and the height of your vaulted ceiling.
- Consider the blade span and motor size to ensure optimal airflow and performance.
3. Locate Ceiling Joists
- Use a stud finder to locate ceiling joists or support beams in the vaulted ceiling where you plan to install the ceiling fan.
- Ensure that the mounting location provides sufficient support for the weight of the fan and minimizes vibration.
4. Install Mounting Bracket
- Attach the mounting bracket to the ceiling joist using heavy-duty screws or bolts, following the manufacturer’s instructions.
- Use a level to ensure that the mounting bracket is installed evenly and securely.
5. Assemble and Install the Fan
- Assemble the ceiling fan according to the manufacturer’s instructions, attaching the blades, motor housing, and light fixture (if applicable).
- Carefully lift the assembled fan onto the mounting bracket and secure it in place using the provided hardware.
Design Considerations for Ceiling Fans on Vaulted Ceilings
When choosing a ceiling fans for a vaulted ceiling, consider the following design factors:
- Blade Pitch: Opt for a ceiling fan with a steeper blade pitch to maximize airflow efficiency on a vaulted ceiling.
- Style and Finish: Select a fan style and finish that complements the decor and architectural features of your room.
- Remote Control or Wall Switch: Choose a ceiling fan with remote control or wall switch capabilities for convenient operation on a vaulted ceiling.
Benefits of Ceiling Fans on Vaulted Ceilings
Installing a ceiling fan on a vaulted ceiling offers several benefits, including:
- Improved Air Circulation: Ceiling fans help distribute air evenly throughout the room, promoting better ventilation and comfort.
- Energy Efficiency: By circulating air and reducing reliance on air conditioning, ceiling fans can help lower energy costs and consumption.
- Enhanced Aesthetics: A well-chosen ceiling fan can serve as a stylish focal point in a room with a vaulted ceiling, enhancing its overall aesthetic appeal.
Conclusion
Installing a ceiling fan on a vaulted ceiling is a practical and stylish way to enhance comfort and airflow in your home. By following the installation tips and design considerations outlined in this guide, you can enjoy the benefits of efficient ventilation and cooling while adding a touch of elegance to your elevated living space.