A brown patch on ceiling is more than just an unsightly blemish; it can be a sign of underlying problems that require immediate attention. Homeowners often overlook these patches, thinking they are merely cosmetic issues. However, they can indicate serious structural concerns or damage that needs to be addressed. In this article, we will explore the causes of brown patches on ceilings, how to identify the problem, possible solutions, and preventive measures to avoid future occurrences.
Understanding the Causes of Brown Patches on Ceilings
1. Water Damage
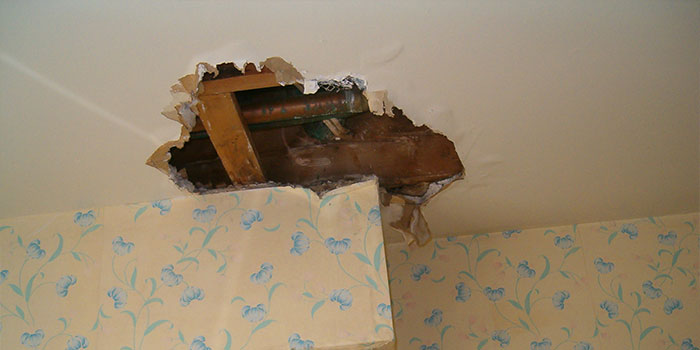
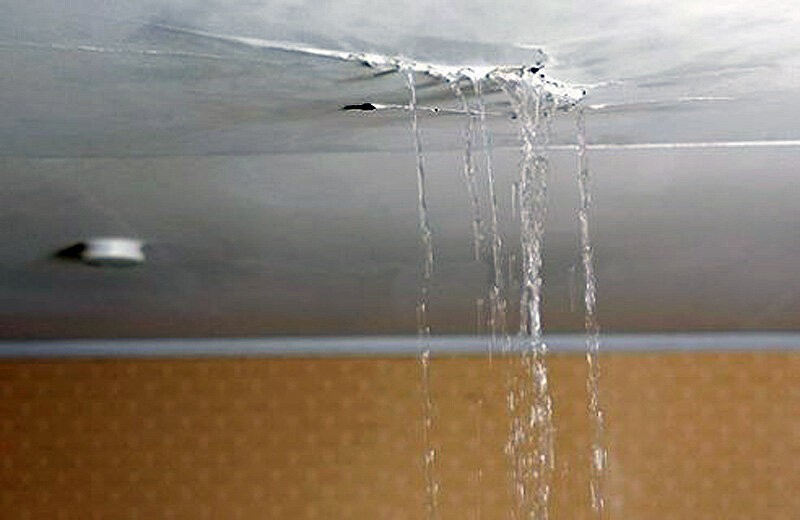
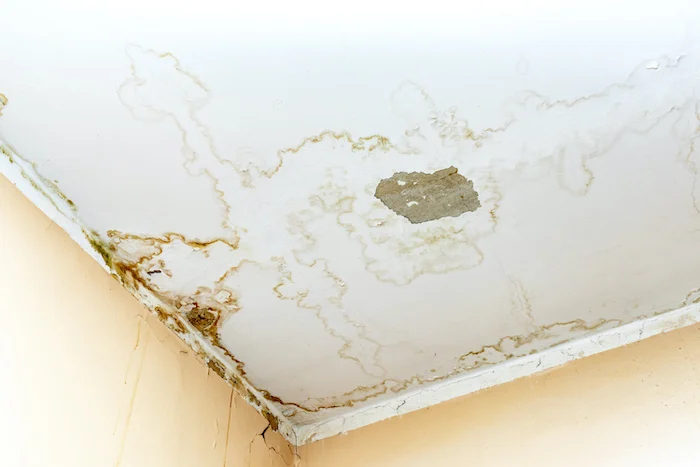
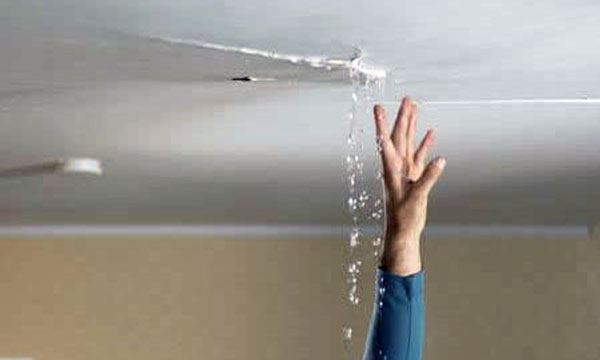
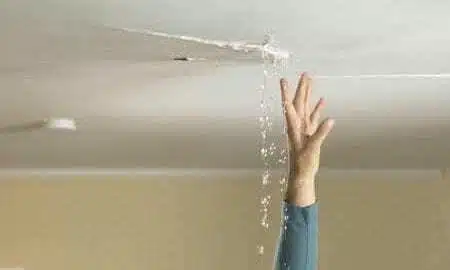
The most common cause of a brown patch on the ceiling is water damage, usually resulting from leaks. Water can seep through ceilings from various sources, including:
- Roof Leaks: Damaged shingles, flashing, or gutters can allow water to enter the roof and eventually reach the ceiling.
- Plumbing Issues: Burst pipes, faulty plumbing connections, or overflowing toilets in upper levels can lead to leaks that manifest as brown patches on ceilings below.
- Condensation: Poor ventilation can lead to excessive humidity, causing condensation to form on pipes and fixtures, eventually dripping onto the ceiling.
Read too: Shiplap Ceiling in Kitchen: A Timeless Trend for a Stylish and Cozy Space
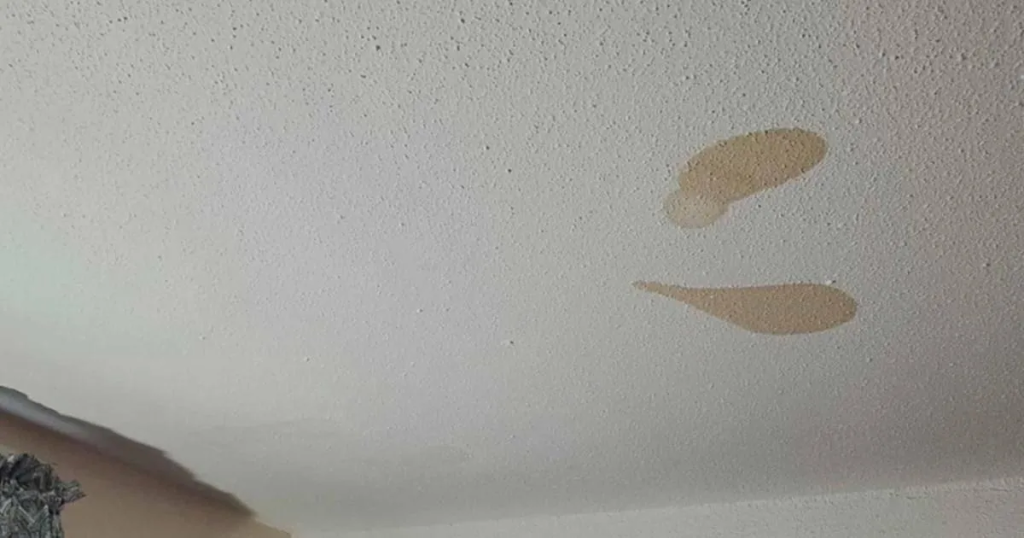
Identifying Water Damage
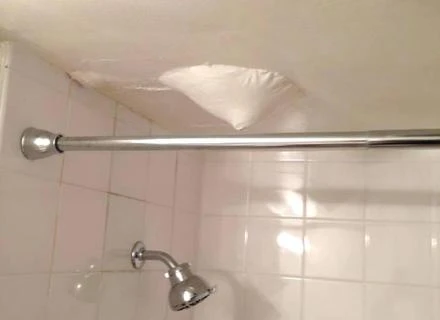
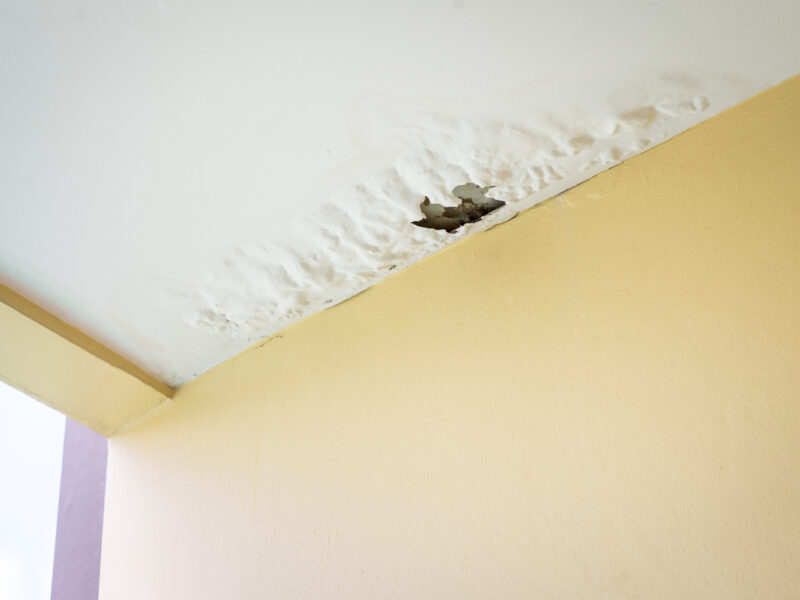
Water damage typically presents as discolored patches, often brown or yellow in color. The texture of the affected area may feel soft or sponge-like, indicating moisture intrusion. If you notice any bubbling or peeling paint, this may also be a sign of underlying water damage.
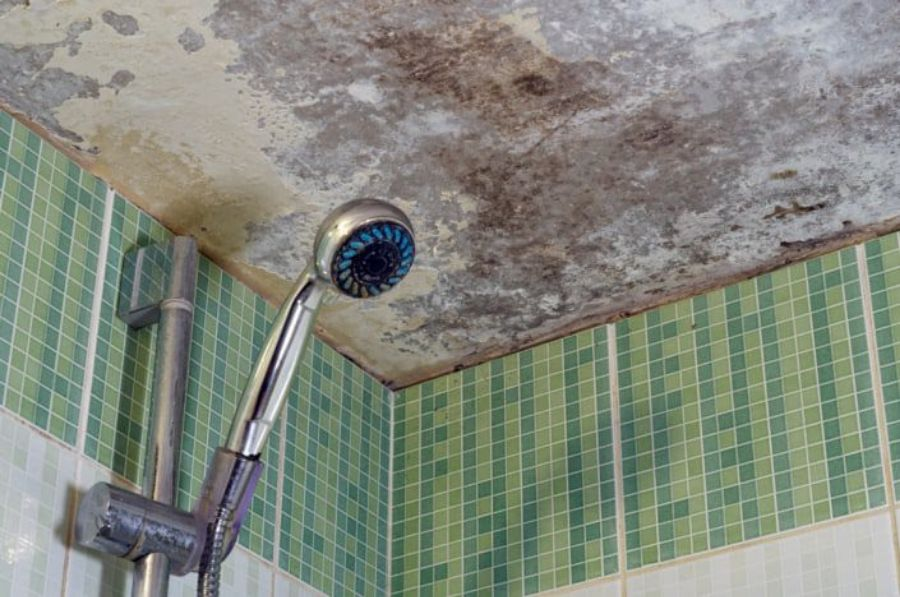
2. Mold Growth
Another potential issue linked to brown patches is mold growth. Mold thrives in damp environments, making it more likely to develop in areas with existing water damage. Not only can mold create unsightly brown patches, but it can also pose serious health risks to occupants, particularly those with allergies or respiratory issues.
Identifying Mold Issues
If you suspect that mold is contributing to the brown patch on your ceiling, look for:
- A musty odor
- Dark spots or clusters, often fuzzy or slimy
- Any signs of water damage, such as peeling paint or wallpaper
3. Smoke or Soot Damage
In homes with fireplaces, stoves, or other sources of combustion, brown patches on ceilings can also result from smoke or soot. Inadequate ventilation during cooking or fireplace use can cause soot to accumulate on ceilings and walls, leading to discoloration.
Identifying Soot Damage
Soot stains are usually dark brown or black and may have a greasy texture. These stains are often found near ceilings, especially in kitchens or living rooms where smoking or cooking occurs.
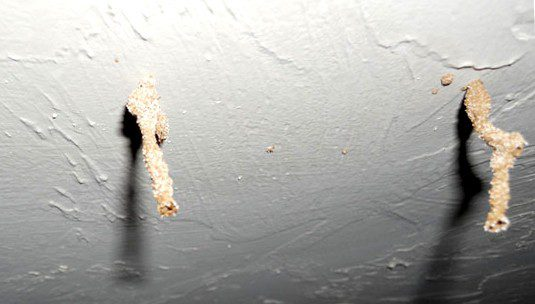
4. Rust
Rust can also contribute to brown patches, particularly if metal fixtures or ducts are present. Over time, moisture can corrode these metal components, leading to rust stains that drip onto the ceiling below.
Identifying Rust Issues
Rust stains are usually reddish-brown and often occur near HVAC vents or metal pipes. Look for signs of moisture accumulation around these areas.
Solutions for Brown Patches on Ceilings
1. Identify and Repair the Source of the Problem
Before attempting to fix the brown patch, it’s crucial to identify and address the underlying issue. Ignoring the cause will only lead to further damage and recurring patches. Here’s how to approach repairs based on the cause:
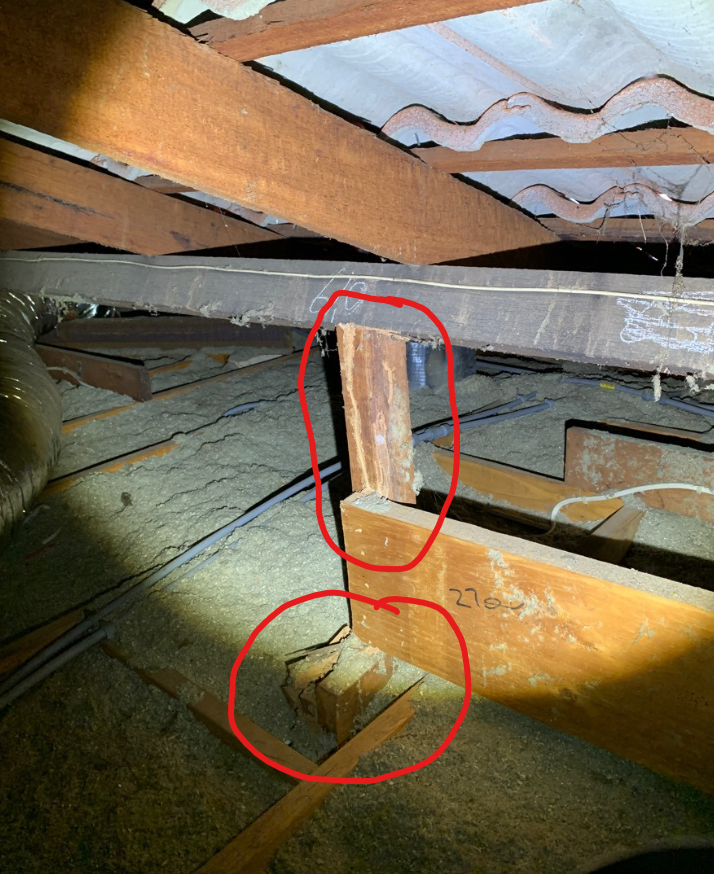
- For Water Damage: Inspect your roof, plumbing, and attic for any signs of leaks or moisture intrusion. Repair any damaged shingles, plumbing, or flashing as needed.
- For Mold: If mold is present, use a mold remediation kit or consult a professional for safe removal. Ensure that the area is properly ventilated to prevent future mold growth.
- For Soot Damage: Clean the area with a solution of water and mild detergent. In severe cases, you may need to repaint the ceiling after thorough cleaning.
- For Rust: Replace any corroded metal fixtures or ducts, and ensure proper insulation to prevent moisture buildup.
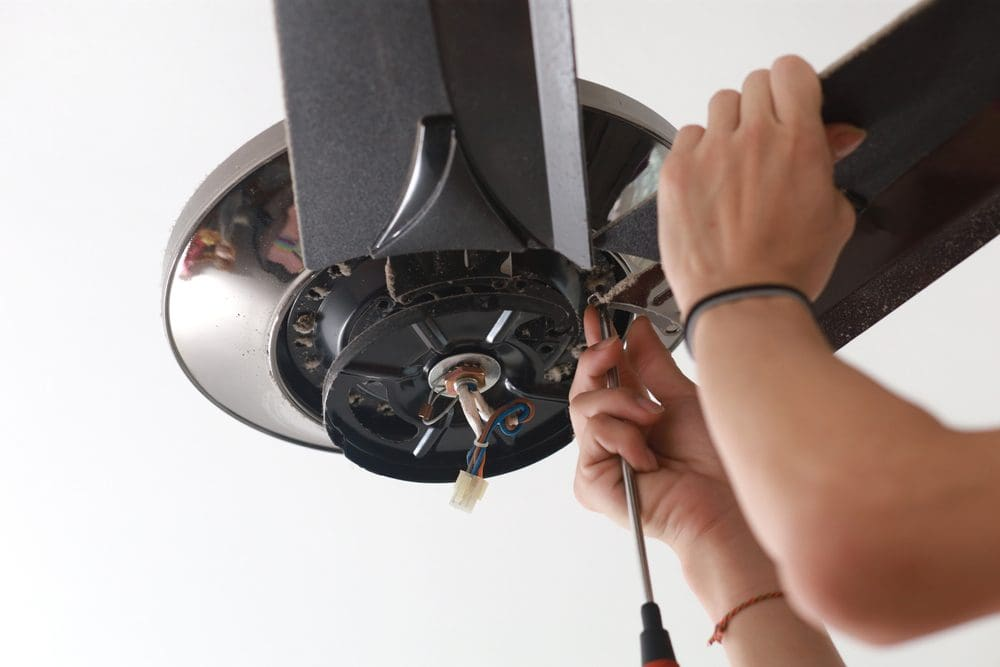
2. Repairing the Ceiling
Once you have addressed the underlying cause of the brown patch, it’s time to repair the ceiling itself. Depending on the extent of the damage, you may need to take the following steps:
Minor Stains
For minor brown stains, you can often use a stain-blocking primer followed by repainting the area:
- Clean the Area: Gently clean the surface with a sponge and water.
- Apply Stain-Blocking Primer: Use a high-quality stain-blocking primer to cover the affected area. This will help prevent the stain from bleeding through the new paint.
- Repaint the Ceiling: Once the primer is dry, repaint the area with ceiling paint that matches the surrounding color.
Major Damage
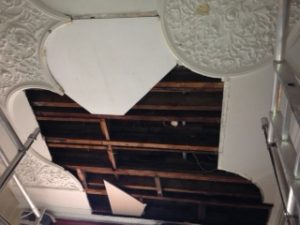
If the damage is extensive or if there are signs of structural issues, you may need to consider more significant repairs:
- Cut Out Damaged Sections: Use a drywall saw to carefully cut out the affected area of the ceiling.
- Replace Drywall: Install new drywall to replace the removed section, securing it with screws to the ceiling joists.
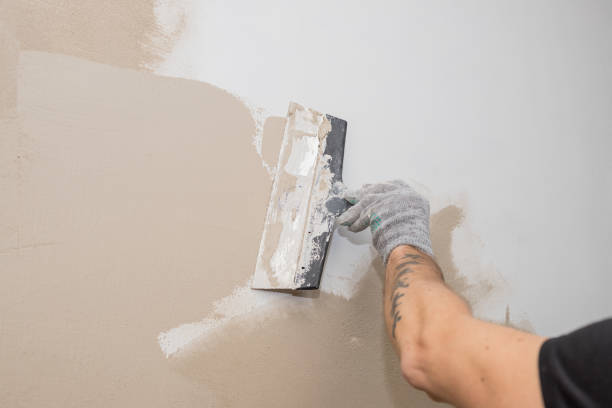
- Tape and Mud: Use joint tape and joint compound to smooth the seams and create a seamless finish.
- Sand and Paint: Sand the repaired area smooth once it is dry and then repaint to match the ceiling.
Preventing Brown Patches on Ceilings
1. Regular Maintenance
Regular home maintenance is key to preventing brown patches on ceilings. Here are some tips:
- Inspect Your Roof: Conduct annual roof inspections to check for missing shingles, cracks, or other damage.
- Check Plumbing: Regularly check your plumbing for leaks and signs of wear, especially around toilets, sinks, and appliances.
- Improve Ventilation: Ensure proper ventilation in kitchens and bathrooms to reduce moisture buildup and condensation.
2. Control Humidity Levels
Excessive humidity can lead to water damage and mold growth. Use the following strategies to control humidity levels in your home:
- Use Dehumidifiers: Place dehumidifiers in high-moisture areas, such as basements or bathrooms, to keep humidity levels in check.
- Ventilate: Use exhaust fans in bathrooms and kitchens to expel moisture-laden air outside.
- Insulate Pipes: Insulate cold water pipes to prevent condensation from forming on their surfaces.
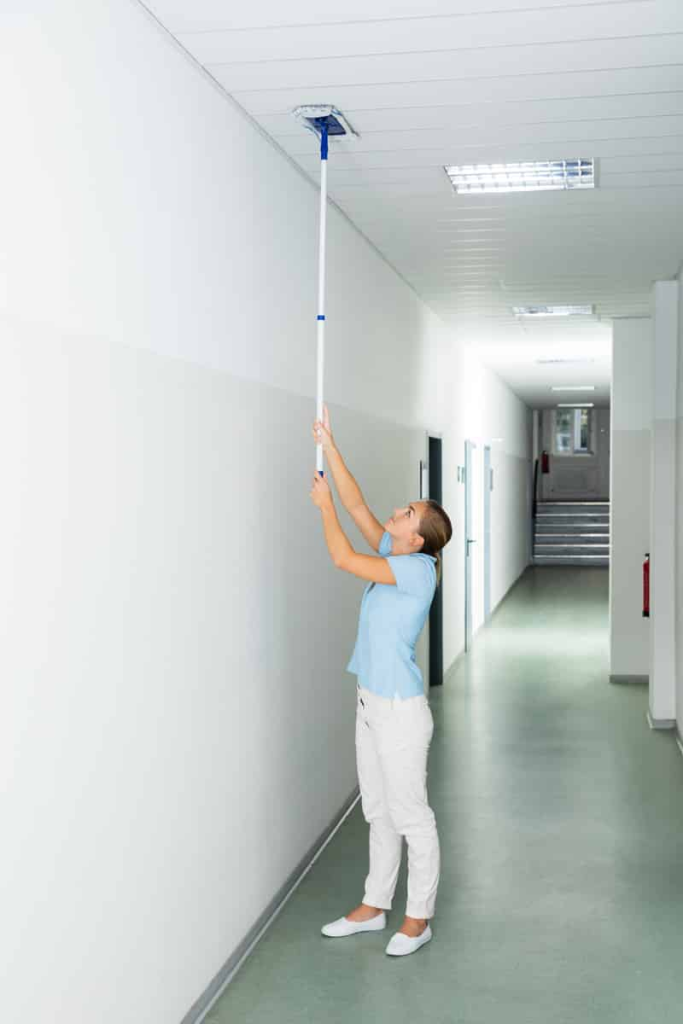
3. Regular Cleaning
Keep ceilings and walls clean and free of dust and debris. Regularly wipe down surfaces to remove any potential mold spores or soot particles that could lead to brown patches.
When to Call a Professional
While some brown patches on ceilings can be addressed by homeowners, others may require professional help. If you encounter any of the following situations, consider contacting a professional:
- Extensive water damage that may compromise structural integrity
- Persistent mold growth that is difficult to remove
- Unknown sources of leaks or stains that you cannot identify
- Safety concerns related to electrical wiring or plumbing issues
Conclusion
A brown patch on ceiling is more than just an aesthetic issue; it can indicate serious underlying problems that need to be addressed promptly. By understanding the various causes, taking appropriate action, and implementing preventive measures, you can maintain a safe and beautiful living space. Regular inspections, prompt repairs, and diligent cleaning will go a long way in ensuring that your ceilings remain free of stains and damage for years to come. Don’t ignore that brown patch; take action today to protect your home!