Can Clogged Gutters Cause Ceiling Leaks? When it comes to home maintenance, the condition of your gutters often plays a more significant role than you might think. Clogged gutters can lead to a cascade of issues, and one of the most concerning problems is ceiling leaks. In this article, we will explore the relationship between clogged gutters and ceiling leaks and provide insights into how you can prevent this common household headache.

The Role of Gutters in Home Protection
Gutters are an integral part of your home’s drainage system. They serve to collect rainwater from your roof and direct it away from the foundation, preventing water from pooling around your home. While gutters may not be the most glamorous feature of your house, they play a vital role in safeguarding it against water damage.
How Clogged Gutters Cause Ceiling Leaks
Clogged gutters can result in several problems that, if left unaddressed, can lead to ceiling leaks. Here’s how it happens:
- Overflowing Gutters: When gutters are clogged with leaves, twigs, and debris, rainwater cannot flow through them as intended. Instead, it spills over the sides of the gutters and runs down the exterior walls.
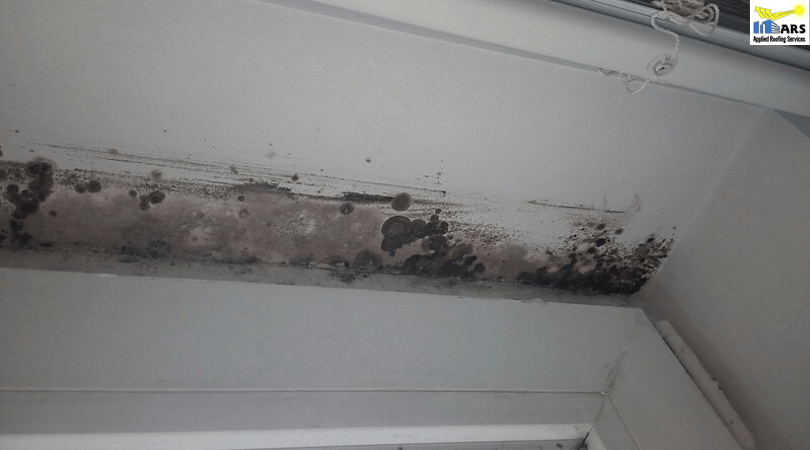
- Water Infiltration: As rainwater cascades down your walls, it can find its way into the smallest cracks and gaps. Over time, water can penetrate your home’s exterior, including your attic and ceilings.
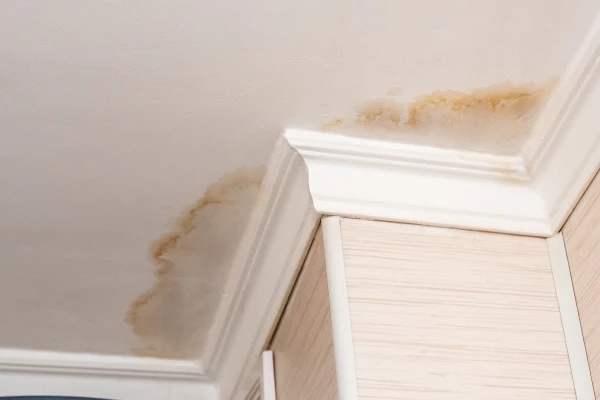
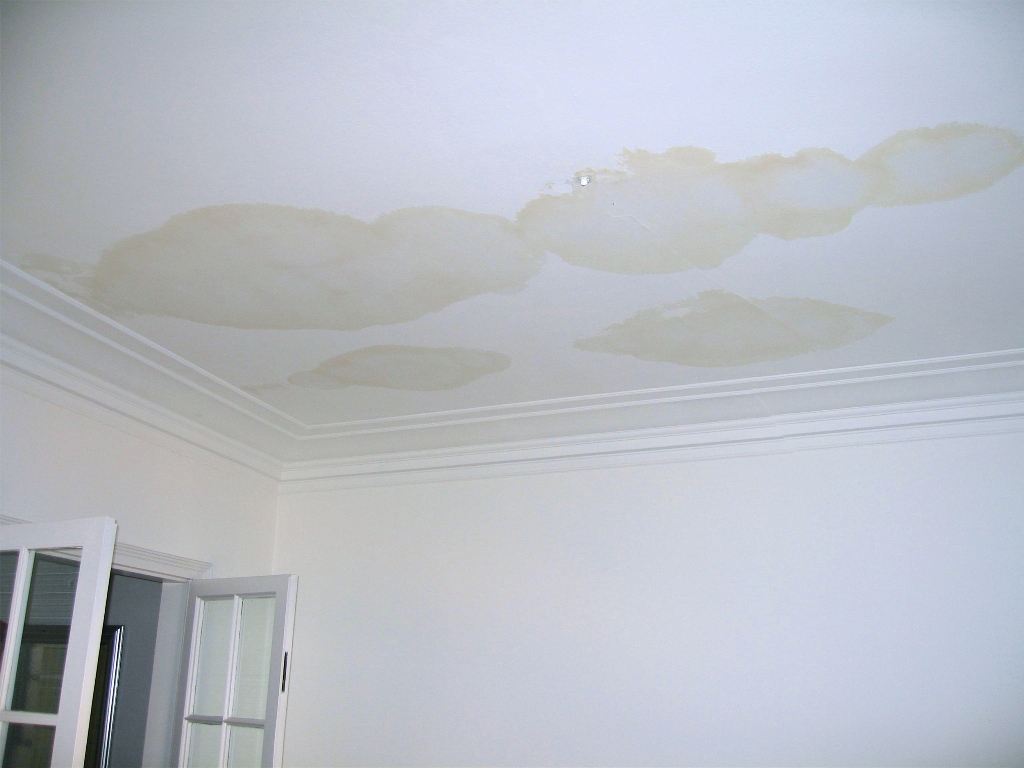
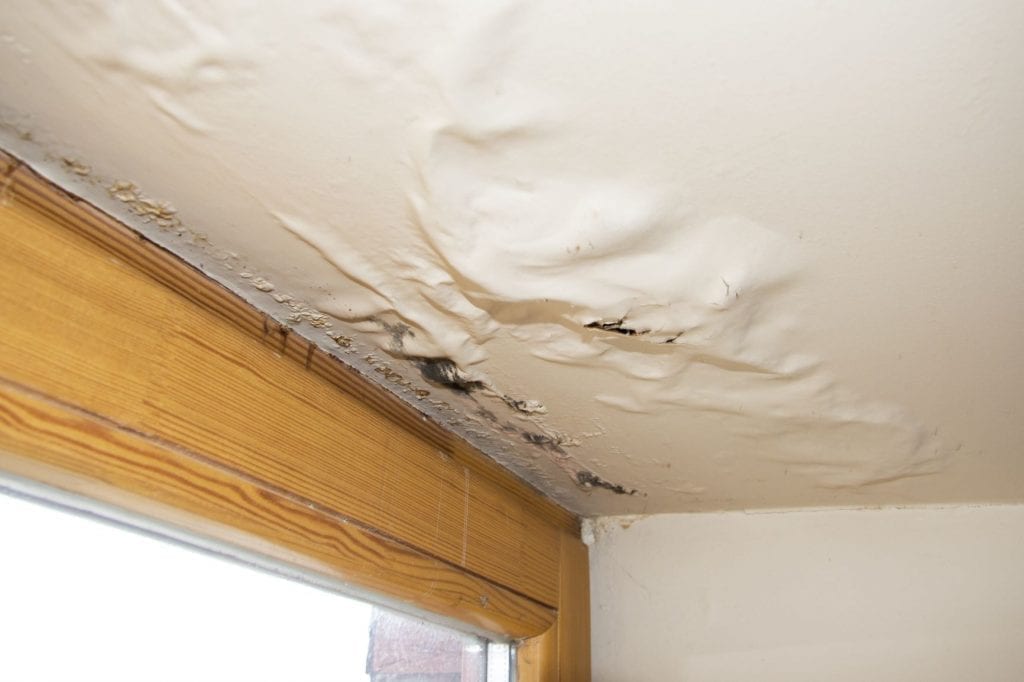
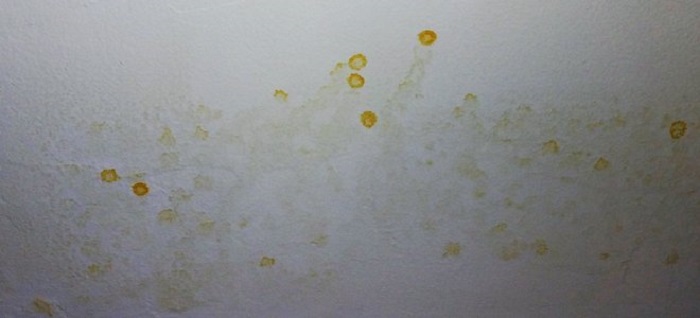
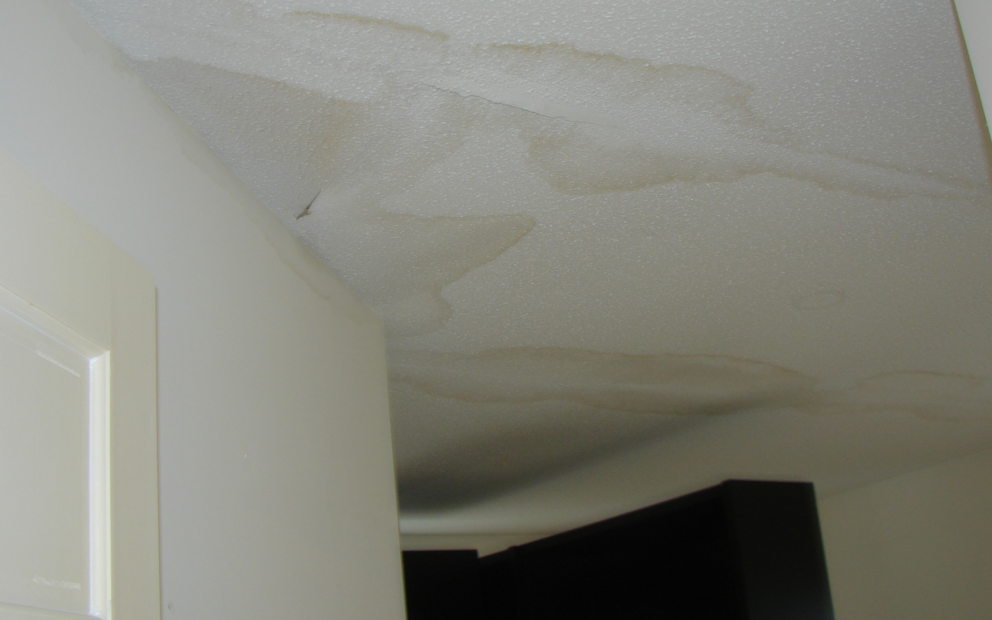
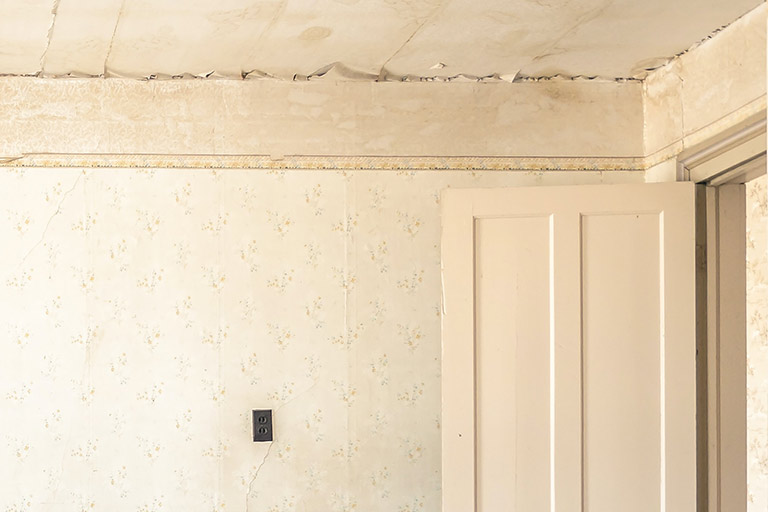
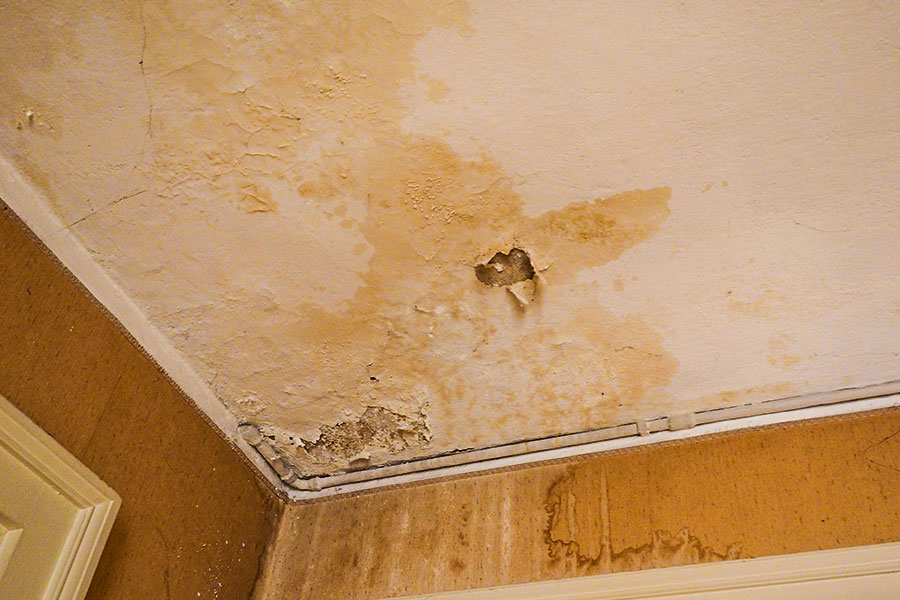
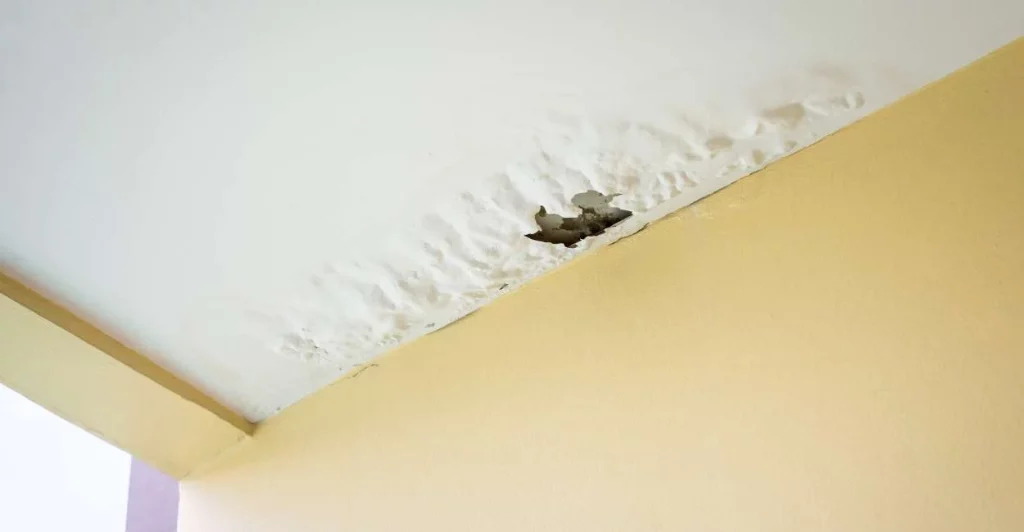
- Ceiling Stains: Once water makes its way into your attic and ceiling, it can lead to unsightly water stains. These stains are often the first visible sign that something is amiss.
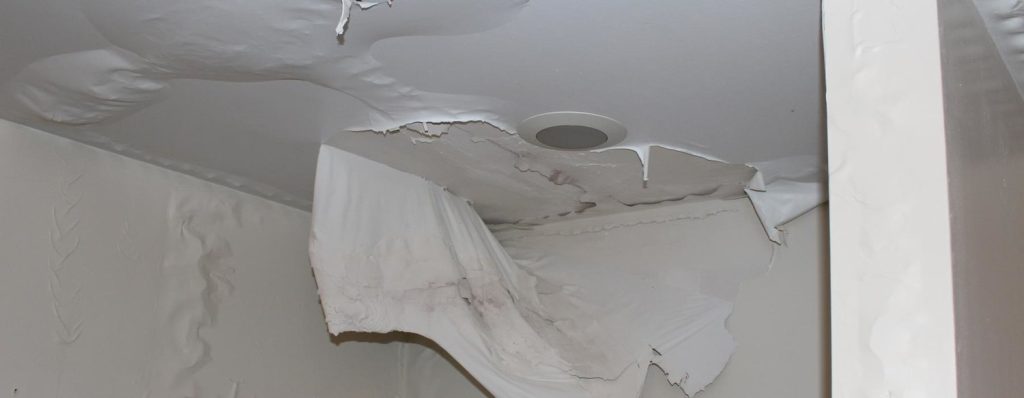
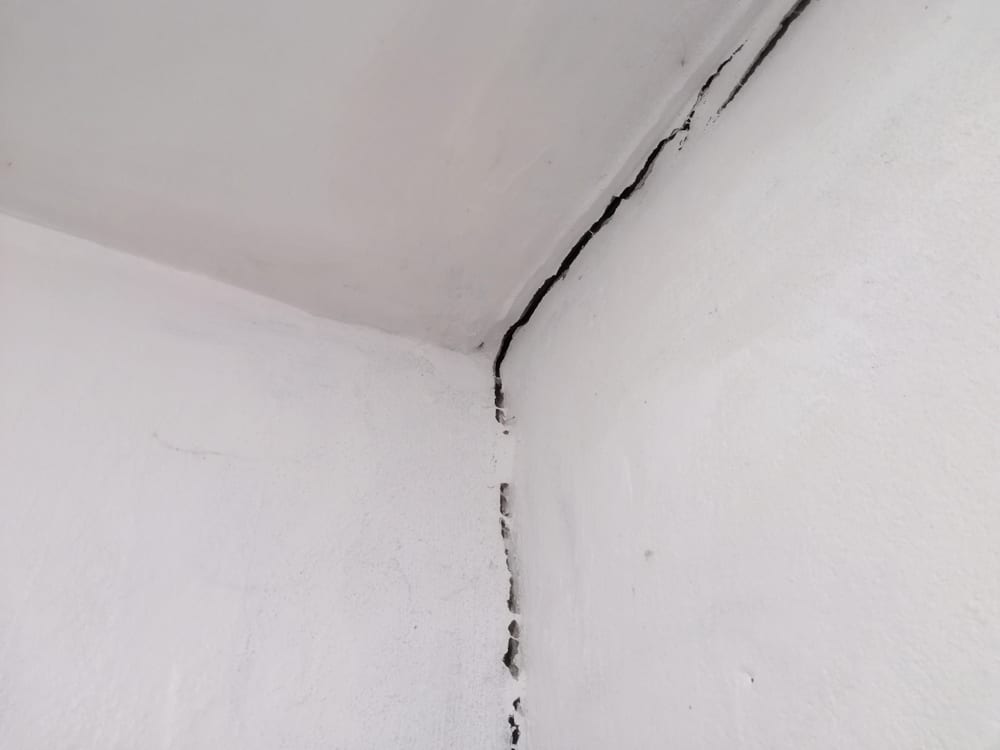
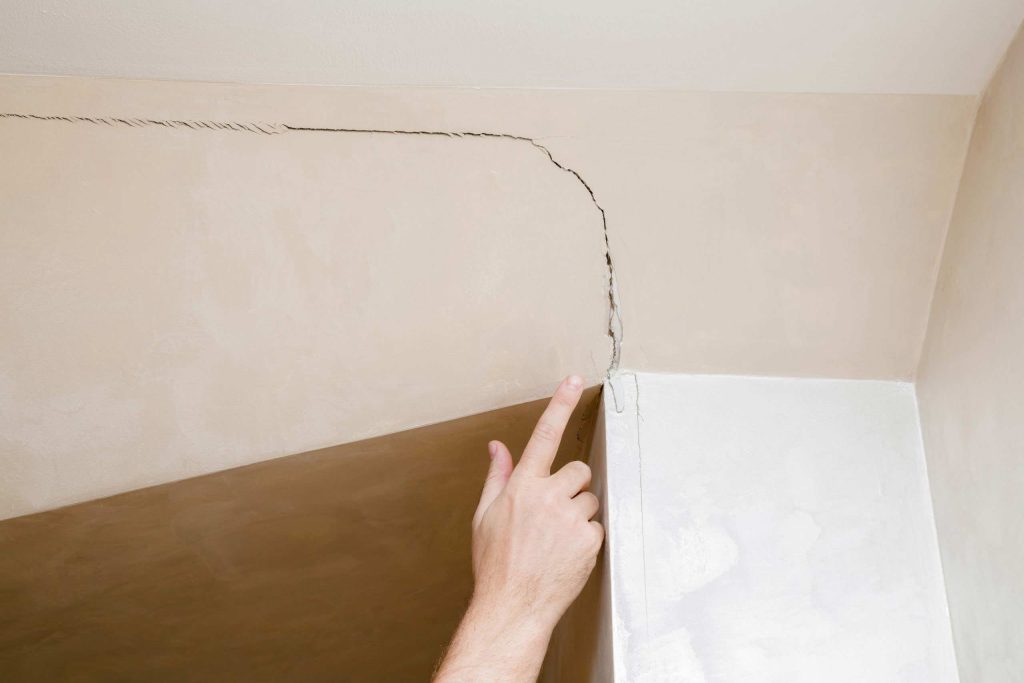
- Structural Damage: Prolonged exposure to water can cause structural damage to your ceilings and roof. This damage can lead to costly repairs and pose safety risks.
Read too: How To Dry A Ceiling Quickly
Preventing Ceiling Leaks Caused by Clogged Gutters
Preventing ceiling leaks caused by clogged gutters is more straightforward than dealing with the aftermath. Here are some tips to keep your gutters clean and your ceilings dry:
- Regular Gutter Cleaning: The most effective way to prevent clogs and their associated problems is to clean your gutters regularly. Depending on your location and the surrounding trees, this may be a bi-annual or quarterly task.
- Gutter Guards: Consider installing gutter guards or leaf screens to keep debris out of your gutters while allowing water to flow freely. While not entirely maintenance-free, these systems can significantly reduce the frequency of cleaning.
- Professional Inspection: It’s a good idea to have a professional inspect your gutters and roofing system regularly. They can identify issues early and provide the necessary maintenance and repairs.
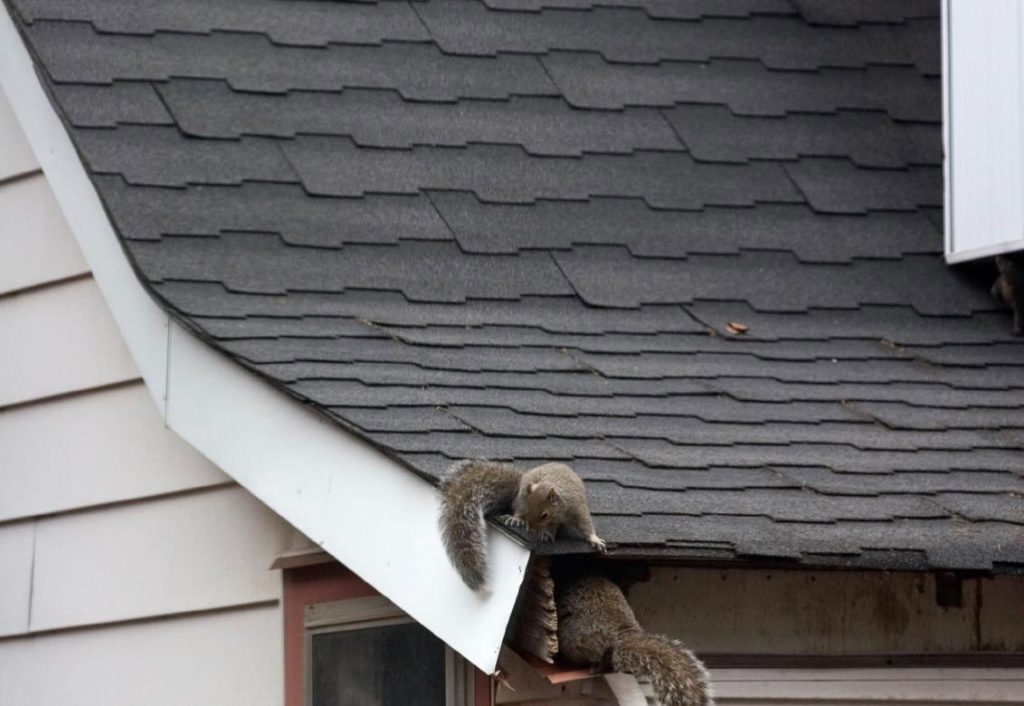
- Trim Overhanging Branches: Trees that overhang your roof are a common source of gutter clogs. Regularly trim branches to prevent leaves and twigs from falling into your gutters.
- Downspout Maintenance: Ensure your downspouts are directing water away from your home’s foundation. Extensions can be added to downspouts to carry water further from your home.
- Check for Roof Leaks: In addition to maintaining your gutters, regularly inspect your roof for missing shingles or other damage that can lead to leaks.
Addressing Ceiling Leaks
If you’ve already noticed water stains on your ceiling, it’s essential to take action promptly:
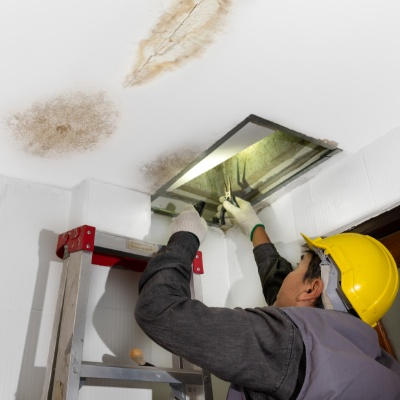
- Find the Source: Determine the source of the water infiltration by inspecting your roof, gutters, and attic. This will help you identify and address the underlying issue.
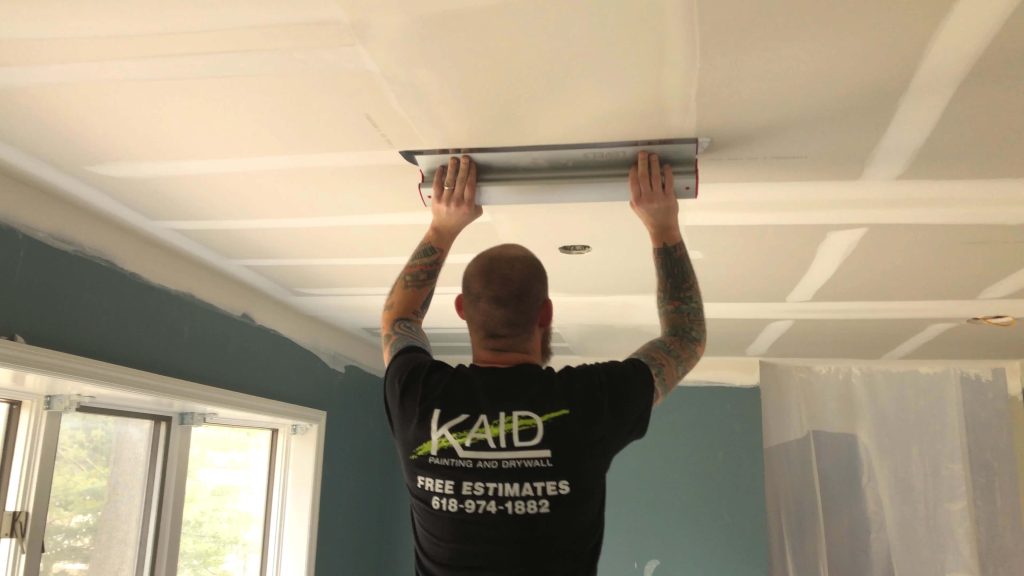
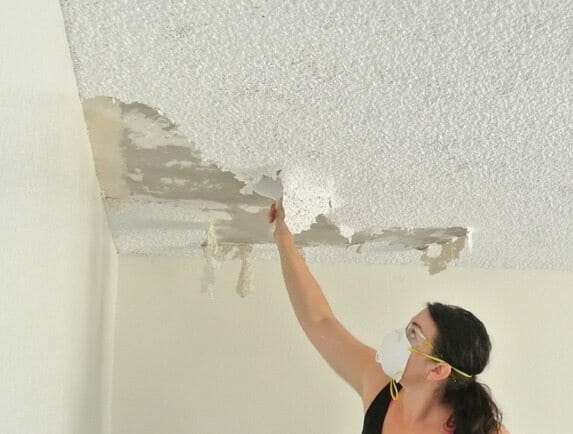
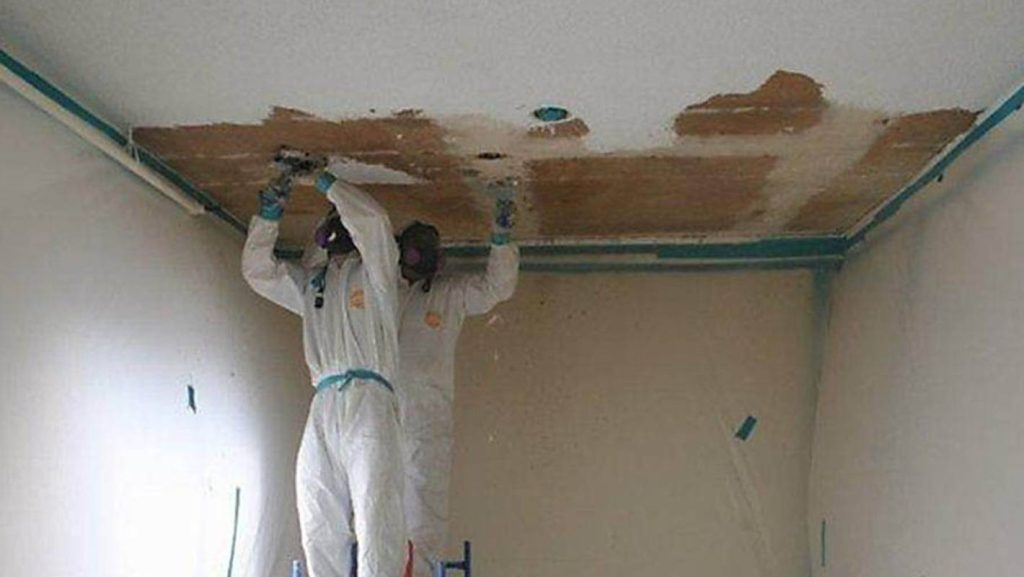
- Ceiling Repairs: Repair any damaged or weakened sections of your ceiling to prevent further leaks and structural damage.
- Professional Help: In some cases, it may be necessary to consult a professional to assess the extent of the damage and provide appropriate repairs.
Conclusion
Ceiling leaks caused by clogged gutters are preventable with proper maintenance and attention. By keeping your gutters clean and your home’s drainage system in good working order, you can avoid the headache of water stains on your ceilings and the costly repairs that can follow. Regular inspections and maintenance of your gutters and roofing system are key to keeping your home dry and your ceilings leak-free.