Imagine waking up to the unexpected nightmare of finding water dripping from your dream ceiling. In this comprehensive guide, we’ll explore the distressing scenario of a dream ceiling leaking water, shedding light on potential causes, immediate actions, and long-term solutions.

Understanding the Nightmare: Dream Ceiling Leaking Water
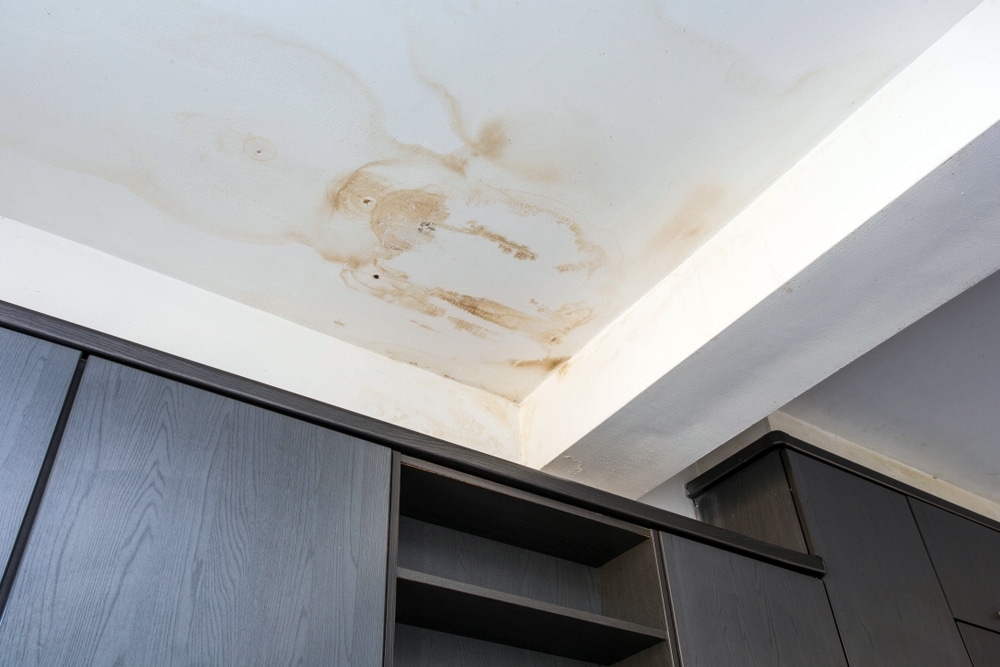
Your dream ceiling dripping water can be a shocking and worrisome experience. To effectively address the issue, let’s first explore the possible causes behind this unexpected predicament.
Investigating the Causes of Dream Ceiling Leaking Water
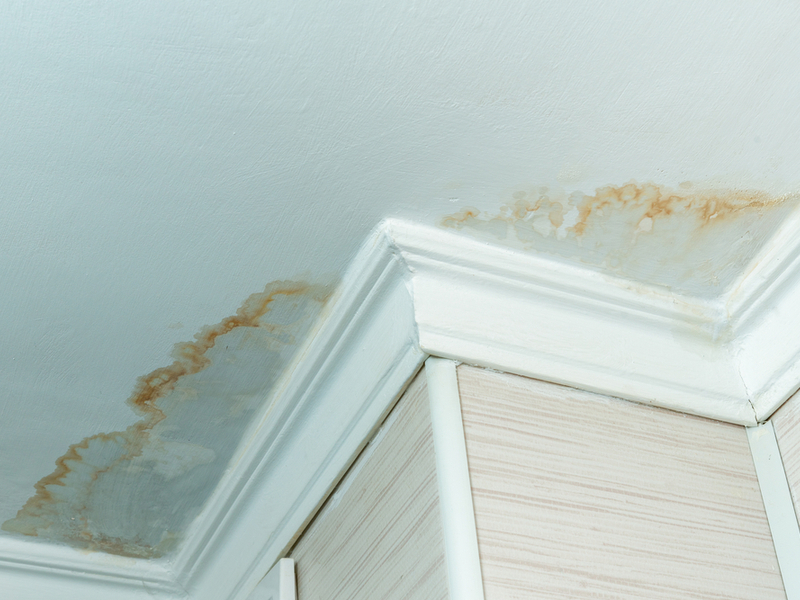
Identifying the root cause is essential for resolving the problem and preventing further damage. Here are common reasons your dream ceiling might start leaking water:
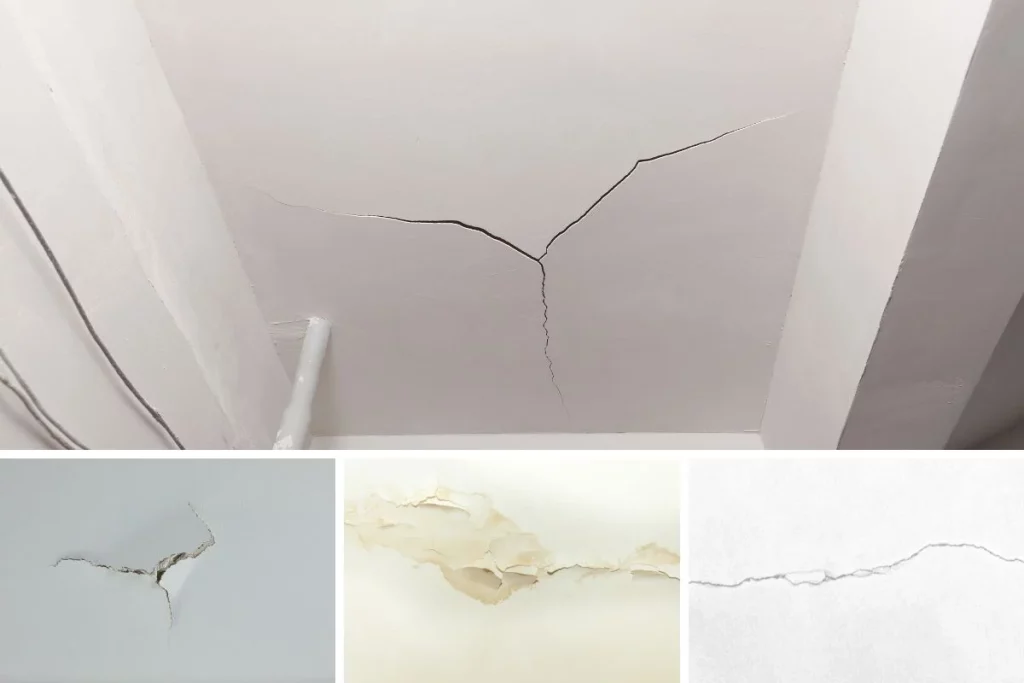
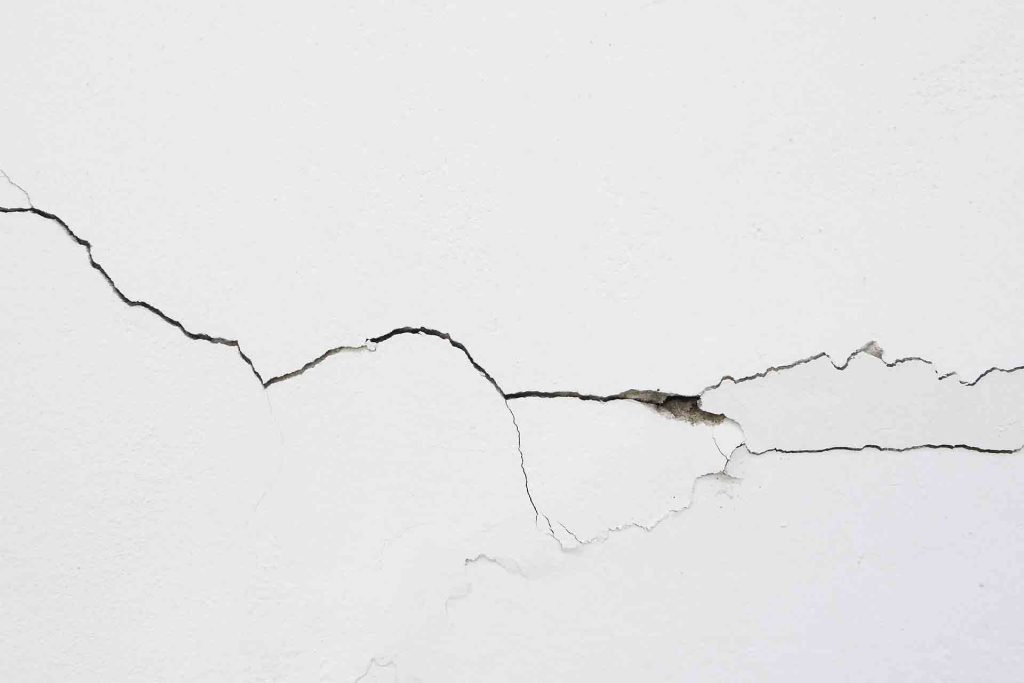
- Roof Leaks: Damaged shingles, cracked flashing, or an aging roof can allow rainwater to seep into your dream home, leading to water leaks.
- Plumbing Issues: A burst pipe, leaky faucet, or faulty plumbing within your dream abode can contribute to water leaking into the ceiling, creating an unsettling scenario.
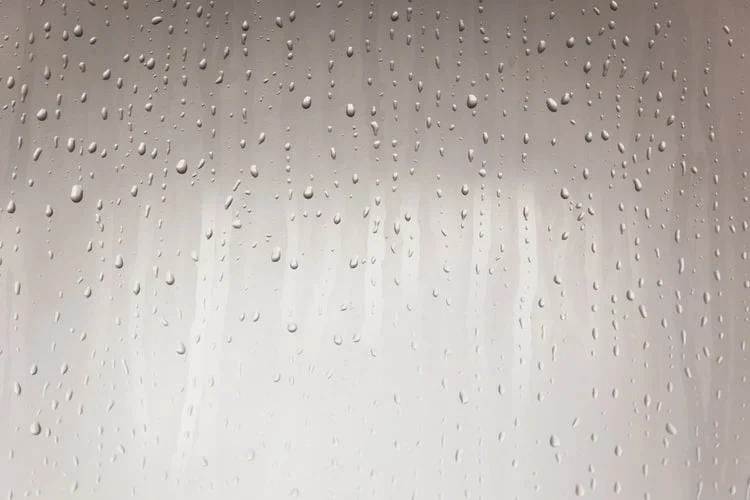
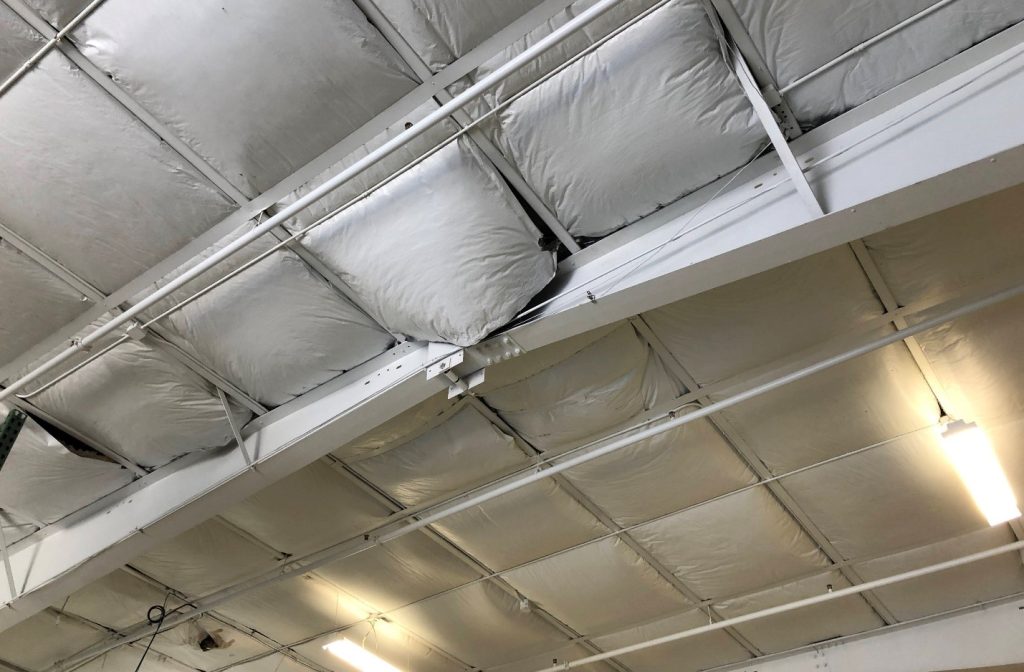
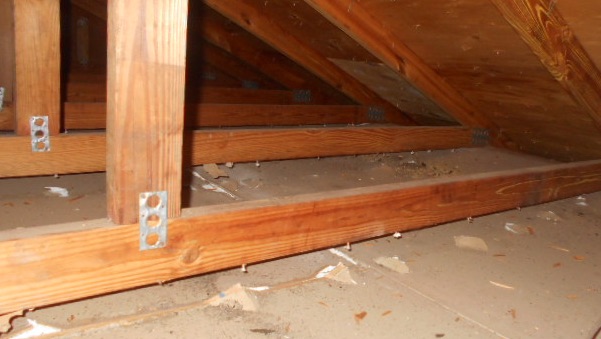
- Condensation Concerns: In dream homes with poor ventilation, condensation can accumulate, leading to water droplets forming on the ceiling. This may mimic a leak, creating a confusing situation.
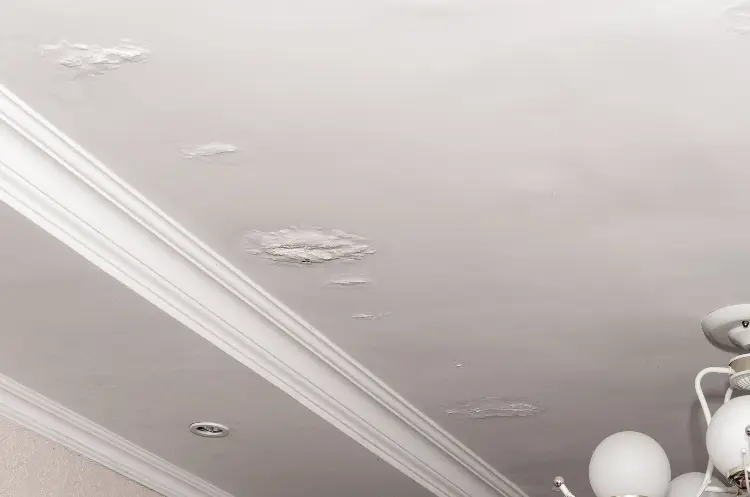
Consequences of Ignoring Dream Ceiling Leaks: Beyond the Nightmare
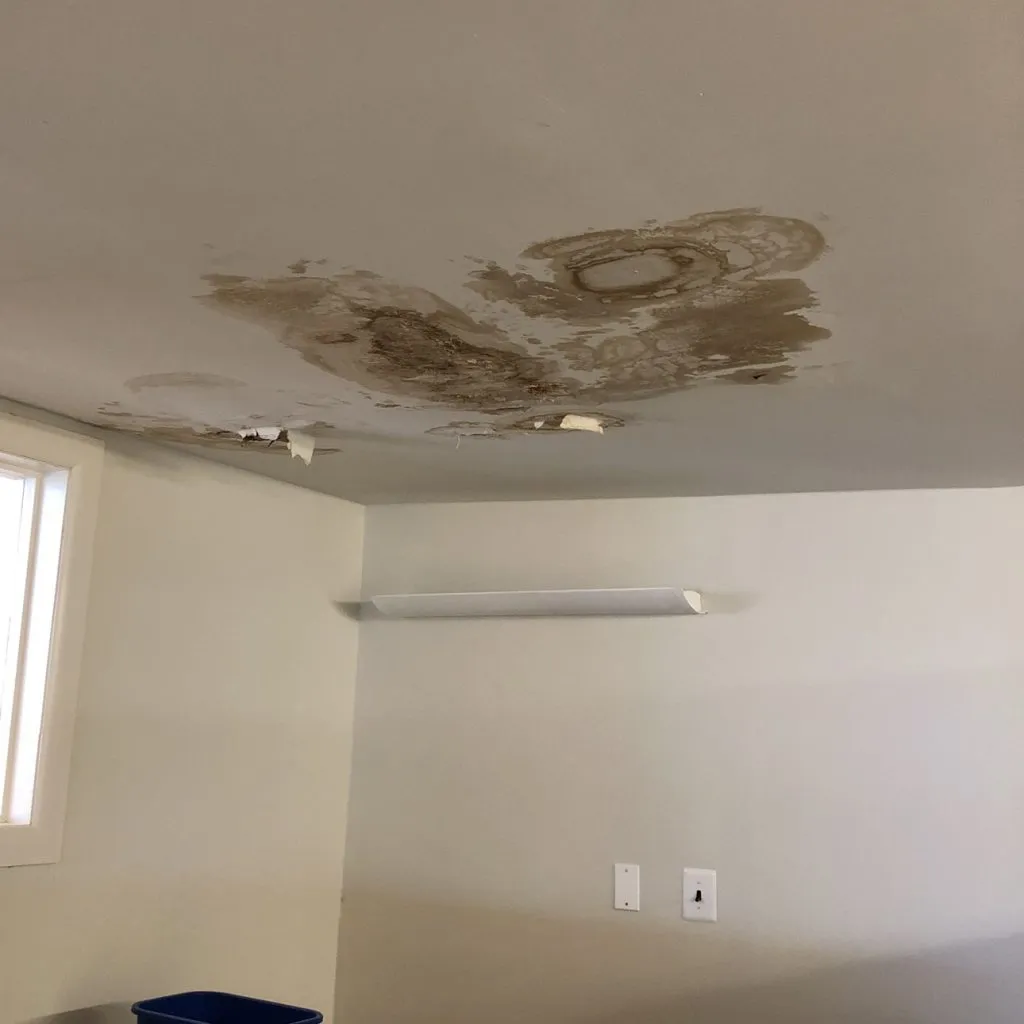
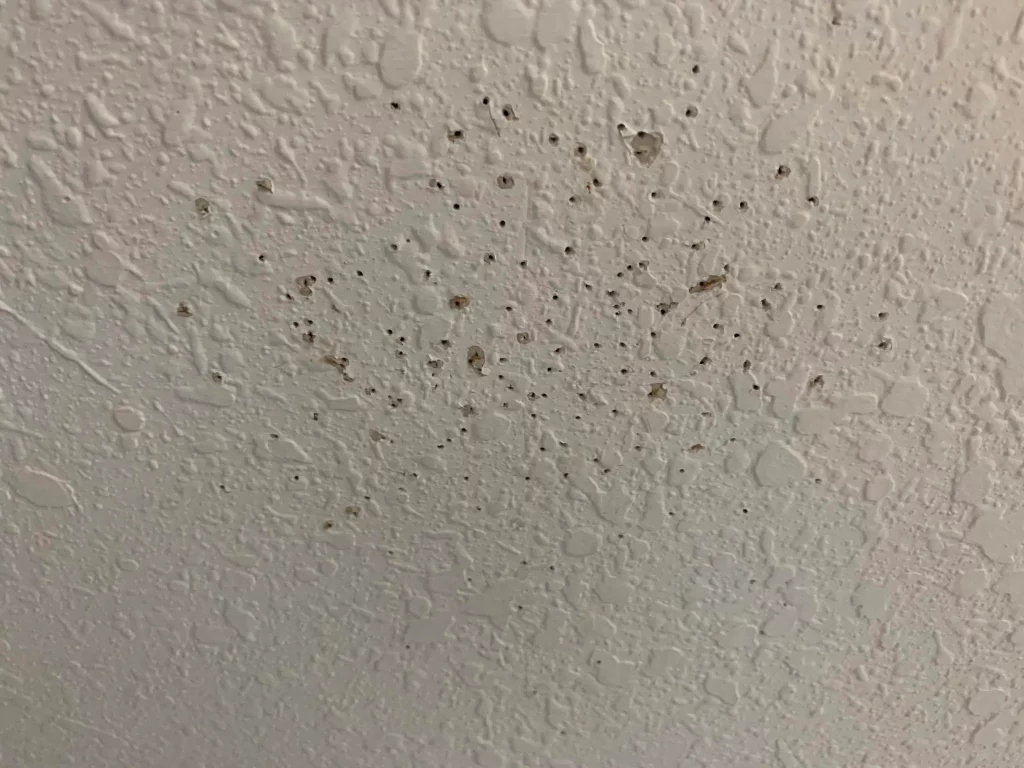
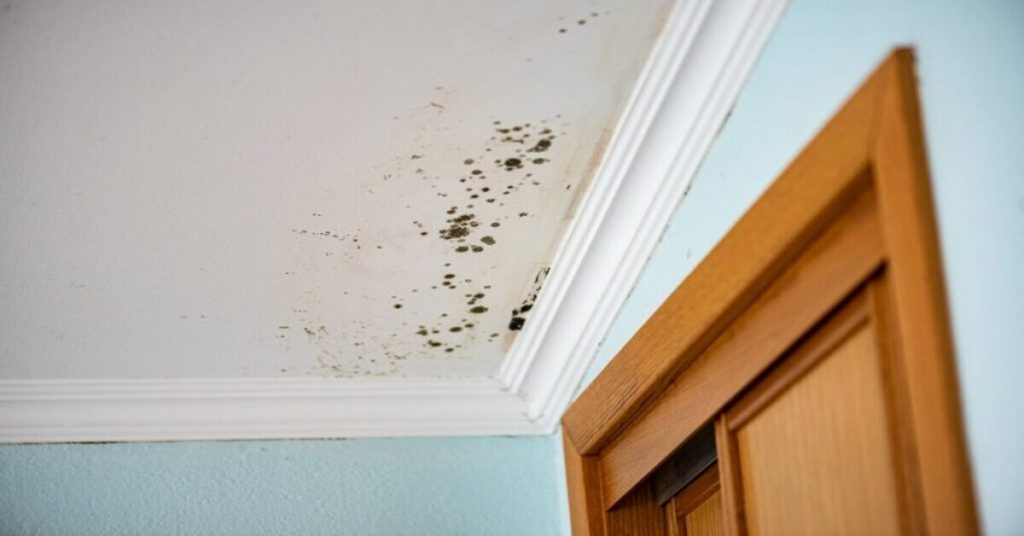
Ignoring water leaks in your dream ceiling can lead to more than just ruined aesthetics. Mold growth, structural damage, and compromised dream interiors are potential consequences of neglecting the issue.
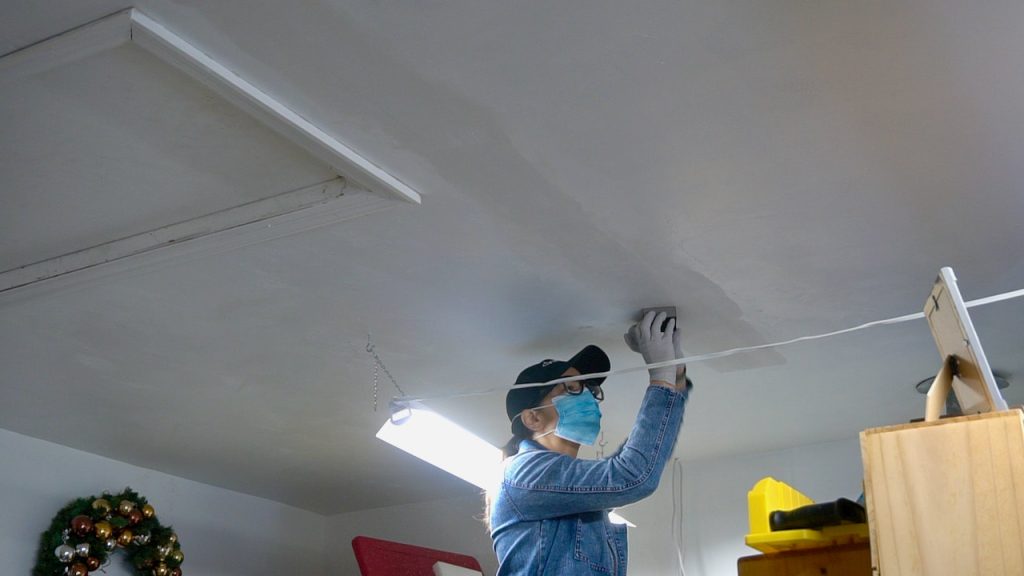
Addressing the Nightmare: Immediate Actions
When faced with a dream ceiling leaking water, taking swift action is crucial to minimize damage. Consider the following immediate steps:
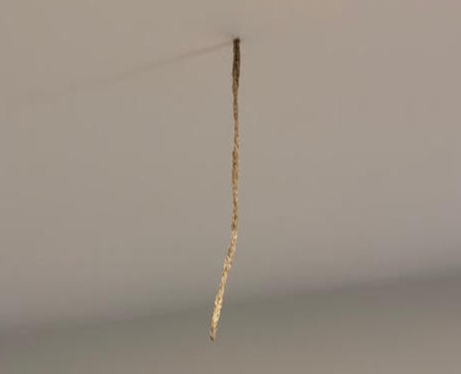
- Contain the Leak: Place buckets or containers under the leak to prevent water from spreading and causing further damage to your dream furnishings.
- Identify the Source: If safe to do so, try to identify the source of the leak. Is it coming from the roof, plumbing, or is it a result of condensation? Knowing the origin is key to effective resolution.
- Contact Professionals: In your dream home emergency, don’t hesitate to contact professionals – roofers, plumbers, or water damage restoration experts – to assess and address the issue promptly.
Read too: Understanding and Addressing a Condensation Leak in the Ceiling: Decoding the Drip
Long-Term Solutions for a Leak-Free Dream Ceiling
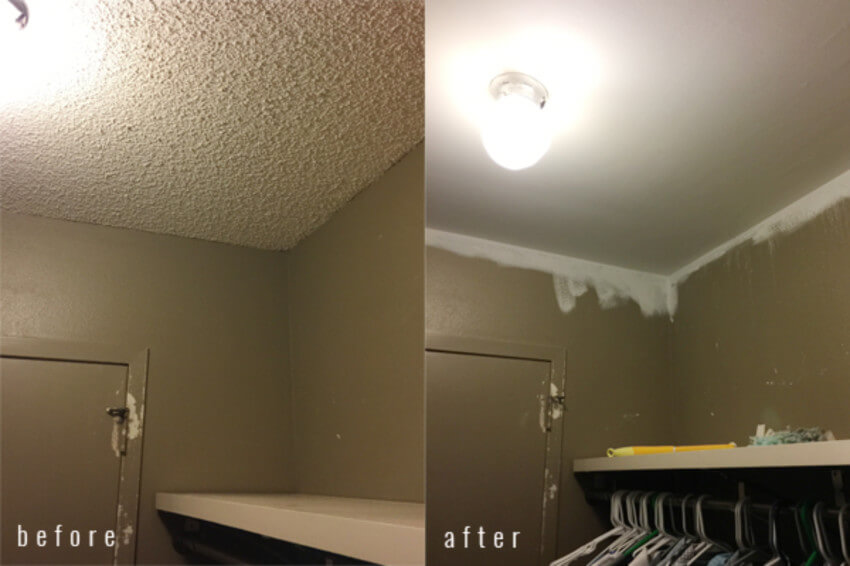
Once the immediate crisis is averted, it’s essential to implement long-term solutions to ensure your dream ceiling stays dry and intact.
- Roof Repairs: If the leak is stemming from your dream roof, investing in timely repairs or a roof replacement is crucial for maintaining the integrity of your dream home.
- Plumbing Overhaul: Conduct a thorough inspection of the dream plumbing system. Repair or replace any faulty pipes, fixtures, or connections to prevent future leaks.
- Enhance Ventilation: Improve ventilation in your dream home to reduce condensation. Adequate airflow can prevent water droplets from forming on the ceiling and causing a dream-like illusion of a leak.
Conclusion: Turning Nightmares into Sweet Dreams
In conclusion, a dream ceiling leaking water may seem like a nightmare, but with prompt action and strategic solutions, you can turn the situation around. By understanding the causes and consequences, and implementing both immediate and long-term measures, you can safeguard your dream home from the distress of unexpected water leaks.
Don’t let a dream ceiling leak turn into a recurring nightmare. Take control of the situation, address the root causes, and enjoy a home that remains dry and dream-worthy.