When it comes to maintaining the integrity of your home, Ceiling Repair Fort Myers is a crucial aspect that should not be overlooked. Whether it’s due to water damage, cracks, or general wear and tear, a damaged ceiling can detract from the beauty of your home and potentially lead to more severe structural issues if not addressed promptly. In this guide, we will delve into the various causes of ceiling damage, the steps involved in repairing ceilings, and how to choose the right professionals for ceiling repair in Fort Myers.

Understanding the Importance of Ceiling Repair
A ceiling is more than just an overhead surface; it plays a vital role in the overall aesthetics, insulation, and safety of your home. When ceilings are damaged, they can lead to various problems, including:
- Reduced Home Value: A well-maintained ceiling adds to the overall appeal of your home. Damage can deter potential buyers and reduce market value.
- Structural Issues: Unaddressed ceiling damage can lead to structural instability, which may compromise the safety of your home.
- Health Concerns: Water damage can lead to mold growth, posing health risks to you and your family.
Common Causes of Ceiling Damage in Fort Myers
Before diving into repair solutions, it’s essential to understand the common causes of ceiling damage, particularly in Fort Myers, where humidity and tropical storms can be significant factors.
- Water Damage: One of the leading causes of ceiling damage is water intrusion from leaks in the roof, plumbing issues, or even condensation. Fort Myers, with its frequent rainstorms, is particularly vulnerable to this type of damage.
- Cracks: Over time, ceilings can develop cracks due to settling, temperature changes, or improper installation. These cracks can be unsightly and indicate underlying issues.
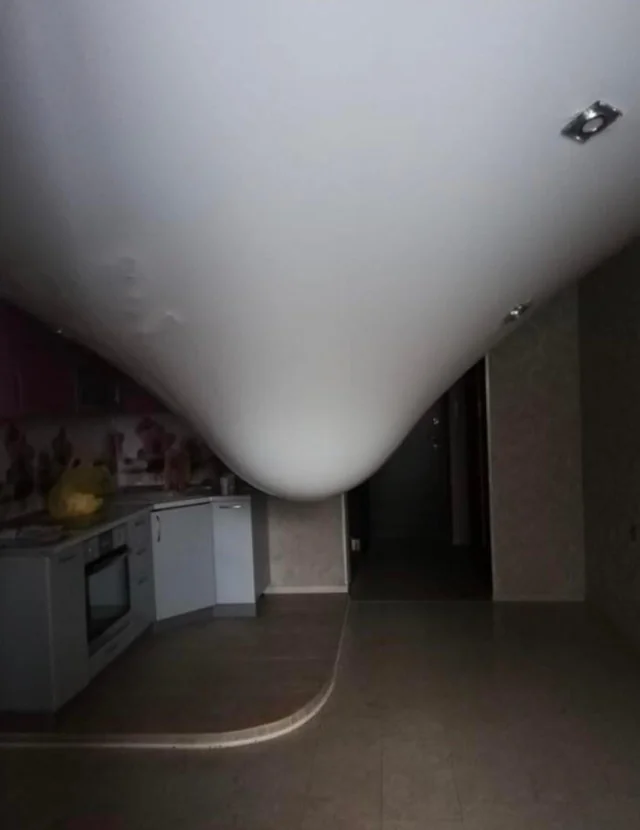
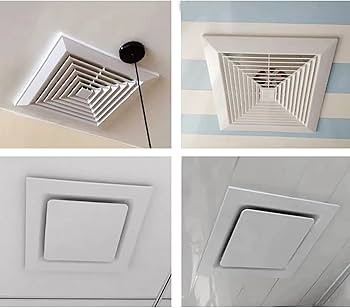
- Moisture Issues: High humidity levels can cause ceilings to warp, sag, or bubble, particularly if proper ventilation is lacking.
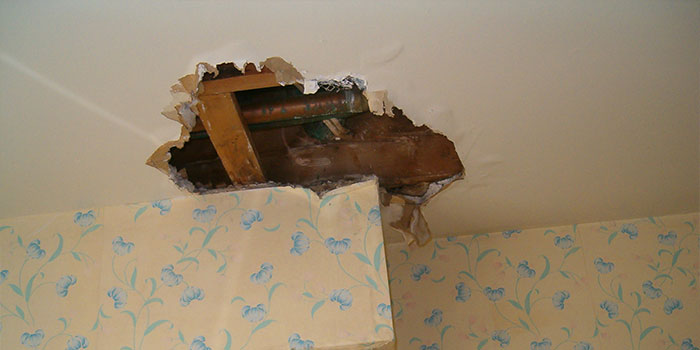
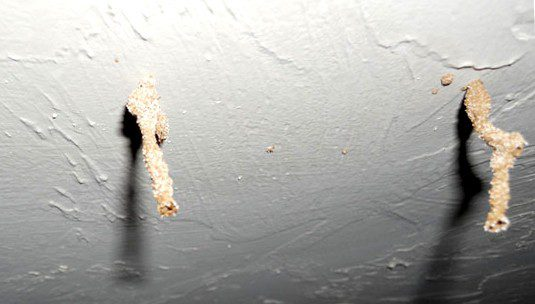
- Pest Infestation: Rodents and insects can cause damage to ceilings, especially in older homes. They may create holes or nests that lead to further damage.
- Poor Installation: Sometimes, ceilings are damaged due to poor installation practices, resulting in sagging or misalignment.
Read too: Shiplap Ceiling in Kitchen: A Timeless Trend for a Stylish and Cozy Space
Signs Your Ceiling Needs Repair
Recognizing the signs of ceiling damage early can save you time and money in the long run. Here are some indicators that you may need Ceiling Repair Fort Myers services:
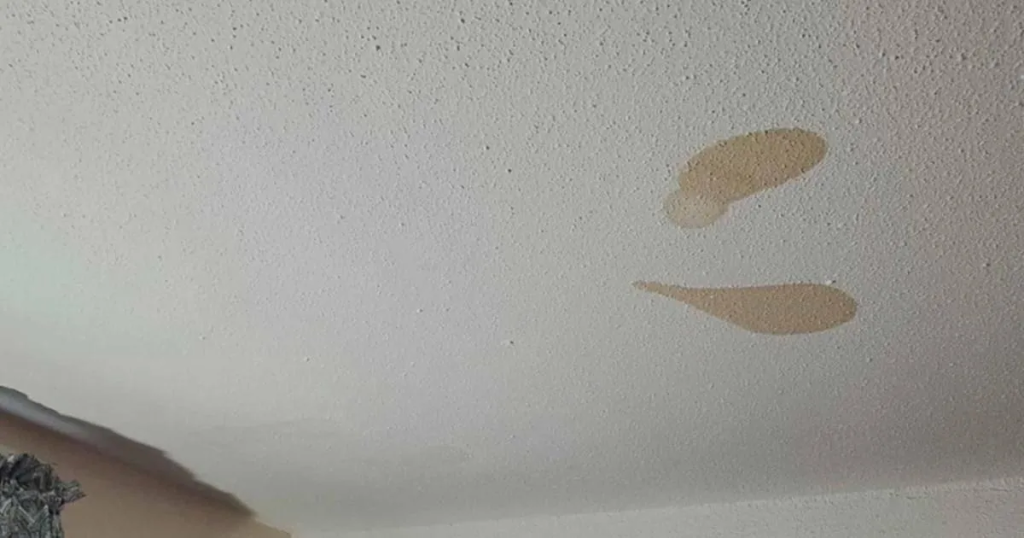
- Visible Water Stains: Brown or yellow stains are often the first sign of water damage.
- Cracks or Holes: Look for any visible cracks or holes that may have developed over time.
- Bubbling or Peeling Paint: This can indicate moisture behind the ceiling surface.
- Sagging Ceiling: If the ceiling appears to be sagging, it may be a sign of structural issues or water damage.
- Mold Growth: Any visible mold is a serious concern that needs immediate attention.
Steps for Ceiling Repair
Once you’ve identified the need for repair, it’s essential to follow a systematic approach to ensure the problem is resolved effectively. Below are the general steps involved in ceiling repair.
Step 1: Assess the Damage
Before you begin repairs, assess the extent of the damage. This may involve:
- Inspecting the ceiling for visible signs of damage.
- Checking for leaks or moisture issues.
- Determining whether the damage is localized or widespread.
Step 2: Address the Source of Damage
Before any repair work begins, it’s critical to address the underlying cause of the damage. For example:
- Water Leaks: If the damage is due to a roof or plumbing leak, fix the leak before proceeding with ceiling repairs.
- Ventilation: If high humidity is an issue, consider improving ventilation in the affected area.
Step 3: Prepare the Area
Once you’ve addressed the source of the damage, prepare the area for repair:
- Remove Furniture: Clear the area of any furniture or belongings to prevent damage during the repair process.
- Protect the Floor: Use drop cloths or plastic sheeting to protect your floors from dust and debris.
Step 4: Make the Repairs
The method of repair will depend on the type of damage:
- Water Damage: For water-damaged ceilings, you may need to replace affected drywall or ceiling tiles. Cut out the damaged area, ensuring that you remove all affected materials, and replace them with new drywall.
- Cracks: For minor cracks, you can use joint compound to fill the gaps. For larger cracks, consider using a patching material and then applying joint compound over it for a smooth finish.
- Sagging Ceilings: If your ceiling is sagging, it may require reinforcing the support structure. This may involve adding additional screws or installing new ceiling joists.
- Mold Removal: If you encounter mold, make sure to use appropriate safety measures. Use a mold removal solution and ensure the area is well-ventilated during this process.
Step 5: Finish the Surface
After repairs are complete, finish the surface to match the rest of the ceiling:
- Sanding: Once the joint compound is dry, sand it down to create a smooth surface.
- Priming: Apply primer to the repaired area to help the paint adhere better.
- Painting: Finally, repaint the ceiling to blend the repaired area with the rest of the ceiling.
Step 6: Clean Up
After repairs are finished, clean up the work area, removing any debris and protective coverings. Make sure to inspect your work to ensure everything is finished to your satisfaction.
Choosing the Right Professionals for Ceiling Repair in Fort Myers
While some homeowners may choose to tackle ceiling repairs themselves, hiring a professional can save time and ensure quality workmanship. Here are some tips for finding the right ceiling repair service in Fort Myers:
1. Look for Experience
When searching for a contractor, look for someone with extensive experience in ceiling repair. Check reviews and ask for references to gauge their expertise.
2. Verify Credentials
Ensure the contractor is licensed and insured. This protects you in case of accidents or damage during the repair process.
3. Get Multiple Quotes
Don’t settle for the first quote you receive. Get multiple estimates to compare pricing and services offered.
4. Ask About Warranties
Inquire whether the contractor offers warranties on their work. A reputable contractor should stand behind their repairs.
5. Check for Reviews and Testimonials
Read online reviews and testimonials from previous customers to gain insight into the quality of the contractor’s work.
Preventing Ceiling Damage
Preventing ceiling damage is always preferable to addressing repairs after they occur. Here are some tips to help you avoid ceiling issues in the future:
1. Regular Inspections
Conduct regular inspections of your roof, plumbing, and ceilings to catch any signs of damage early.
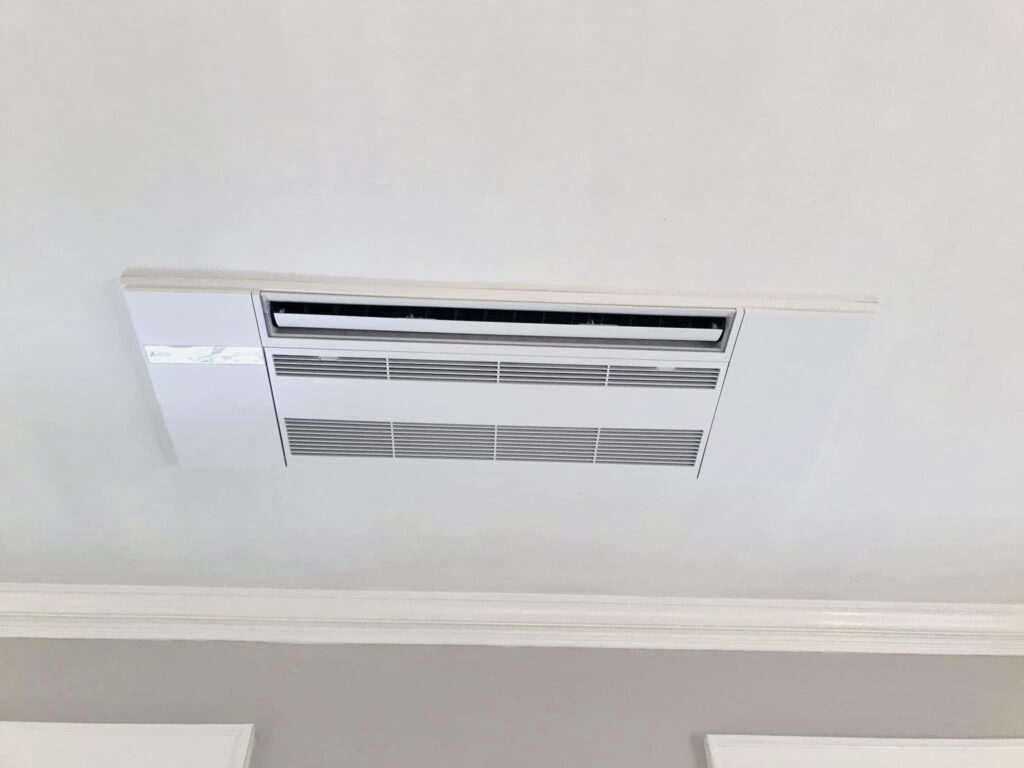
2. Improve Ventilation
Ensure that your home has adequate ventilation, especially in areas prone to high humidity, such as kitchens and bathrooms.
3. Use Quality Materials
When performing repairs or renovations, use high-quality materials designed to withstand moisture and other environmental factors.
4. Maintain Your Roof
Keep your roof well-maintained by cleaning gutters, repairing leaks promptly, and replacing damaged shingles.
Conclusion
A Ceiling Repair Fort Myers is an essential task for maintaining the beauty and safety of your home. By understanding the causes of ceiling damage, recognizing the signs that repairs are needed, and taking proactive steps to address issues, you can protect your home from further harm. Whether you choose to tackle repairs yourself or hire a professional, staying informed and vigilant is the key to maintaining your ceiling’s integrity. Regular maintenance and inspections can help prevent many common ceiling issues, ensuring your home remains a safe and beautiful place for years to come.