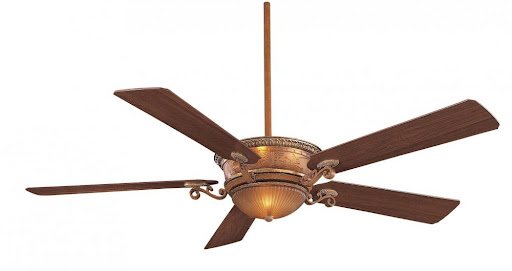
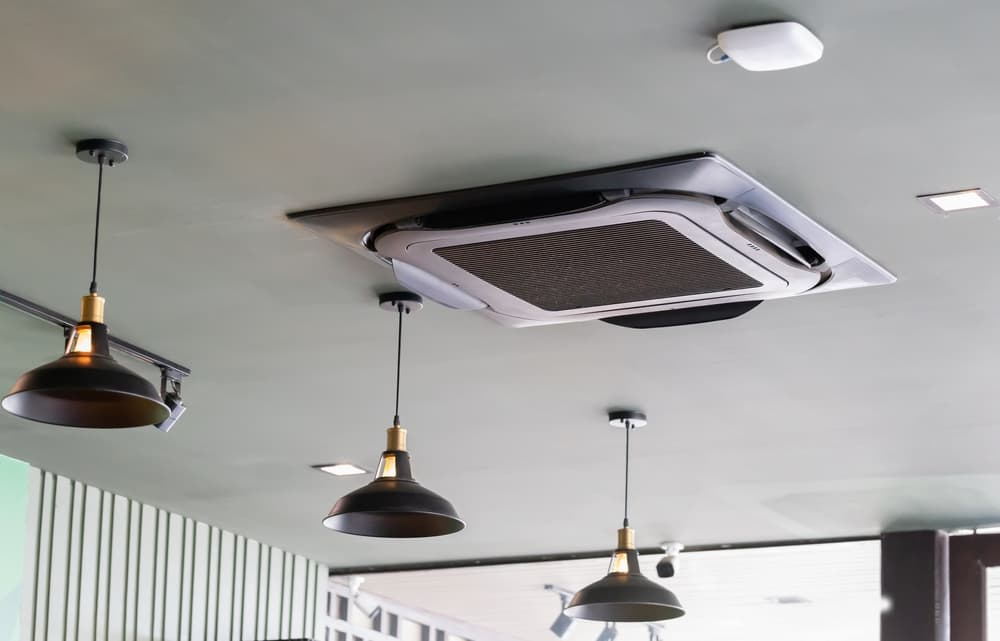
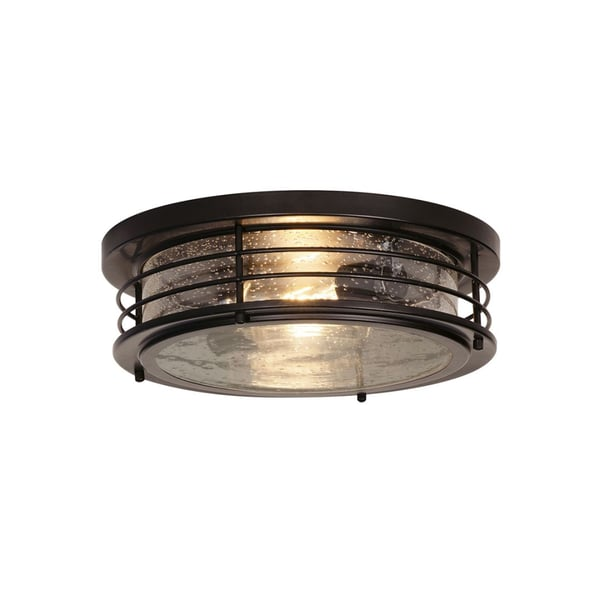
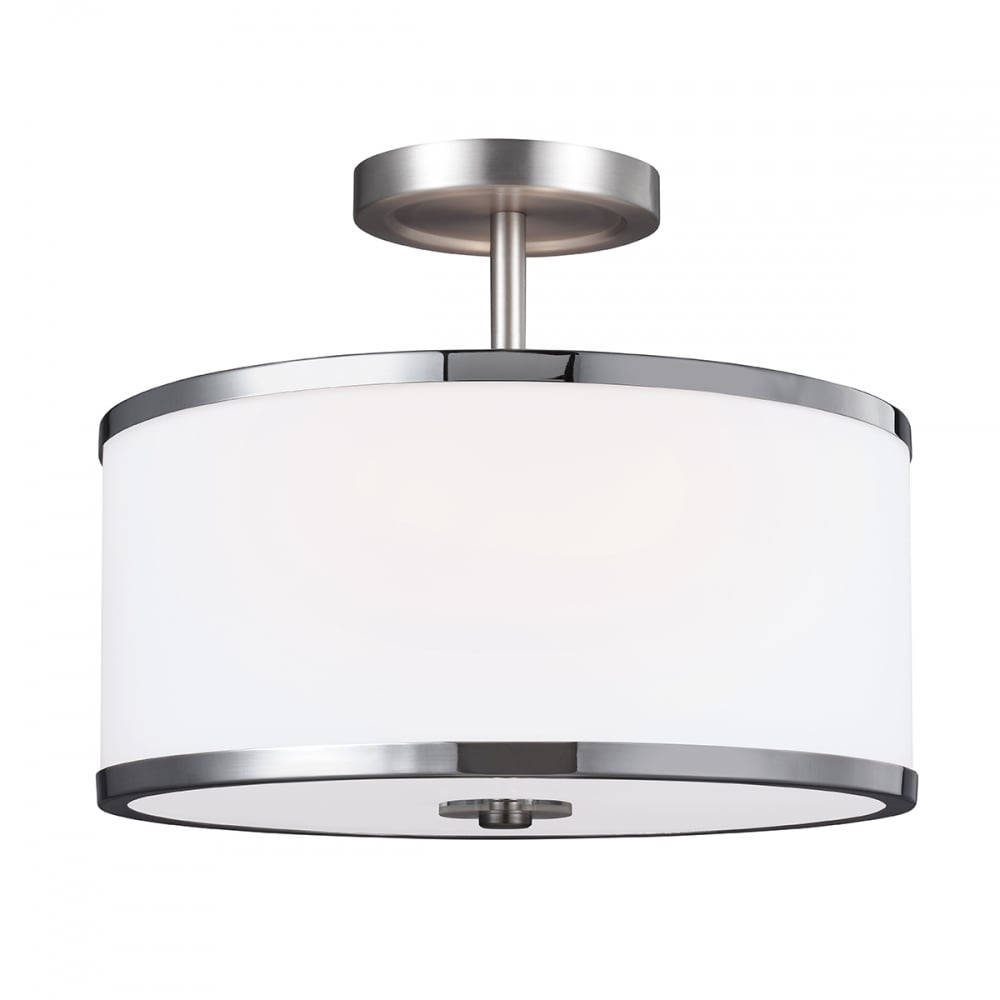
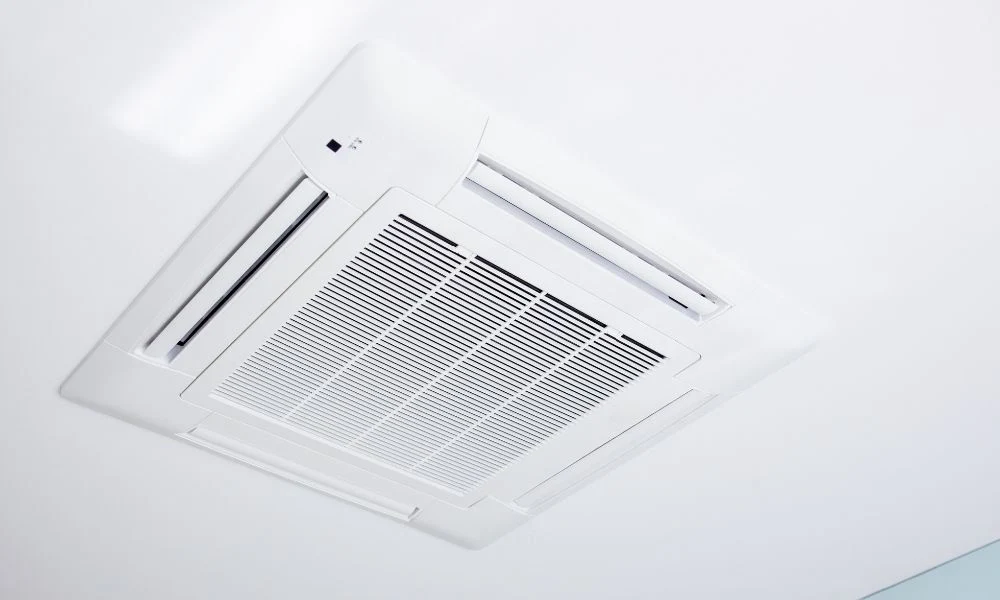
When it comes to choosing the perfect ceiling fan for your home or office, Ceiling Fan Model DL-4112 stands out as one of the best options. This model combines style, performance, and energy efficiency to offer you a top-tier cooling solution. Whether you’re looking to improve air circulation in your living room, bedroom, or office, this ceiling fan is designed to meet your needs.
In this article, we’ll explore everything you need to know about the Ceiling Fan Model DL-4112, from its features and installation process to its energy efficiency and maintenance tips. If you’re looking for a reliable and stylish ceiling fan, keep reading to discover why this model is a great choice for your space.
What Makes the Ceiling Fan Model DL-4112 Stand Out?
The Ceiling Fan Model DL-4112 offers a variety of features that make it a standout in the world of home and office cooling solutions. From its sleek design to its advanced technology, this model is built to impress. Let’s take a closer look at some of the key features that set it apart from other ceiling fans.
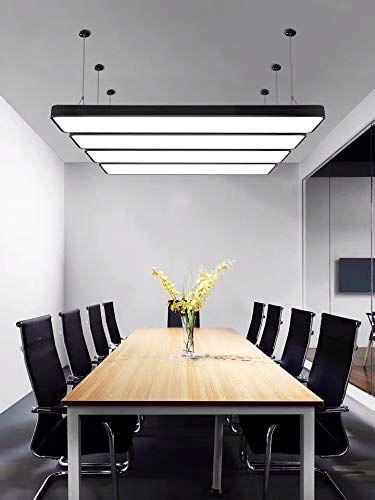
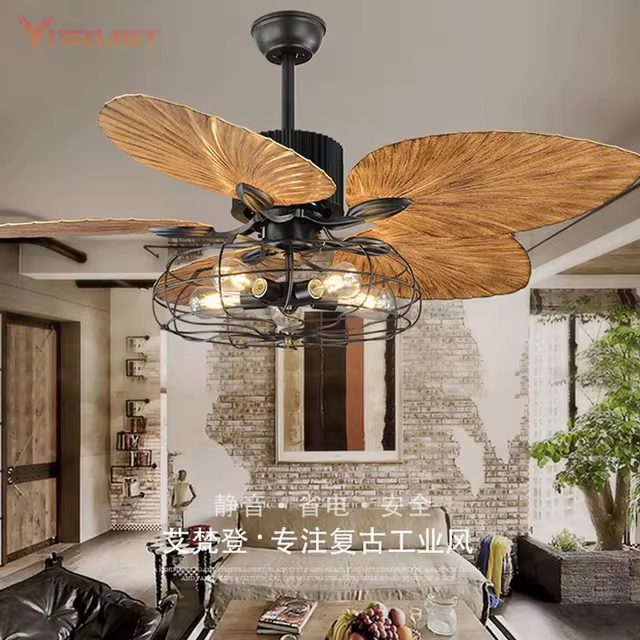
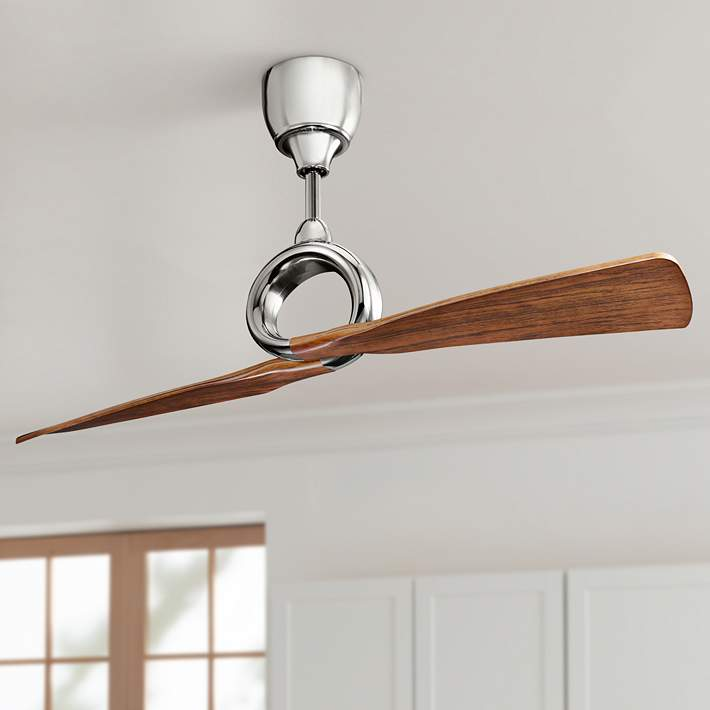
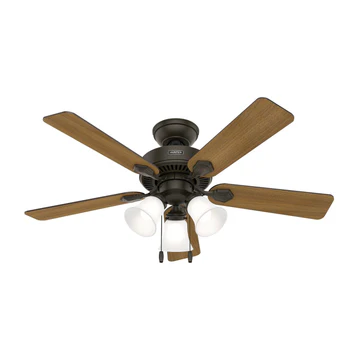
1. Stylish Design
One of the first things you’ll notice about the Ceiling Fan Model DL-4112 is its modern and stylish design. Whether you’re outfitting a contemporary home or upgrading your office, this fan blends seamlessly with most interior designs. Its sleek blades and refined finish make it a stylish addition to any room.
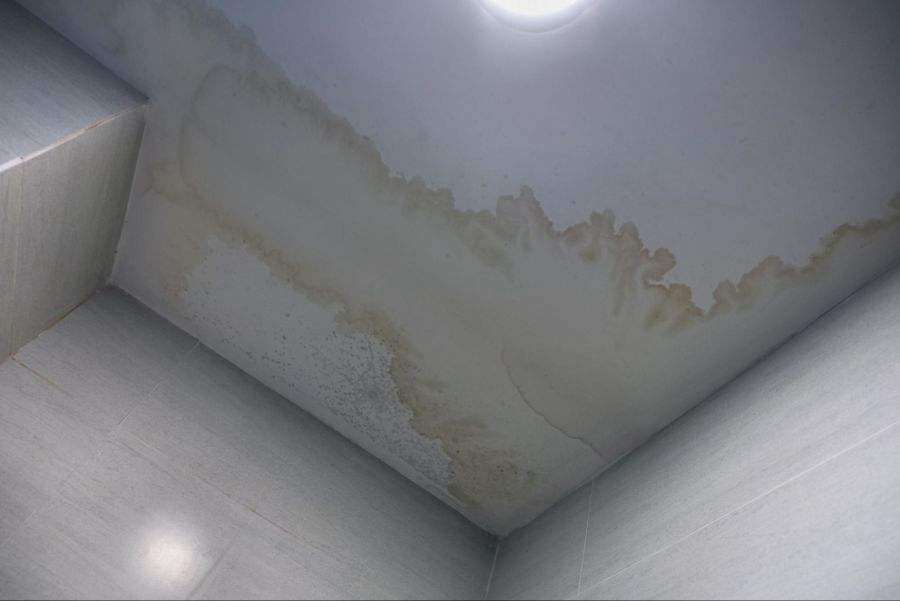
Read too: Bathroom Flooded Through the Ceiling: A Comprehensive Guide
The fan’s design is simple yet sophisticated, making it perfect for rooms with minimalist, modern, or transitional decor. With its clean lines and subtle elegance, it serves as both a functional cooling solution and a stylish accent piece.
2. Powerful Performance
The Ceiling Fan Model DL-4112 is engineered to provide powerful airflow, ensuring your space stays cool and comfortable even during the hottest days. Its motor is designed to deliver maximum air circulation while operating quietly, which is essential for bedrooms or workspaces where noise can be distracting.
With adjustable speeds, you can customize the airflow to suit your needs. Whether you’re looking for a gentle breeze or more robust air movement, this fan delivers just the right amount of cooling power.
3. Energy Efficiency
One of the main selling points of the Ceiling Fan Model DL-4112 is its energy efficiency. Equipped with an advanced motor and aerodynamic blades, this fan is designed to consume less electricity than traditional ceiling fans. As a result, it can help you reduce your energy bills while still providing optimal cooling performance.
In addition to saving energy, the Ceiling Fan Model DL-4112 also contributes to a more sustainable living space. By using less energy, you reduce your carbon footprint, making it an environmentally friendly choice.
4. Quiet Operation
Unlike many ceiling fans that can be noisy and distracting, the Ceiling Fan Model DL-4112 operates with minimal noise. This is especially important for rooms where you need peace and quiet, such as bedrooms or offices. With its efficient motor and precision-engineered blades, the fan provides smooth and silent airflow without disrupting your environment.
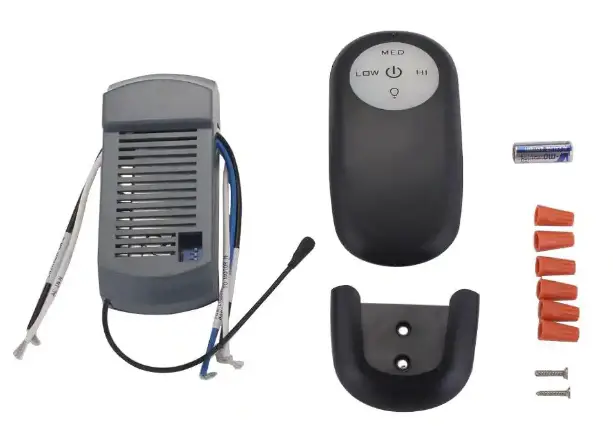
How to Install the Ceiling Fan Model DL-4112
Installing a ceiling fan may seem like a complicated task, but with the right instructions and tools, it can be done easily. The Ceiling Fan Model DL-4112 is designed for easy installation, so you can have it up and running in no time. Here’s a step-by-step guide to help you with the installation process.
1. Turn Off Power
Before you begin, make sure to turn off the power to the room where you will be installing the fan. This is important for your safety to avoid electrical accidents.
2. Assemble the Ceiling Fan
Start by assembling the fan components, such as the motor, blades, and mounting bracket. Follow the manufacturer’s instructions carefully to ensure that all parts are connected correctly.
3. Install the Mounting Bracket
The Ceiling Fan Model DL-4112 comes with a mounting bracket that should be securely attached to the ceiling. Use the appropriate screws and anchors to ensure the bracket is firmly in place. This step is crucial as the mounting bracket will support the weight of the fan.
4. Connect the Wiring
Next, connect the wiring from the fan to the ceiling wires. If you’re unsure about the electrical connections, it’s best to consult a licensed electrician. Proper wiring is important for the fan to operate safely and efficiently.
5. Attach the Fan to the Bracket
Once the wiring is connected, carefully lift the fan and attach it to the mounting bracket. Make sure it is securely fastened and positioned correctly.
6. Install the Fan Blades
After the fan is mounted, attach the blades to the motor. Ensure that they are evenly spaced and securely attached to prevent wobbling or instability during operation.
7. Test the Fan
Finally, turn the power back on and test the fan to make sure it’s working properly. Check for any wobbling or unusual noises. If everything is in order, you’re ready to enjoy the comfort of your new ceiling fan.
Maintenance Tips for the Ceiling Fan Model DL-4112
To keep your Ceiling Fan Model DL-4112 running smoothly and efficiently, regular maintenance is key. Here are a few simple tips to ensure that your fan stays in optimal condition for years to come.
1. Clean the Blades Regularly
Dust and dirt can accumulate on the blades over time, which can affect the fan’s performance. Use a microfiber cloth or a fan blade cleaning tool to wipe down the blades regularly. If the blades are especially dirty, you can gently clean them with a damp cloth, but be sure to dry them thoroughly afterward.
2. Check for Loose Screws
Over time, the screws that hold the fan together can loosen. Periodically check the screws on the mounting bracket, fan motor, and blades to make sure they are tightly secured. Tighten any loose screws to prevent wobbling or noise.
3. Inspect the Motor
The motor is the heart of the ceiling fan, so it’s important to check it regularly for signs of wear. If the fan starts making unusual noises or operates less efficiently, the motor may need to be serviced or replaced. Consult the manufacturer’s instructions or a professional technician for guidance.
4. Lubricate the Bearings
The bearings in the fan motor need lubrication to function smoothly. If your fan is making a grinding or scraping noise, it may be a sign that the bearings need lubrication. Apply a few drops of oil to the bearings to ensure smooth operation.
Why Choose the Ceiling Fan Model DL-4112?
The Ceiling Fan Model DL-4112 is a top-tier choice for anyone looking to enhance their space with both style and functionality. Its sleek design, powerful performance, energy efficiency, and quiet operation make it an ideal choice for a wide range of rooms. Whether you need to cool your home or office, this fan delivers optimal performance at an affordable price.