Are water spots on your ceiling causing concern? Dive into our comprehensive guide on “Water Spots On The Ceiling” to understand the causes, effects, and effective strategies for dealing with this common household issue.
Water Spots On The Ceiling: Understanding the Culprits
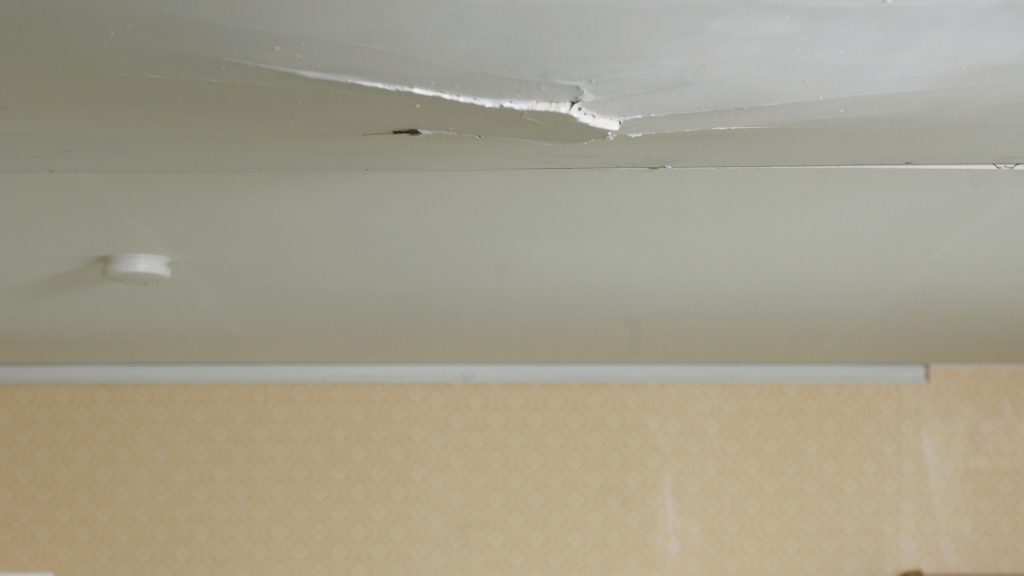
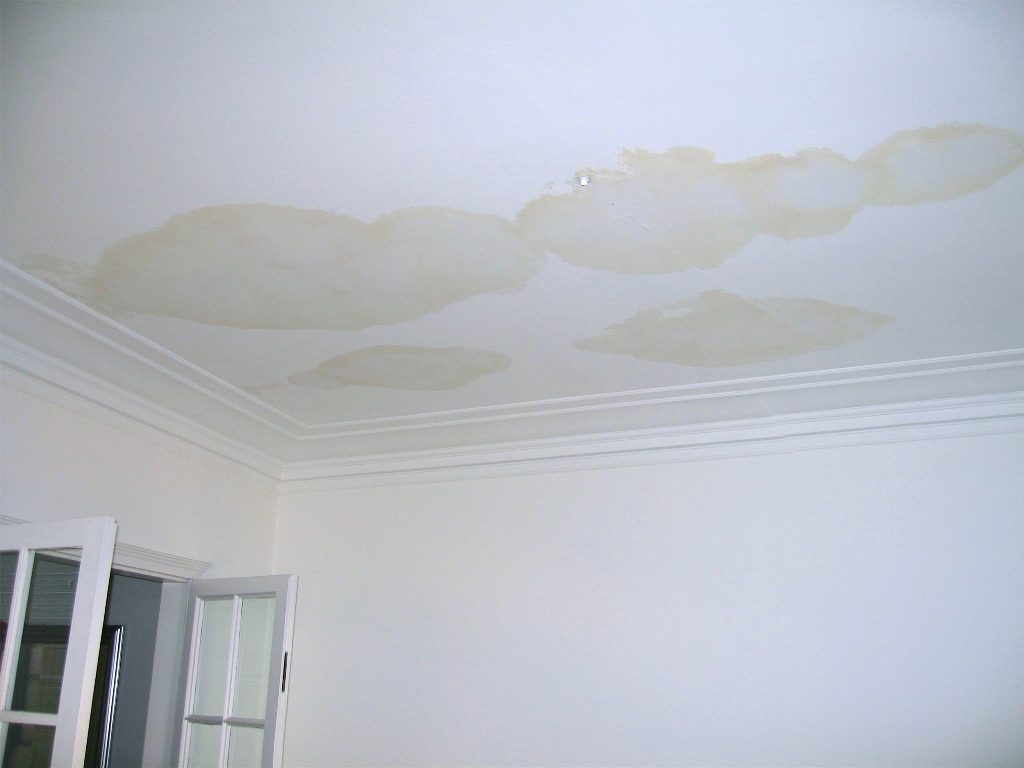
Decoding the Telltale Signs
Water spots on the ceiling are not only unsightly but can also be indicative of underlying issues. Before exploring solutions, let’s delve into the potential causes of water spots.
Water Spots On The Ceiling: Common Causes
1. Roof Leaks
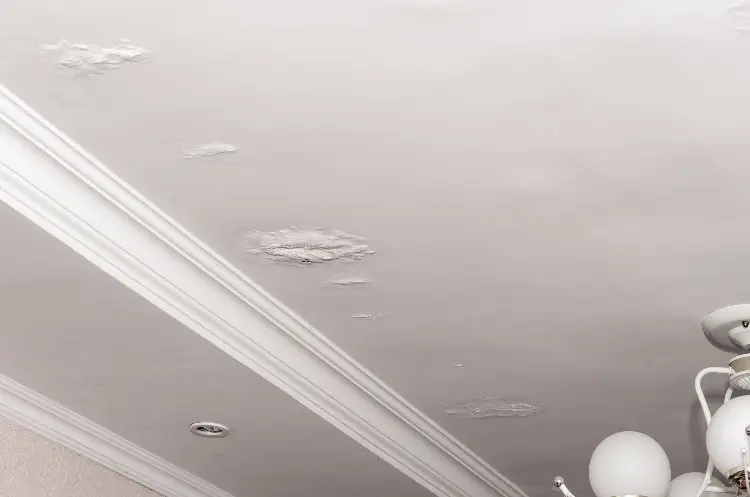
Roof leaks are a primary culprit behind water spots. Damaged or missing shingles, deteriorated flashing, or compromised roof seals can allow water to penetrate and create unsightly spots indoors.
Leaking pipes or plumbing fixtures located above the ceiling can contribute to water spots. Inspect your plumbing system for any signs of leaks, including dampness, discoloration, or dripping water.
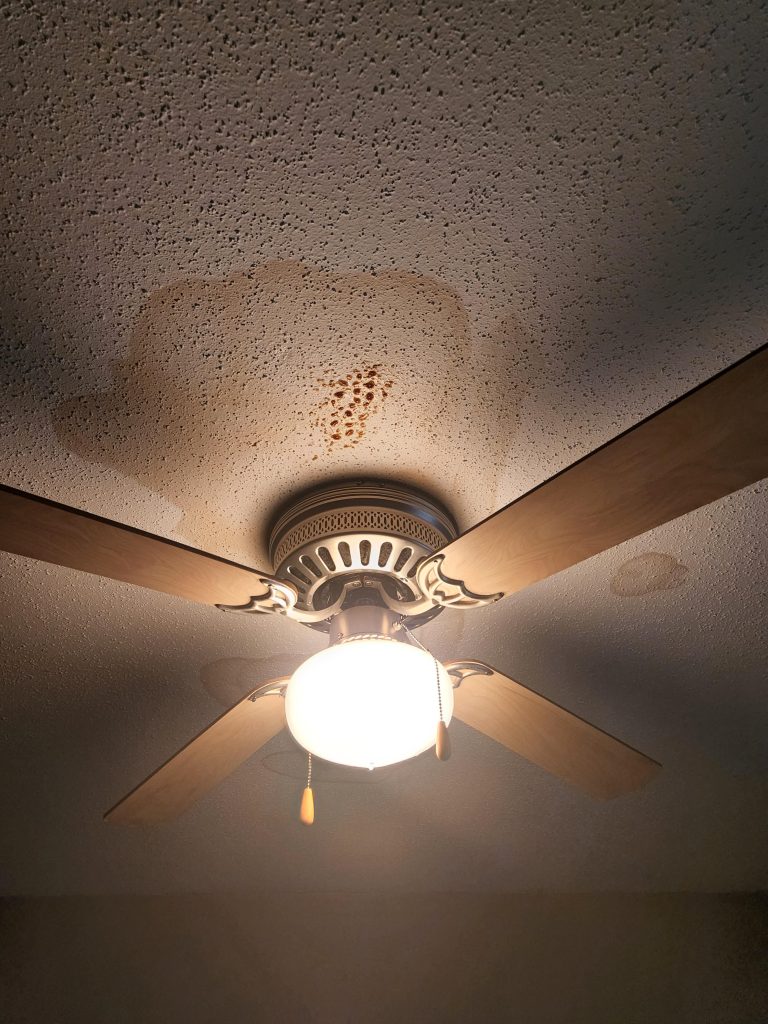
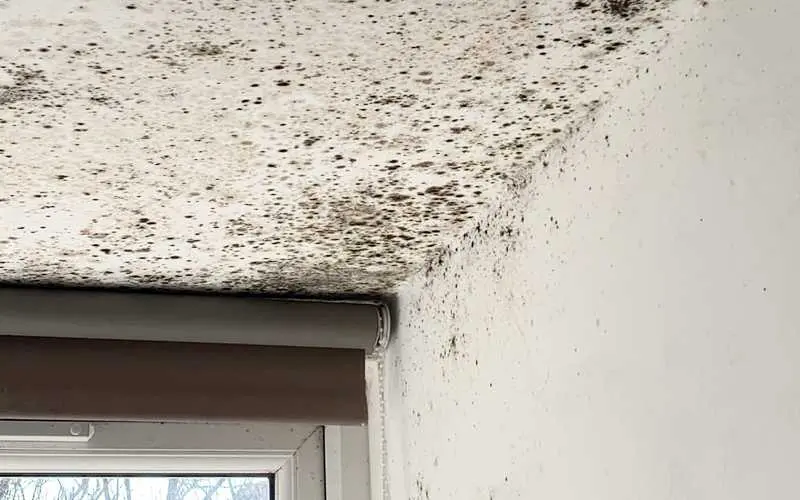
3. Condensation Problems
Excessive moisture and poor ventilation can lead to condensation on ceilings, resulting in water spots. This is particularly common in bathrooms, kitchens, and areas with high humidity levels.
4. Window Leaks
Improperly sealed windows can allow rainwater to infiltrate and create water spots. Regularly inspect windows for any gaps, cracks, or damaged seals.
Addressing Water Spots On The Ceiling: Effective Strategies
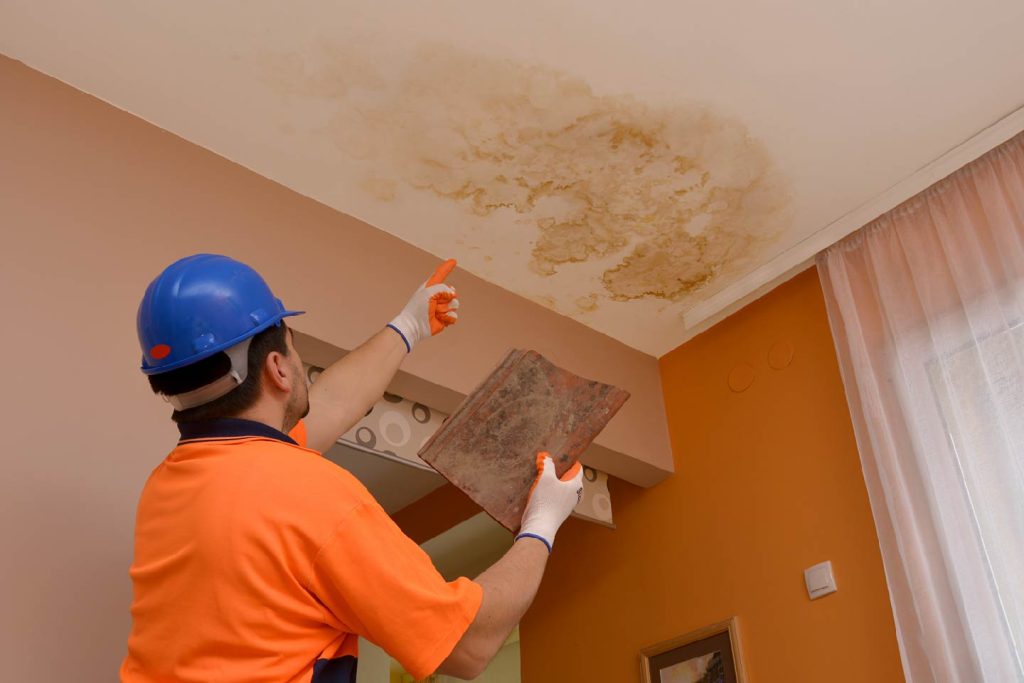
1. Identify and Repair Roof Leaks
Engage a professional to inspect and repair any roof leaks. This may involve patching damaged areas, replacing shingles, or addressing issues with flashing and seals.
2. Check and Fix Plumbing Leaks
Inspect your plumbing system for leaks and address them promptly. Tighten loose connections, replace damaged pipes, and fix any issues with plumbing fixtures.
3. Improve Ventilation and Reduce Condensation
Enhance ventilation in moisture-prone areas by using exhaust fans and ensuring proper airflow. Consider using dehumidifiers to reduce overall humidity levels in your home.
4. Seal and Weatherproof Windows
Inspect windows for any signs of leaks and seal gaps or cracks. Consider adding weatherstripping or reapplying caulk to ensure a watertight seal.
Proactive Measures
1. Regular Inspections
Conduct regular inspections of your roof, plumbing, and windows to identify and address potential issues before they lead to water spots.
2. Maintain Gutters and Downspouts
Keep gutters and downspouts clear of debris to prevent water from overflowing and potentially entering your home.
3. Prompt Repairs*
Address any signs of damage or wear promptly. Whether it’s a leaky roof or a plumbing issue, swift repairs can prevent the development of water spots.
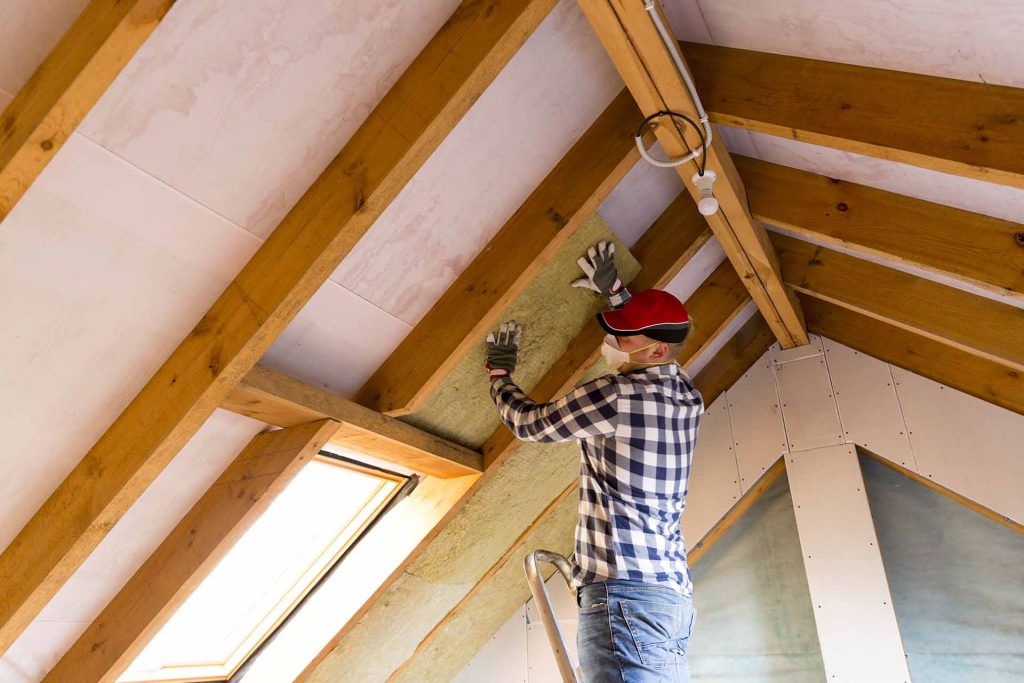
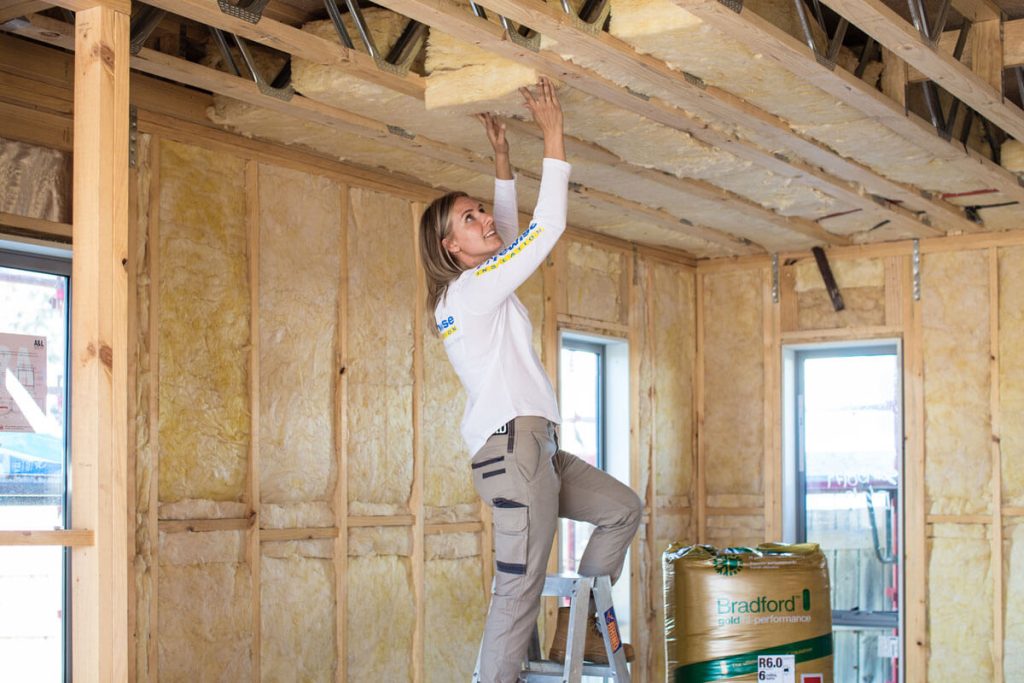
Read too: A Step-by-Step Guide to Installing Rockwool Insulation in Your Ceiling: Unlock Energy Efficiency
Conclusion: A Dry and Damage-Free Ceiling Awaits
In conclusion, water spots on the ceiling are often indicative of underlying issues that require attention. By understanding the common causes, implementing effective strategies to address current spots, and taking proactive measures to prevent future occurrences, you can ensure a dry and damage-free ceiling. Stay vigilant, act promptly, and enjoy a home free from the unsightly marks of water spots.