Drop ceilings, also known as suspended ceilings, have become a popular choice for modern interiors. They are practical, versatile, and capable of enhancing the aesthetic of any space. One standout option is the Drop Ceiling Black Grid, which adds a bold and contemporary touch to commercial and residential areas alike.
In this article, we’ll delve into the features, benefits, installation process, and design inspirations for a drop ceiling black grid, helping you determine if this option is right for your project.
What Is a Drop Ceiling Black Grid?
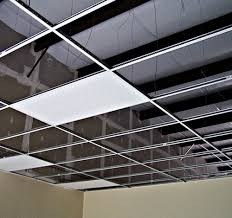
A drop ceilings black grid is a type of suspended ceiling where the grid system, typically used to support ceiling tiles, is finished in a sleek black color. The black grid creates a striking visual contrast against light-colored tiles or enhances a minimalist aesthetic with darker tones.
Read too: Shiplap Ceiling in Kitchen: A Timeless Trend for a Stylish and Cozy Space
Features of a Drop Ceiling Black Grid:
- Material: Usually made of durable metal or high-quality plastic.
- Finish: Powder-coated or painted in black for a smooth, matte, or glossy finish.
- Size Options: Grids come in standard sizes to fit common tile dimensions, such as 2×2 feet or 2×4 feet.
Benefits of a Drop Ceiling Black Grid
1. Aesthetic Appeal
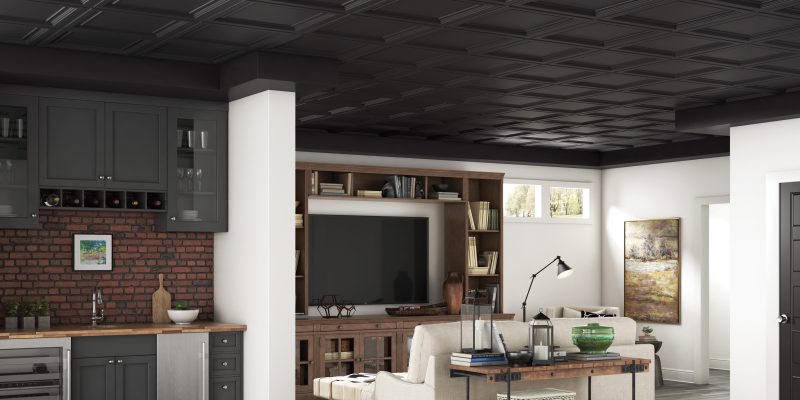
The black grid brings a contemporary and industrial look to interiors, making it ideal for offices, retail stores, restaurants, and modern homes.
2. Enhanced Depth
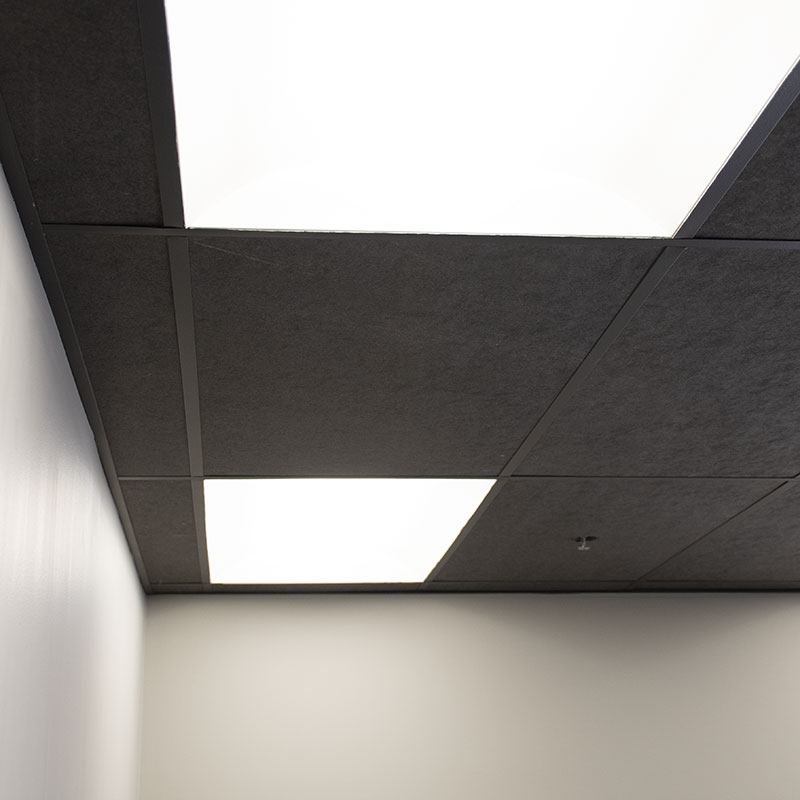
A black grid contrasts beautifully with lighter tiles, creating an illusion of depth and dimension in the room.
3. Versatility
It complements a variety of design themes, from industrial chic to minimalist and even urban modern.
4. Conceals Imperfections
Like all drop ceilings, it hides electrical wiring, ductwork, and other structural elements while still providing easy access for maintenance.
5. Improved Acoustics
Paired with acoustic tiles, a drop ceiling black grid can significantly reduce noise levels, enhancing comfort in busy spaces.
6. Customizable Options
Black grids can be paired with different tile designs, from sleek plain tiles to decorative patterns, for a personalized touch.
Where to Use a Drop Ceiling Black Grid
1. Commercial Spaces
Black grids are often seen in offices, restaurants, and retail stores, creating a modern and professional atmosphere.
2. Basements
In residential homes, a drop ceiling black grid can elevate basement spaces, making them functional and stylish.
3. Theaters and Entertainment Areas
The dark grid reduces light reflection, making it ideal for home theaters or performance venues.
4. Industrial-Style Homes
A black grid complements exposed brick walls, metal accents, and other industrial design elements.
Installation of a Drop Ceiling Black Grid
Step 1: Measure the Space
Determine the dimensions of the area where the grid will be installed.
Step 2: Choose the Right Materials
Select a black grid system that matches your tile size and weight requirements.
Step 3: Prepare the Ceiling
Clear the area, ensure proper ventilation, and mark the layout for the grid system.
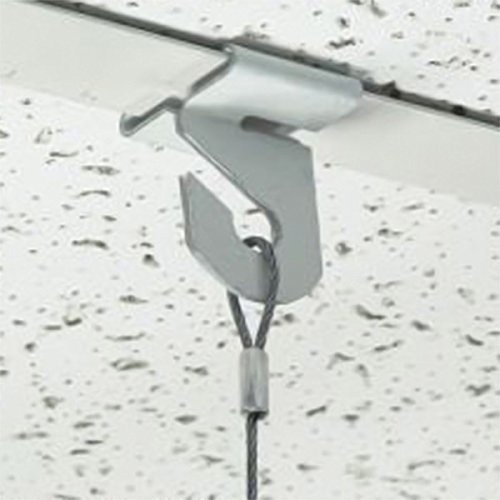
Step 4: Install the Grid System
- Attach wall angles along the perimeter of the room.
- Hang main runners and cross tees using wires anchored to the ceiling joists.
- Ensure the grid is level and secure.
Step 5: Insert Ceiling Tiles
Place tiles into the grid, ensuring a snug and even fit.
Step 6: Test the Setup
Check for stability and alignment. Make adjustments as needed.
Maintenance Tips for a Drop Ceiling Black Grid
- Regular Cleaning
Dust and clean the grid with a microfiber cloth to maintain its appearance. - Inspect for Damage
Regularly check for loose tiles or grid sections and repair them promptly. - Repaint If Necessary
Over time, touch up scratches or discoloration with matching black paint. - Keep It Dry
Ensure no water leakage from above, as prolonged exposure can damage the tiles and grid.
Design Ideas for a Drop Ceiling Black Grid
1. Monochrome Theme
Pair the black grid with white or light gray tiles for a clean, high-contrast look.
2. Industrial Vibes
Combine the black grid with exposed pipes and metal lighting fixtures for an industrial feel.
3. Bold Accents
Use decorative tiles with metallic or patterned designs to add character.
4. Open Concept
In spaces with high ceilings, use a black grid with recessed lighting to create a sense of openness.
Why Choose a Drop Ceiling Black Grid?
If you’re aiming for a modern aesthetic while retaining functionality, a drop ceiling black grid is an excellent choice. It enhances the visual appeal of any room, offers practical benefits like soundproofing and easy maintenance, and works well with various interior styles.
Cost Considerations
The cost of a drop ceiling black grid depends on factors such as:
- Material Quality: Metal grids are more expensive than plastic ones.
- Tile Selection: Premium acoustic or decorative tiles add to the overall cost.
- Installation: DIY installations are cost-effective, but hiring professionals ensures a polished finish.
FAQs
1. Can I install a black grid in a residential home?
Absolutely! Black grids work well in basements, home theaters, and modern living areas.
2. Are black grids more expensive than standard grids?
Typically, black grids may cost slightly more due to their unique finish and style.
3. How do I clean and maintain a black grid ceiling?
Use a microfiber cloth for regular cleaning, and avoid abrasive cleaners that may damage the finish.
4. What types of tiles work best with black grids?
White tiles, acoustic tiles, or tiles with metallic patterns pair beautifully with black grids.
Conclusion
A Drop Ceiling Black Grid offers a perfect blend of functionality and aesthetics for any space. Whether you’re designing an office, a retail store, or a stylish home interior, the sleek black grid creates a bold, contemporary look while maintaining practicality.
From installation to maintenance, this guide equips you with all the information needed to make an informed decision. Start exploring your options and transform your space with the modern elegance of a drop ceiling black grid.