Understanding and Dealing with Toilet Overflow Water Damage to Ceiling Below

Experiencing toilet overflow water damage to the ceiling below can be a homeowner’s worst nightmare. In this comprehensive guide, we’ll delve into the causes behind this issue, explore preventive measures, and outline steps to effectively deal with the aftermath.
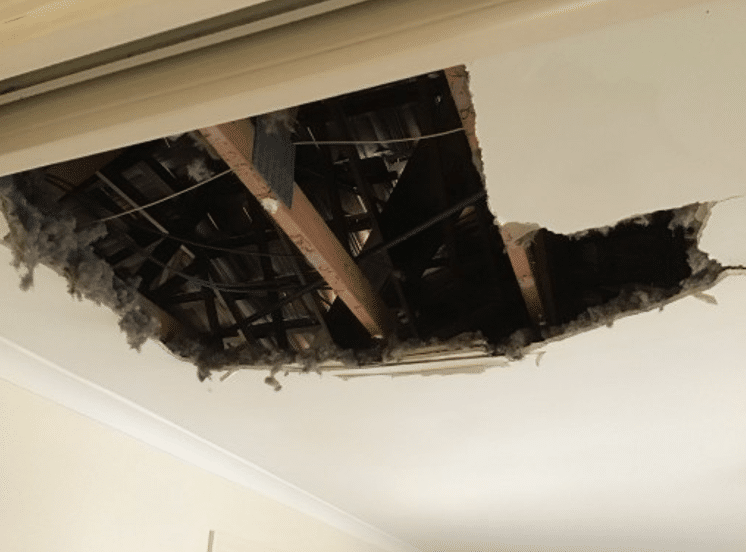
Toilet Overflow Water Damage To Ceiling Below

Understanding Toilet Overflow Water Damage to Ceiling Below

What Causes Toilet Overflow Water Damage?

Toilet overflow water damage to the ceiling below can occur due to various factors, including:

  • Clogged Drain: A blockage in the toilet’s plumbing system can cause water to back up and overflow, leading to damage to the ceiling below.
  • Faulty Toilet Components: Malfunctioning toilet components such as the fill valve, flapper, or float can result in continuous water flow, eventually causing an overflow.
  • Sewer Line Issues: Problems with the sewer line, such as blockages or backups, can cause water to flow back into the toilet and overflow.

Signs of Toilet Overflow Water Damage

Identifying signs of toilet overflow water damage to the ceiling below is crucial for prompt intervention. Look out for the following indicators:

  • Water stains or discoloration on the ceiling
  • Sagging or bulging ceiling tiles
  • Dampness or moisture in the affected area
  • Peeling paint or wallpaper

Read too: Exploring Craftsman Style Ceiling Fans for Your Home: Embracing Timeless Elegance

Preventive Measures to Avoid Toilet Overflow

Regular Maintenance

  • Schedule routine inspections of your toilet’s plumbing system to detect and address any leaks or issues promptly.
  • Avoid flushing non-biodegradable items such as wipes, paper towels, or hygiene products down the toilet to prevent clogs.

Upgrade Toilet Components

  • Install a toilet overflow prevention device, such as an automatic shut-off valve, to stop water flow in the event of an overflow.
  • Consider upgrading to a modern, water-efficient toilet with advanced flushing mechanisms to minimize the risk of overflow.

Dealing with Toilet Overflow Water Damage

Step 1: Stop the Water Source

  • Turn off the toilet’s water supply by locating the shut-off valve near the base of the toilet and turning it clockwise.

Step 2: Assess the Damage

  • Inspect the extent of the water damage to the ceiling below, including any structural issues or electrical hazards.

Step 3: Dry and Clean the Affected Area

  • Use towels, mops, or a wet/dry vacuum to remove excess water from the floor and ceiling.
  • Thoroughly clean and disinfect the affected area to prevent mold and mildew growth.

Step 4: Repair and Restoration

  • Repair any plumbing issues contributing to the overflow, such as clogs or faulty components.
  • Replace damaged ceiling tiles, drywall, or insulation as needed to restore the integrity of the ceiling below.

Conclusion

Dealing with toilet overflow water damage to the ceiling below requires swift action and thorough remediation to prevent further structural damage and mold growth. By understanding the causes, implementing preventive measures, and taking prompt steps to address the issue, you can effectively mitigate damage and restore your home’s safety and comfort.
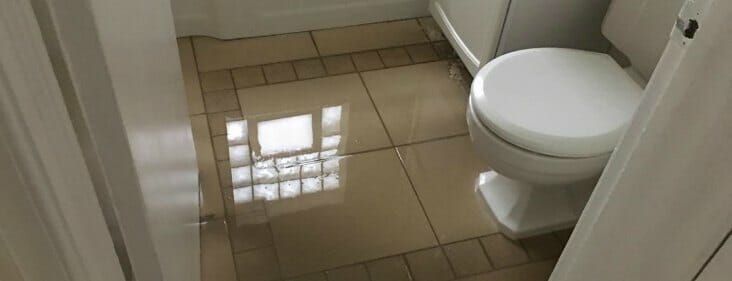
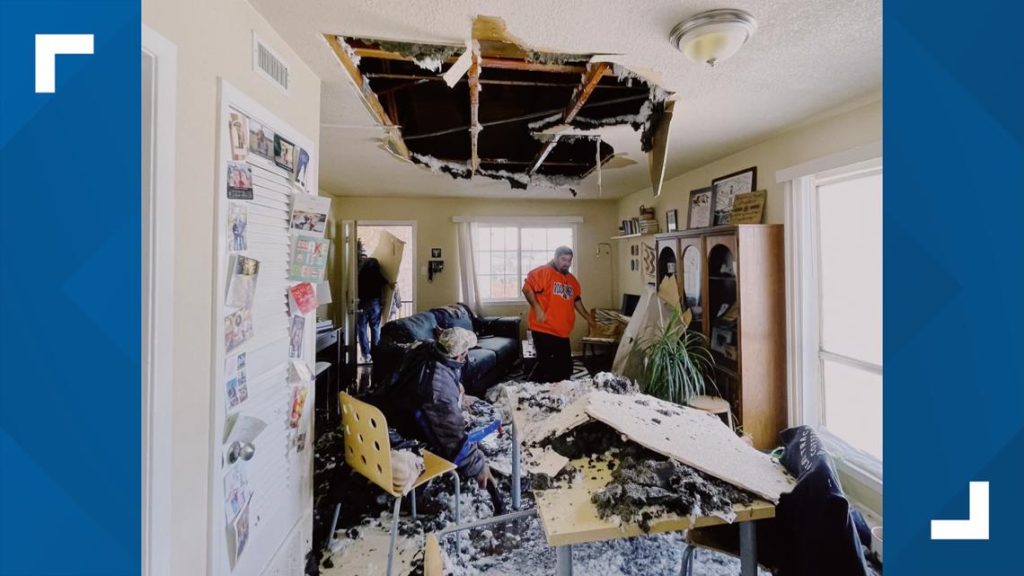
Dealing with a Toilet Flooded Through Ceiling: Causes, Prevention, and Solutions

Are you facing the nightmare of a toilet flooded through the ceiling? Don’t panic! In this comprehensive guide, we’ll explore the causes behind this common household disaster, how to prevent it from happening, and the steps to take if it does occur.

Toilet Flooded Through Ceiling

Understanding Toilet Flooded Through Ceiling

What Causes a Toilet to Flood Through the Ceiling?

A toilet flooding through the ceiling can occur due to various reasons, including:

  • Clogged Drain: A clogged toilet drain can lead to water backup, causing overflow and subsequent leakage through the floor and ceiling below.
  • Faulty Plumbing: Issues such as damaged pipes, loose connections, or deteriorated seals can result in water leakage from the toilet, eventually seeping through the ceiling.
  • Overflowing Tank: Malfunctioning toilet components, such as the fill valve or flapper, can cause the toilet tank to overflow, resulting in water damage to the surrounding areas.

Signs of a Toilet Flooded Through Ceiling

Identifying a toilet flooded through the ceiling early is crucial for minimizing damage. Look out for these signs:

  • Water stains or discoloration on the ceiling
  • Dampness or moisture in the affected area
  • Sagging or bulging ceiling tiles
  • Dripping or pooling water from the ceiling

Prevention Tips to Avoid Toilet Floods

Regular Maintenance

  • Schedule routine inspections of your plumbing system to detect and address any leaks or issues promptly.
  • Keep drains clear by avoiding flushing items that could cause clogs, such as paper towels, wipes, or sanitary products.

Upgrade Plumbing Fixtures

  • Install water-saving toilet models equipped with efficient flushing mechanisms to reduce the risk of overflow.
  • Consider investing in a toilet overflow alarm that alerts you to potential flooding before it escalates.

Read too: Exploring Craftsman Style Ceiling Fans for Your Home: Embracing Timeless Elegance

What to Do When Faced with a Toilet Flooded Through Ceiling

Step 1: Turn Off the Water Supply

  • Locate the shut-off valve near the base of the toilet and turn it clockwise to stop the flow of water.
  • If the shut-off valve is inaccessible or malfunctioning, shut off the main water supply to your home.

Step 2: Address Immediate Safety Concerns

  • Safely remove electrical appliances or furniture from the affected area to prevent electrocution or further damage.
  • Exercise caution when navigating wet areas to avoid slips and falls.

Step 3: Assess the Damage

  • Inspect the extent of the water damage to the ceiling, walls, and floors.
  • Document the damage with photographs for insurance purposes.

Step 4: Mitigate Water Damage

  • Use towels or a wet/dry vacuum to remove excess water from the floor.
  • Place buckets or containers beneath the affected area to catch dripping water and prevent further saturation.

Step 5: Seek Professional Help

  • Contact a licensed plumber and water damage restoration specialist to assess and address the underlying issues.
  • Consult with your insurance provider to understand your coverage and file a claim if necessary.

Conclusion

A toilet flooded through the ceiling can wreak havoc on your home, but with prompt action and preventive measures, you can minimize the damage and restore safety and comfort. Remember to stay vigilant, invest in regular maintenance, and seek professional assistance when needed to safeguard your home from future disasters.

Understanding and Addressing a Pipe Burst in Ceiling Catastrophe: Navigating the Crisis

Experiencing a pipe burst in the ceiling can be a homeowner’s nightmare. In this comprehensive guide, we’ll explore the intricacies of dealing with a “Pipe Burst In Ceiling,” unraveling the potential causes, immediate actions, and long-term solutions to navigate through this water-related crisis. Let’s delve into the world of pipe bursts and empower you with the knowledge to minimize damage and restore your home.

Pipe Burst In Ceiling

Pipe Burst In Ceiling: Decoding Causes and Consequences

Unveiling the Culprit: What Triggers a Pipe Burst in Ceiling

  1. Freezing Temperatures: The Winter MenaceIn colder climates, frozen pipes are a common cause of bursts. When water freezes within a pipe, it expands, exerting immense pressure. The force can lead to pipe rupture, particularly in unheated or poorly insulated areas.
  2. Corrosion and Aging: The Silent ErosionOver time, pipes can deteriorate due to corrosion, especially in older homes with aging plumbing systems. The gradual weakening of the pipe material can result in vulnerability, making it susceptible to bursting.
  3. High Water Pressure: The Pressure PredicamentExcessively high water pressure is another culprit behind pipe bursts. Constant high pressure can strain the pipes, causing them to weaken and eventually rupture. Installing a pressure regulator can mitigate this risk.

Managing the Crisis: Immediate Actions for a Pipe Burst in Ceiling

In this section, we’ll discuss crucial immediate actions to take when facing a pipe burst in the ceiling. Quick response is key to minimizing damage and potential long-term consequences.

1. Shut Off the Water Supply: Halting the Onslaught

The first and most urgent step is to shut off the water supply to the affected area. Locate the main water shut-off valve and turn it off to prevent further water from entering the burst pipe.

2. Drain Faucets: Reducing Pressure

Open faucets in the affected area to drain any remaining water and reduce pressure within the pipes. This helps alleviate stress on the burst section and minimizes the extent of water damage.

3. Remove Standing Water: Mitigating Secondary Damage

Use buckets, towels, or a wet/dry vacuum to remove standing water from the affected area. Quick water extraction is crucial to prevent additional damage to the ceiling, walls, and flooring.

Long-Term Solutions: Addressing Repairs and Restoration

1. Professional Assessment: Diagnosing the Extent

Engage the services of a professional plumber to assess the extent of the damage and identify the specific location of the pipe burst. Their expertise is crucial in determining the best course of action for repairs.

2. Pipe Replacement: Ensuring Structural Integrity

In cases where the burst pipe is severely damaged, replacement may be necessary. Modern materials, such as PEX or copper, offer durability and resistance to corrosion, providing a long-term solution to prevent future bursts.

3. Ceiling Repairs: Restoring Aesthetics

Once the plumbing repairs are complete, focus on restoring the damaged ceiling. Patching, repainting, and addressing any structural issues are essential to bring the affected area back to its pre-damage condition.

Preventive Measures: Safeguarding Against Future Pipe Bursts

1. Insulation: Guarding Against Freezing

Insulate pipes in unheated or vulnerable areas to prevent freezing. Adding insulation sleeves or wrapping pipes with heat tape can provide a protective barrier against the cold.

2. Regular Inspections: Staying Proactive

Conduct regular inspections of your plumbing system to identify signs of corrosion, wear, or potential weaknesses. Early detection allows for timely repairs or replacements, reducing the risk of future pipe bursts.

3. Maintain Proper Water Pressure: Balancing Act

Install a pressure regulator if your water pressure is consistently high. Maintaining optimal water pressure not only protects your pipes but also contributes to the longevity of your plumbing system.

Read too: Understanding Asbestos in Ceiling Plaster and Ensuring a Safe Home: Unveiling the Dangers

Conclusion: Bouncing Back from a Pipe Burst in Ceiling

While a pipe burst in the ceiling is undoubtedly a stressful situation, timely and informed actions can help you navigate through the crisis. By understanding the causes, taking immediate actions, and implementing long-term solutions, homeowners can minimize damage and restore their homes to a state of normalcy.

Remember, preparation and proactive measures are your allies in safeguarding against future pipe bursts. With the right knowledge and a swift response, you can bounce back from a pipe burst in the ceiling and fortify your home against similar incidents in the future.