Discovering a crack in your ceiling can be a cause for concern and, understandably, can raise questions about the structural integrity of your home. But don’t panic just yet. In this article, we’ll explore the various reasons why cracks can form in your ceiling, how to assess the severity of the issue, and what steps to take to address it effectively.
Understanding Ceiling Cracks
Ceiling cracks can take on various forms and sizes, and they can occur for a range of reasons. Understanding the type and cause of the crack is crucial in determining the appropriate course of action.
Common Types of Ceiling Cracks:
- Hairline Cracks: These are very fine, often barely visible, cracks. They are typically cosmetic and may not be a cause for concern.
- Settlement Cracks: These cracks are a result of the natural settling of your home over time. While they can be unsightly, they are often non-structural.
- Stress Cracks: These cracks are usually caused by structural movement, temperature fluctuations, or external factors like nearby construction. They can vary in size and might indicate a more significant issue.
Causes of Ceiling Cracks:
- Aging and Settlement: As homes age, they can settle, leading to minor cracks. This type of cracking is usually not a structural concern.
- Humidity and Temperature Changes: Fluctuations in humidity and temperature can cause materials to expand and contract, resulting in stress cracks.
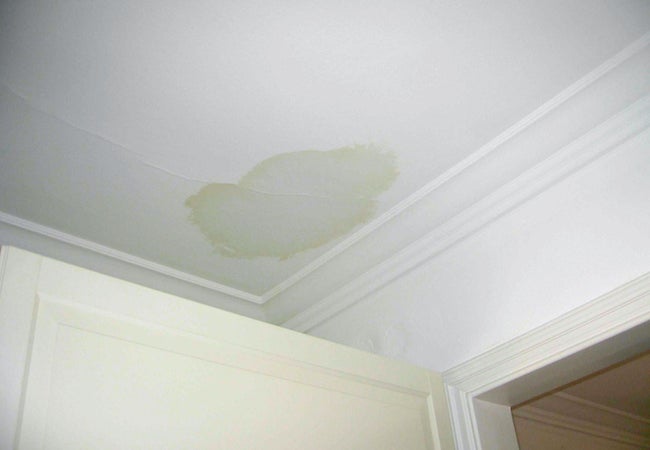
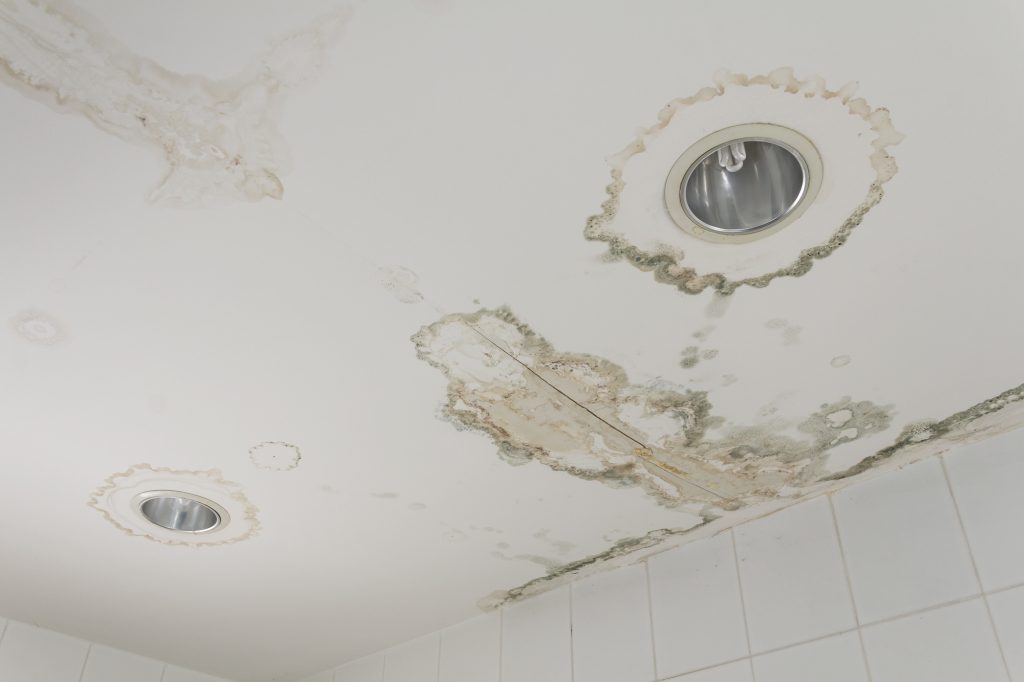
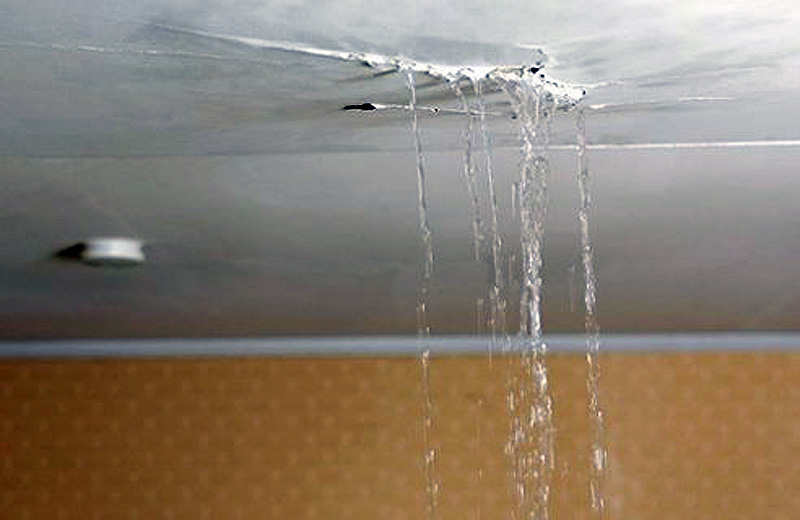
- Water Damage: Leaking roofs, plumbing, or inadequate ventilation can lead to water damage, causing ceiling cracks.
- Structural Issues: In some cases, ceiling cracks can be a sign of more substantial structural problems, such as foundation issues or roof damage.
Assessing the Severity
The first step in dealing with a ceiling crack is to assess its severity. Here’s how to do it:
- Examine the Crack: Inspect the crack’s size, location, and any patterns. If it’s a hairline crack or a minor settlement crack, it may be cosmetic. However, stress cracks or those associated with water damage could be more concerning.
- Measure the Width: Use a ruler or measuring tape to determine the crack’s width. Cracks less than 1/8 inch wide are often considered minor. Anything wider may warrant further attention.
- Monitor for Changes: Keep an eye on the crack over time. If it continues to grow or if new cracks appear, it may indicate an ongoing issue.
Steps to Take When You Have a Ceiling Crack
If you discover a crack in your ceiling, here’s what you should do:
1. Cosmetic Cracks:
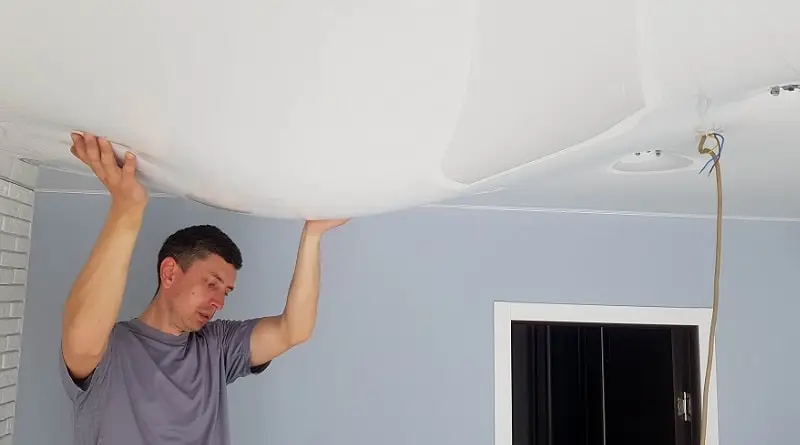
- For hairline or minor cosmetic cracks, you can fill them with spackling or joint compound and then paint over the area for a seamless look.
- Ensure proper ventilation and humidity control in your home to minimize future cracking.
2. Settlement Cracks:
- If the crack is a result of settling, it may be best to monitor it for any changes. Minor settlement cracks often do not require extensive repair.
3. Stress Cracks:
- Stress cracks could be more concerning, especially if they continue to grow. It’s advisable to consult a structural engineer or contractor to evaluate the underlying issues and recommend appropriate repairs.
4. Water Damage:
- If the crack is due to water damage, you must identify and address the source of the water intrusion before repairing the ceiling. Fix any roof or plumbing issues and ensure proper ventilation.
5. Structural Issues:
- In cases where the ceiling crack is associated with structural problems, consult with a professional engineer or contractor to assess the severity of the issue and develop a comprehensive repair plan.
Read too: What To Do About Mice In Ceiling
Conclusion
Finding a crack in your ceiling can be a worrisome experience, but not all cracks are cause for alarm. By understanding the type of crack and its possible causes, you can take the appropriate steps to address the issue. Whether it’s a minor cosmetic crack, a settlement crack, or a more significant structural concern, a timely and well-informed response will help you maintain the integrity and appearance of your home’s ceiling.