When it comes to home improvement, one area that often gets overlooked is the garage ceiling. While garages are typically not used as living spaces, insulating the garage ceiling can offer significant benefits. It helps in temperature control, energy savings, noise reduction, and even enhances the overall comfort of the home. If you’re considering upgrading your garage ceiling, you might be wondering: What is the best insulation for garage ceiling? In this article, we’ll dive into the different options available and help you decide the best fit for your home.
Why Should You Insulate Your Garage Ceiling?
Before we jump into the best insulation options, let’s first discuss why you should consider insulating your garage ceiling. Insulating your garage ceiling can have several advantages:
1. Temperature Regulation
One of the primary reasons to insulate your garage ceiling is to control the temperature in your garage and the adjacent rooms in your home. An uninsulated garage ceiling can lead to significant heat loss in winter and excessive heat buildup in summer. Insulating the ceiling helps keep the temperature inside the garage more consistent, making it more comfortable to work in or store temperature-sensitive items.
2. Energy Savings
A well-insulated garage ceiling can help lower your overall energy bills. By preventing heat from escaping through the ceiling or entering from above, your HVAC system doesn’t have to work overtime to maintain the desired temperature in the rest of the house.
3. Noise Reduction
If you use your garage as a workshop, home gym, or music studio, you may want to consider insulation for noise reduction. Insulation absorbs sound, making it an effective solution for reducing noise from activities in the garage from reaching the rest of the house.
Read too: Shiplap Ceiling in Kitchen: A Timeless Trend for a Stylish and Cozy Space
4. Pest Control
Insulating the ceiling also acts as a barrier against pests and rodents that might try to enter your garage from the attic or crawl spaces.
Types of Insulation for Garage Ceilings
There are various types of insulation materials you can choose from, each with its own set of benefits. The best insulation for garage ceiling will depend on factors like your budget, climate, and whether you want to install it yourself or hire a professional. Below are some of the most popular insulation options for garage ceilings:
1. Fiberglass Batt Insulation
Fiberglass batt insulation is one of the most common types of insulation for garage ceilings. This type of insulation consists of large, flat pieces of fiberglass material that can be installed between the ceiling joists. It comes in pre-cut panels that are easy to handle and install.
Pros:
- Affordable
- Easy to install for DIYers
- Good thermal performance
Cons:
- Not ideal for spaces with moisture issues
- Can be difficult to cut to fit irregular spaces
Fiberglass batt insulation is a great choice if you’re looking for a cost-effective option and are comfortable with a DIY installation. However, if you live in a particularly humid or damp area, fiberglass may absorb moisture, which could lead to mold or mildew growth.
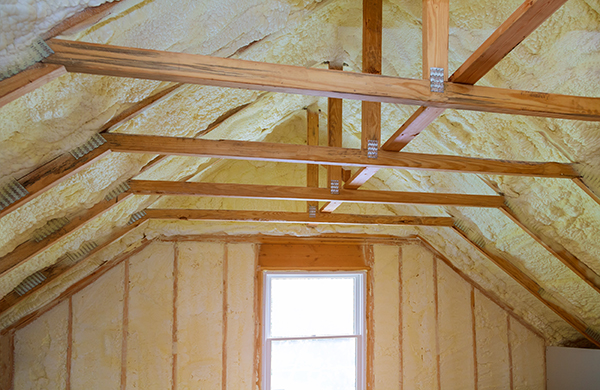
2. Spray Foam Insulation
Spray foam insulation is another highly effective option for insulating your garage ceiling. This type of insulation is applied as a liquid foam, which then expands and hardens to form an airtight seal. Spray foam is available in two types: open-cell and closed-cell, with closed-cell being more commonly used in ceiling applications.
Pros:
- Provides an airtight seal
- Excellent for energy efficiency
- Great at filling gaps and cracks
- Moisture-resistant (especially closed-cell)
Cons:
- More expensive than fiberglass
- Requires professional installation (unless you purchase DIY kits)
Spray foam insulation is one of the best insulation for garage ceiling options if you’re willing to invest a little more for superior performance. It helps create a barrier that keeps both temperature and noise under control. However, if you’re on a budget, spray foam may not be the most affordable option.
3. Rigid Foam Board Insulation
Rigid foam board insulation consists of solid panels made from materials like polystyrene, polyisocyanurate, or polyurethane. It’s often used in areas where high moisture resistance is needed, making it ideal for areas with higher humidity levels, such as garages near water or with no ventilation.
Pros:
- Offers high R-value (better thermal resistance)
- Moisture resistant
- Easy to install with simple cutting and fitting
Cons:
- Can be more expensive than fiberglass batt insulation
- Doesn’t offer as much soundproofing as other options
If you’re looking for insulation that can handle moisture and give you excellent thermal protection, rigid foam board may be a great choice. It’s especially helpful for homeowners who want to ensure their garage remains dry and insulated year-round.
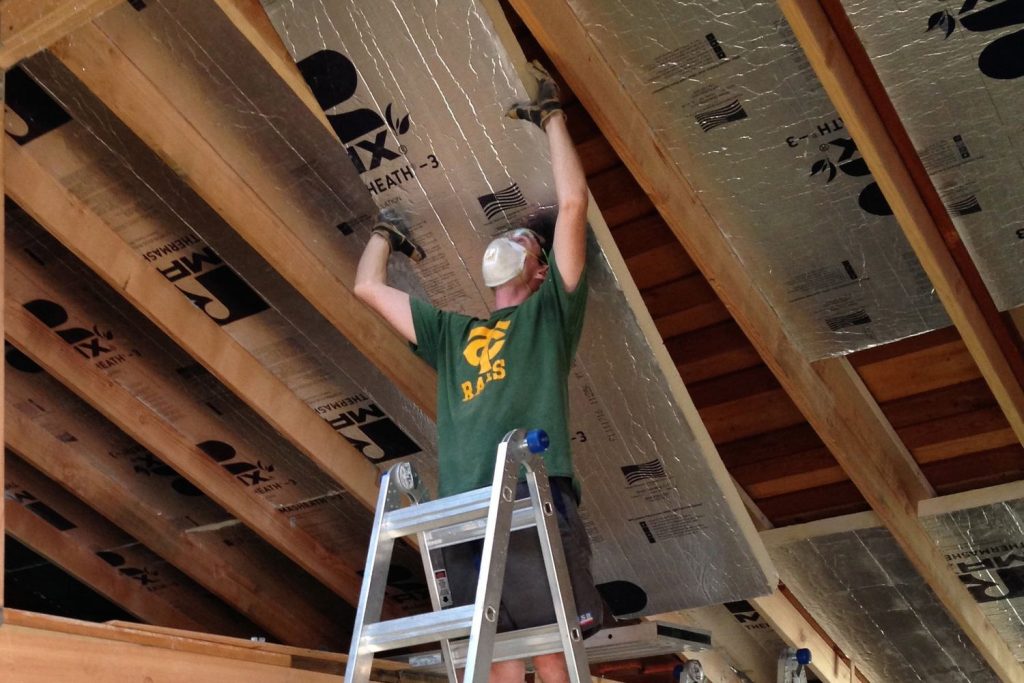
4. Reflective or Radiant Barrier Insulation
Reflective or radiant barrier insulation is primarily designed to reflect heat away from your garage in hot climates. It consists of a reflective material, such as aluminum, installed in the ceiling to prevent the absorption of radiant heat. While it is not a stand-alone solution for insulating the entire space, it can be effective when combined with other insulation types for added benefits.
Pros:
- Reflects radiant heat
- Ideal for hot climates
- Cost-effective option when used with other insulation
Cons:
- Not effective in colder climates
- Does not provide significant soundproofing
Radiant barrier insulation is ideal for homes in warmer climates where the primary concern is keeping the garage cool. However, it is not the best option if you’re looking for insulation to manage cold weather or if you need noise reduction.
5. Cellulose Insulation
Cellulose insulation is made from recycled paper products, such as newspapers, and is treated with a fire-retardant. It can be blown into the ceiling cavity for an effective air seal.
Pros:
- Environmentally friendly
- Good at filling gaps and cracks
- Provides excellent thermal and sound insulation
Cons:
- Can settle over time, reducing its effectiveness
- Requires professional installation
Cellulose insulation is an eco-friendly option for homeowners looking to insulate their garage ceiling without compromising on thermal efficiency. While it’s a good choice for insulating against both heat and sound, it may require professional installation due to the need for specialized equipment.
Best Insulation for Garage Ceiling: Our Top Recommendations
When choosing the best insulation for your garage ceiling, it’s important to consider your specific needs. Here are our top recommendations based on different priorities:
- For Maximum Energy Efficiency: Spray Foam Insulation
If energy savings is your top priority, spray foam insulation is the best option due to its airtight seal and ability to resist air leakage. - For Budget-Friendly Installation: Fiberglass Batt Insulation
If you’re looking for a cost-effective solution and prefer a DIY approach, fiberglass batt insulation offers good thermal performance for a lower price. - For Moisture Control: Rigid Foam Board Insulation
In areas prone to high humidity, rigid foam board insulation provides excellent moisture resistance while maintaining thermal efficiency.
Conclusion
Choosing the best insulation for garage ceiling is a crucial decision that impacts both your home’s comfort and energy efficiency. Whether you prioritize budget, energy savings, or moisture resistance, there are several insulation options available to meet your needs. By considering factors such as climate, installation preferences, and the purpose of your garage, you can select the ideal insulation to keep your garage and home in top shape for years to come.