Insulate Your Garage Ceiling Without Drywall: Creative Ways

Are you looking to enhance the comfort and energy efficiency of your garage without the hassle of drywall installation? Insulating your garage ceiling without drywall can be a practical and effective solution. In this guide, we’ll explore creative methods to insulate your garage ceiling, keeping it comfortable and functional in any season.
Insulate Garage Ceiling Without Drywall

Insulate Garage Ceiling Without Drywall: Exploring Your Options

1. Foam Board Insulation

Foam board insulation is a popular choice for insulating garage ceilings without drywall. Available in various thicknesses and R-values, foam board insulation provides excellent thermal resistance and can help reduce heat transfer between the garage and living space above. To install foam board insulation, simply cut the panels to size and secure them to the ceiling joists using adhesive or mechanical fasteners.

2. Spray Foam Insulation

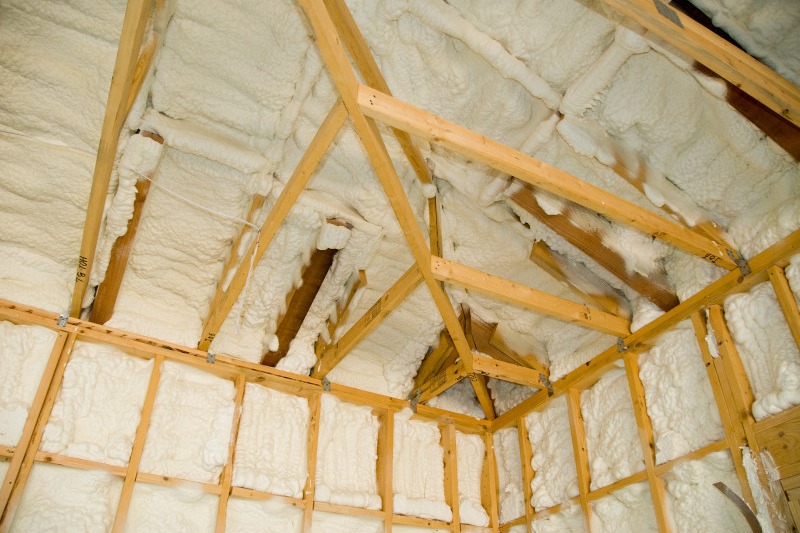
Spray foam insulation offers superior coverage and can effectively seal gaps and cracks in the garage ceiling. This type of insulation expands upon application, filling cavities and creating a seamless thermal barrier. Spray foam insulation is typically installed by professionals, but DIY kits are also available for smaller projects. Be sure to follow proper safety precautions when working with spray foam insulation.

3. Reflective Insulation

Reflective insulation, also known as radiant barrier insulation, is designed to reflect radiant heat away from the garage ceiling. This type of insulation typically consists of a layer of reflective foil laminated to a substrate material such as foam or bubble wrap. Reflective insulation is easy to install and can be stapled or taped directly to the underside of the garage ceiling joists.

Read too: Discovering the Charm of Nautical Outdoor Ceiling Fans for Your Coastal Retreat: Sail into Style

Benefits of Insulating Your Garage Ceiling Without Drywall

  • Improved Comfort: Proper insulation helps regulate the temperature in your garage, making it more comfortable to work in year-round.
  • Energy Savings: By reducing heat transfer, insulation can lower your energy bills by minimizing the need for heating and cooling.
  • Moisture Control: Insulation can help prevent condensation and moisture buildup in the garage, reducing the risk of mold and mildew growth.
  • Noise Reduction: Insulation can dampen sound transmission, making your garage quieter and more peaceful.

DIY Tips for Insulating Your Garage Ceiling

  • Measure Twice, Cut Once: Take accurate measurements of your garage ceiling before purchasing insulation materials to ensure proper coverage and fit.
  • Seal Air Leaks: Before installing insulation, seal any gaps or cracks in the garage ceiling with caulk or spray foam to maximize energy efficiency.
  • Safety First: Wear appropriate safety gear, such as gloves, goggles, and a respirator, when handling insulation materials to protect yourself from irritation and airborne particles.

Conclusion

Insulating your garage ceiling without drywall can provide numerous benefits, from improved comfort and energy savings to moisture control and noise reduction. By exploring innovative insulation methods and following DIY tips, you can create a more comfortable and functional garage space that enhances your home’s overall efficiency and value.
DIY Mini Split Ceiling Cassette Installation: Transform Your Space

Are you looking to upgrade your home’s cooling or heating system with a sleek and efficient solution? Consider installing a DIY mini split ceiling cassette system. In this guide, we’ll explore everything you need to know about DIY mini split ceiling cassettes, from their benefits and installation process to important considerations for a successful project. Whether you’re a seasoned DIY enthusiast or a first-time homeowner, a mini split ceiling cassette system can help you achieve optimal comfort in your space while maintaining a modern and unobtrusive aesthetic.

Diy Mini Split Ceiling Cassette

Understanding DIY Mini Split Ceiling Cassettes

What is a DIY Mini Split Ceiling Cassette?

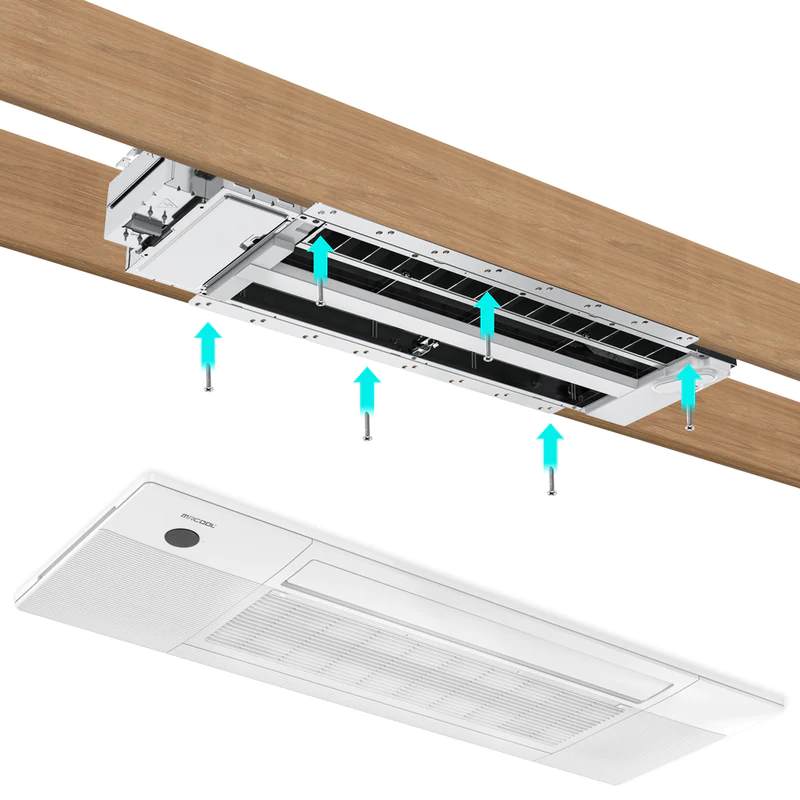
A DIY mini split ceiling cassette is a compact and versatile heating and cooling system designed to be installed directly into the ceiling of a room. Unlike traditional HVAC systems that require bulky ductwork and extensive installation, mini split ceiling cassettes offer a streamlined and efficient solution for maintaining comfortable indoor temperatures.

Key Features of DIY Mini Split Ceiling Cassettes:

  • Compact design: Mini split ceiling cassettes are designed to be discreet and unobtrusive, blending seamlessly into the ceiling for a sleek and modern look.
  • Zone control: With individual air handlers installed in different rooms or zones, mini split ceiling cassettes offer customizable temperature control for enhanced comfort and energy efficiency.
  • Quiet operation: Advanced technology ensures that mini split ceiling cassettes operate quietly and efficiently, minimizing noise disturbance while providing reliable heating and cooling.

Benefits of DIY Mini Split Ceiling Cassettes

1. Space-saving Design:

One of the primary advantages of DIY mini split ceiling cassettes is their space-saving design. By eliminating the need for bulky ductwork and wall-mounted units, these systems free up valuable floor and wall space, allowing for greater flexibility in room layout and design.

2. Energy Efficiency:

DIY mini split ceiling cassettes are highly energy-efficient, allowing you to heat or cool specific rooms or zones without wasting energy on areas that are not in use. This targeted approach to heating and cooling can lead to significant energy savings and lower utility bills over time.

3. Enhanced Aesthetics:

Unlike traditional HVAC systems, which often feature bulky and unsightly components, DIY mini split ceiling cassettes are designed to blend seamlessly into the ceiling for a sleek and modern look. This minimalist design aesthetic can enhance the overall appearance of your space while maintaining optimal comfort.

Installing a DIY Mini Split Ceiling Cassette

1. Assessing Your Space:

Before installing a DIY mini split ceiling cassette, carefully assess your space to determine the best location for the unit. Consider factors such as room size, ceiling height, and existing electrical wiring to ensure proper installation and functionality.

2. Selecting the Right Unit:

Choose a DIY mini split ceiling cassette system that is appropriate for your space and heating/cooling needs. Consider factors such as BTU capacity, energy efficiency rating, and additional features such as Wi-Fi connectivity or programmable settings.

3. Professional Consultation:

While DIY installation is possible for some homeowners, it’s essential to consult with a professional HVAC technician or contractor before beginning the installation process. A professional can provide valuable guidance and ensure the correct and safe installation of the system.

Conclusion

DIY mini split ceiling cassettes offer a convenient, energy-efficient, and aesthetically pleasing solution for heating and cooling your space. By understanding the benefits, installation process, and considerations associated with these systems, you can confidently upgrade your home’s HVAC system and enjoy optimal comfort year-round. Whether you’re looking to cool a single room or multiple zones, a DIY mini split ceilings cassette can help you achieve your heating and cooling goals with ease.

Read too: Exploring Craftsman Style Ceiling Fans for Your Home: Embracing Timeless Elegance

Is Installing A Ceiling Fan Hard? Here’s What You Need to Know

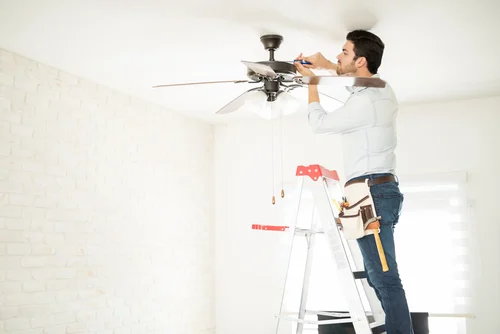
Installing a ceiling fan can be a fantastic addition to any room. It not only adds an aesthetic touch but also helps in maintaining a comfortable temperature in your home. However, many people are hesitant to embark on this DIY project due to concerns about its complexity. In this article, we will answer the question, “Is installing a ceiling fan hard?” and provide you with the information you need to confidently take on this task.

Is Installing A Ceiling Fan Hard

Is Installing A Ceiling Fan Hard?

You might be wondering, “Is installing a ceiling fan hard?” The answer is both yes and no. The difficulty of the task largely depends on your level of experience, tools, and the type of ceiling fan you’re dealing with. Let’s break it down step by step.

1. Assess Your Skill Level

Before you start any DIY project, it’s essential to assess your skill level. If you have experience with electrical work and have successfully completed similar projects before, installing a ceiling fan may not be as hard for you. However, if you are a beginner, it’s advisable to do thorough research and possibly seek assistance from a professional.

2. Gather the Necessary Tools

To make the installation process smoother, ensure you have the right tools. Common tools and materials needed for installing a ceiling fan include a screwdriver, pliers, wire strippers, a voltage tester, a ladder, and a ceiling fan kit. Having the appropriate tools can significantly reduce the perceived difficulty of the task.

3. Choose the Right Ceiling Fan

The type of ceiling fan you choose can also influence the level of difficulty. Basic models with simple wiring and no added features are generally easier to install. However, more complex fans with remote controls, lights, or other additional features may require a bit more effort and expertise.

4. Follow the Instructions

Most ceiling fans come with detailed installation instructions. To make the process as easy as possible, follow these instructions carefully. Pay close attention to the wiring diagram and the order of assembly. Following the manufacturer’s guidelines can help you avoid common pitfalls.

5. Turn Off the Power

Safety should be a top priority when installing a ceiling fan. Before you begin, turn off the power to the circuit you will be working on. Use a voltage tester to ensure that there is no electrical current running through the wires.

6. Wiring and Installation

This is often the step that intimidates people the most. If you have experience with electrical work, this may not be as hard for you. However, if you’re a novice, consider seeking the help of a qualified electrician. Incorrect wiring can be dangerous, so it’s better to be safe than sorry.

7. Secure the Fan

Once the wiring is in place, secure the fan to the ceiling according to the instructions. Make sure it is stable and does not wobble, as an unstable fan can be a safety hazard.

8. Test and Balance

After you’ve installed the fan, turn the power back on and test it to ensure it’s working correctly. If it wobbles or makes unusual noises, you may need to balance it. Ceiling fan balancing kits are available and can help make your fan run smoothly.

Conclusion

So, is installing a ceiling fan hard? It doesn’t have to be if you take the necessary steps and precautions. Assess your skill level, gather the right tools, choose an appropriate fan, follow the instructions, turn off the power, handle the wiring carefully, secure the fan, and test it thoroughly. If you’re unsure or uncomfortable with any part of the process, don’t hesitate to consult a professional electrician. With the right approach and a little bit of confidence, you can successfully install a ceiling fan and enjoy the benefits it brings to your home. Remember, safety always comes first when working with electrical components, so take your time and do it right.

How To Fix a Bubble in the Ceiling: A Step-By-Step Guide

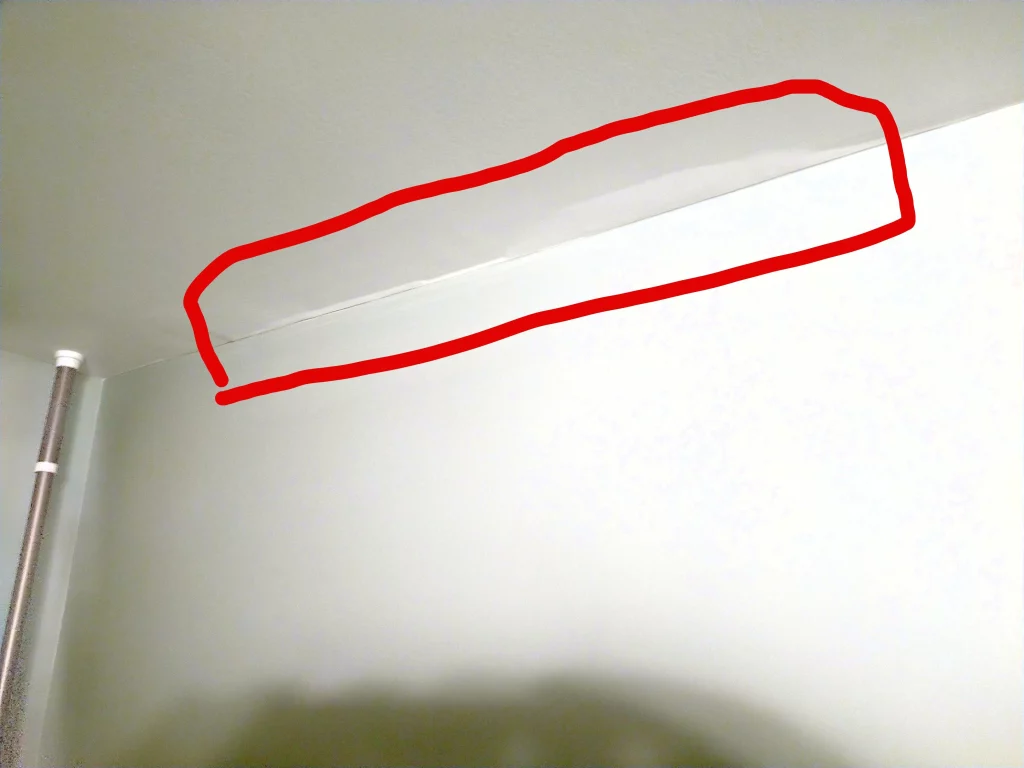
How To Fix Bubble In Ceiling? A bubble in your ceiling is not only an eyesore but also a sign of a larger issue that needs your attention. Whether it’s caused by water damage, poor construction, or humidity, fixing a bubble in the ceiling is crucial to maintaining the integrity and appearance of your home. In this guide, we’ll walk you through the steps to effectively repair a bubble in your ceiling and restore your space.

How To Fix Bubble In Ceiling

Understanding Ceiling Bubbles

Before we dive into the repair process, it’s essential to understand what causes bubbles to form in your ceiling:

  1. Water Damage: Water infiltration from a leaky roof, plumbing issue, or even condensation can lead to ceiling bubbles.
  2. Humidity: High humidity levels, especially in regions with hot, humid climates, can cause paint and drywall to bubble.
  3. Poor Construction: In some cases, improper installation or poor construction techniques may lead to ceiling bubbles over time.
  4. Paint Problems: Low-quality or improperly applied paint can result in bubbles as it dries.

Now, let’s explore the steps to fix a ceiling bubble:

Step 1: Safety First

Safety should be your top priority. Ensure you have the following safety gear before you begin:

  • Safety goggles
  • Dust mask
  • Gloves

Step 2: Identify the Cause

Determine the cause of the bubble before proceeding. Is it due to water damage, humidity, or poor construction? Identifying the cause will help you prevent future bubbles.

Step 3: Release Trapped Air

If the bubble is due to humidity or poor paint application, you may need to release the trapped air. Use a utility knife or a razor blade to make a small incision at the center of the bubble. Be cautious not to cut too deep, as you don’t want to damage the underlying drywall.

Step 4: Remove Loose Material

After releasing the trapped air, gently press on the bubble to remove any loose or damaged material. Use a putty knife to scrape away any peeling paint or damaged drywall. Ensure that the area is smooth and clean.

Step 5: Repair Any Damage

If the bubble was caused by water damage, inspect the underlying drywall for any signs of rot or structural damage. If you find any, it’s crucial to address these issues before proceeding with the repair.

Step 6: Patch the Area

To repair the bubble, you’ll need a high-quality patching compound. Apply a thin layer of the compound to the affected area using a putty knife. Feather the edges to create a smooth transition between the patch and the surrounding ceiling.

Step 7: Sand and Paint

Once the patching compound has dried, sand the area to create a smooth, even surface. Wipe away any dust, and then paint the repaired area to match the rest of the ceiling. It’s important to choose the right type of paint and apply it evenly for a seamless finish.

Step 8: Prevent Future Bubbles

To prevent future ceiling bubbles, consider these preventive measures:

  • Address any water leaks or sources of moisture promptly.
  • Use high-quality paint and proper painting techniques.
  • Ensure proper ventilation to reduce humidity levels in your home.
  • Check your roof for leaks and perform regular maintenance.

Conclusion

Fixing a bubble in the ceiling may seem like a daunting task, but with the right tools and knowledge, it’s a manageable DIY project. By identifying the cause, releasing trapped air, and carefully patching and painting the affected area, you can restore your ceiling’s appearance and prevent future bubbles. Remember to prioritize safety and take the necessary steps to address the root cause of the issue to ensure a long-lasting and visually appealing ceiling.