
Discovering mold in your ceiling can be a distressing sight, especially when it’s the result of a leaky roof. Mold not only affects the aesthetics of your home but also poses health risks to your family. In this comprehensive guide, we will explore the causes of mold in the ceiling from a leaky roof and provide practical steps to address and prevent this issue.
Understanding Mold Growth
Before we dive into the specifics of mold in the ceiling due to a leaky roof, it’s essential to understand why mold forms and the potential risks it presents.
Causes of Mold Growth:
- Moisture: Mold thrives in damp environments, making leaks and high humidity prime culprits for mold growth.
- Poor Ventilation: Insufficient airflow and ventilation can trap moisture and exacerbate the conditions conducive to mold.
- Leaky Roof: A roof leak allows water to seep into your home’s structure, including the ceiling, creating the ideal environment for mold to flourish.
Health Risks of Mold:
Exposure to mold can lead to various health problems, particularly for individuals with allergies, respiratory issues, or weakened immune systems. Common symptoms include coughing, sneezing, congestion, skin irritation, and eye irritation.
Read too: What Causes Water Stains On Ceiling
Identifying Mold in the Ceiling
Before addressing the issue, you must confirm that you are dealing with mold. Signs of mold in the ceiling include:
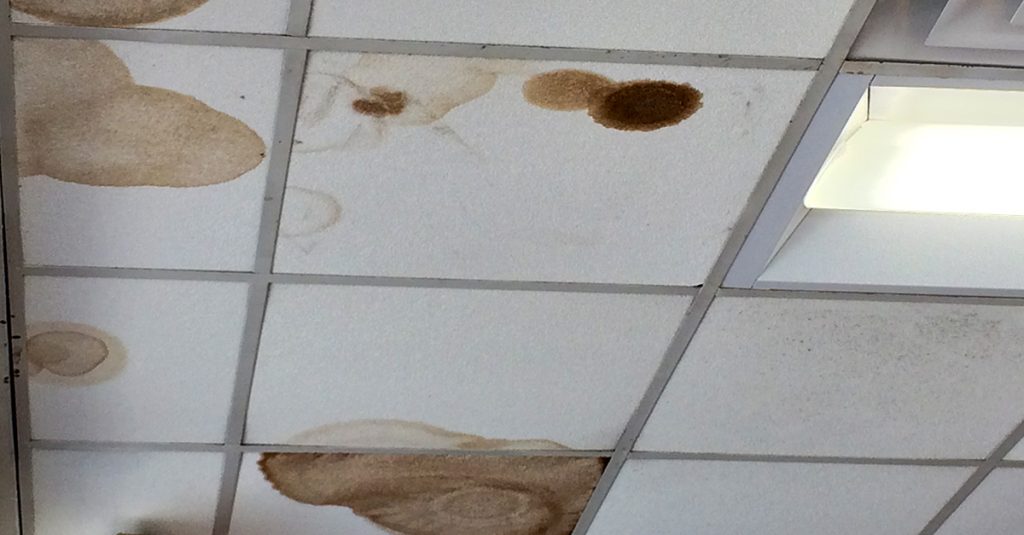
- Visible Mold: Look for discolored patches or spots on your ceiling. Mold can be black, green, or brown, and it often appears in clusters.
- Musty Odor: Mold growth is often accompanied by a musty, earthy smell. If you detect an unpleasant odor in the affected area, it may be due to mold.
- Water Stains: Water stains or discoloration on your ceiling can be an indicator of a leak and potential mold growth.
Addressing Mold from a Leaky Roof
Step 1: Fix the Roof Leak
Addressing the source of the problem is paramount. If you have a leaky roof, consult a professional roofer to assess and repair the damage. Proper roof repair is crucial to preventing future mold growth.
Step 2: Isolate the Affected Area
Before you begin the cleanup, ensure the affected area is isolated. Seal off the room and use plastic sheeting and duct tape to create a barrier to prevent the spread of mold spores to other parts of your home.
Step 3: Safety Gear
Safety should be a top priority when dealing with mold. Wear protective gear, including a mask, goggles, gloves, and clothing that covers your arms and legs.
Step 4: Mold Removal
Mold can be removed from non-porous surfaces with a mixture of soap and water or a commercial mold remover. For porous materials, such as drywall, it may be necessary to remove and replace the affected sections.
Step 5: Cleanup
Thoroughly clean and disinfect the area, including any materials or surfaces that had mold growth. Use fans and dehumidifiers to help dry the area.
Step 6: Preventative Measures
To prevent future mold growth:
- Maintain proper ventilation in your home.
- Fix any plumbing or roof leaks promptly.
- Keep humidity levels in check.
- Insulate your attic to prevent condensation on the ceiling.
Conclusion
Mold in the ceiling from a leaky roof is a serious issue that requires prompt attention. By understanding the causes, identifying the presence of mold, and taking the necessary steps to address the problem, you can safeguard your home and the health of your family. Remember, fixing the roof leak is the first and most critical step in preventing mold growth in the future. With proper precautions and swift action, you can effectively combat mold and restore a safe and healthy living environment in your home.