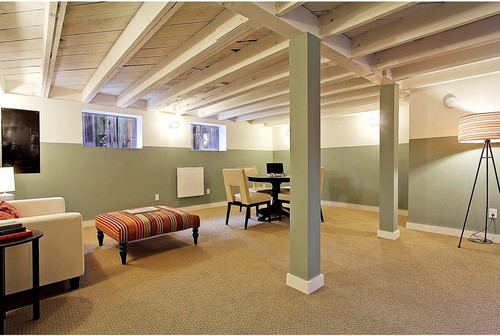
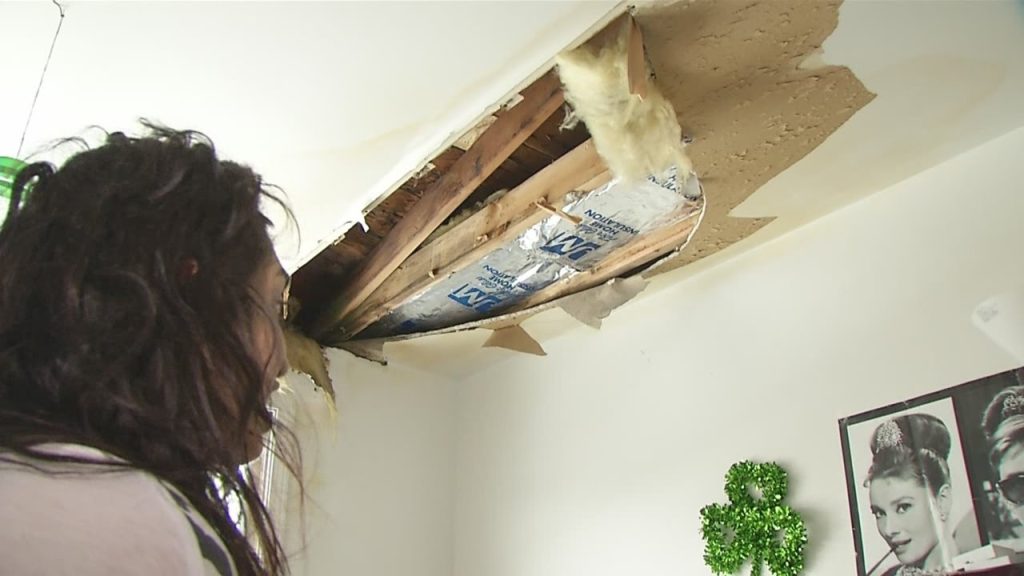
Transform your living space with the best in class “Popcorn Ceiling Removal Minneapolis” services. Elevate the aesthetics of your home with professional removal solutions that bring modernity and sophistication to your ceilings.
Unveiling a Modern Makeover
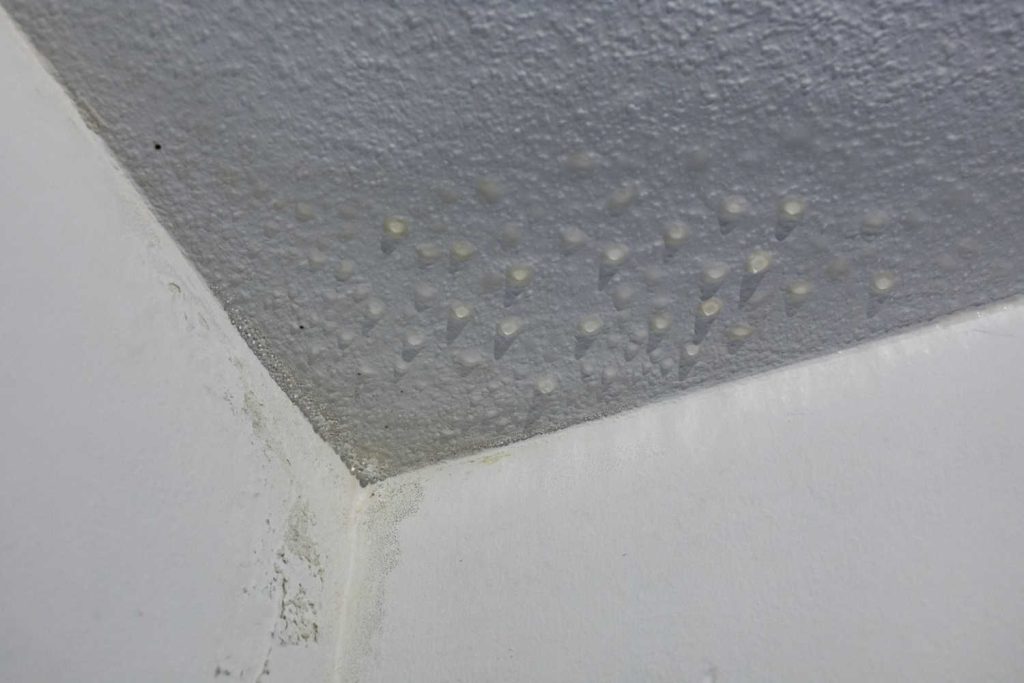
Bringing Elegance to Your Space: Why Opt for Popcorn Ceiling Removal in Minneapolis
Discover the transformative effects of Popcorn Ceiling Removal. Explore why opting for this service is not just about updating your ceilings but enhancing the overall appeal and value of your home.
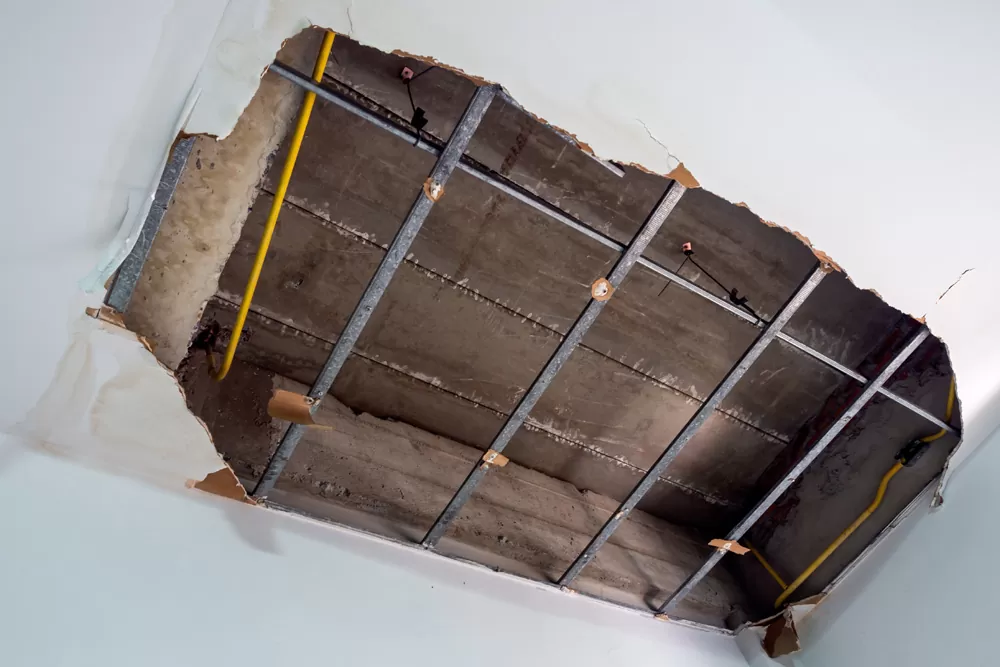
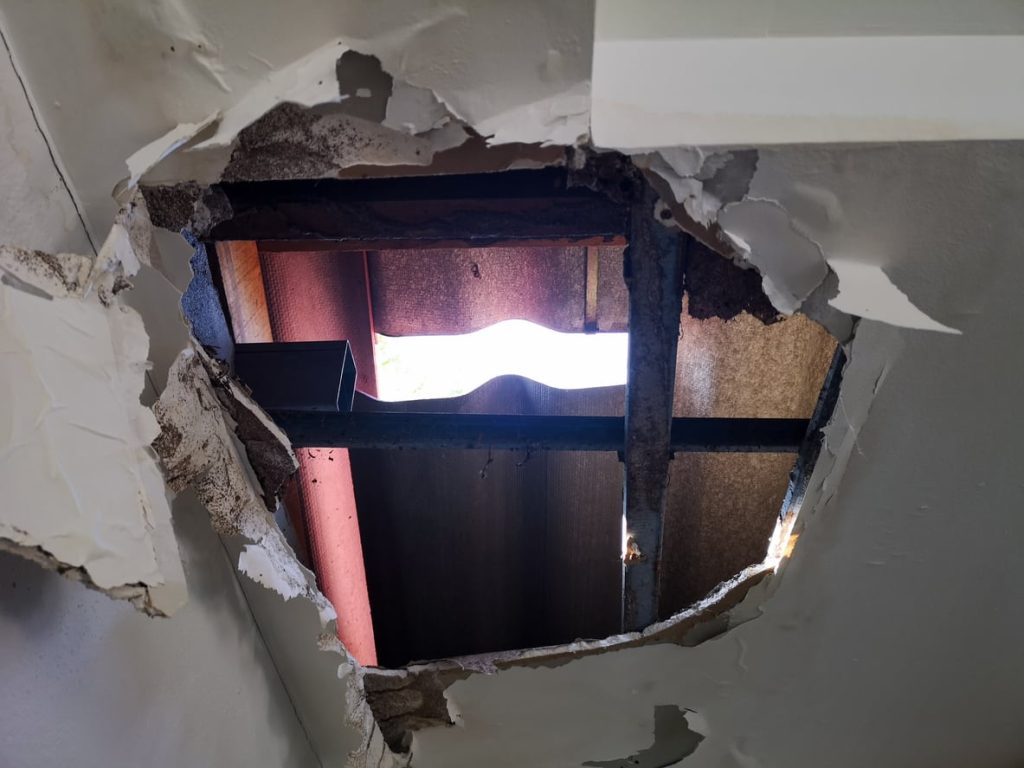
The Process Unveiled
Seamless Solutions: Understanding the Popcorn Ceiling Removal Process in Minneapolis
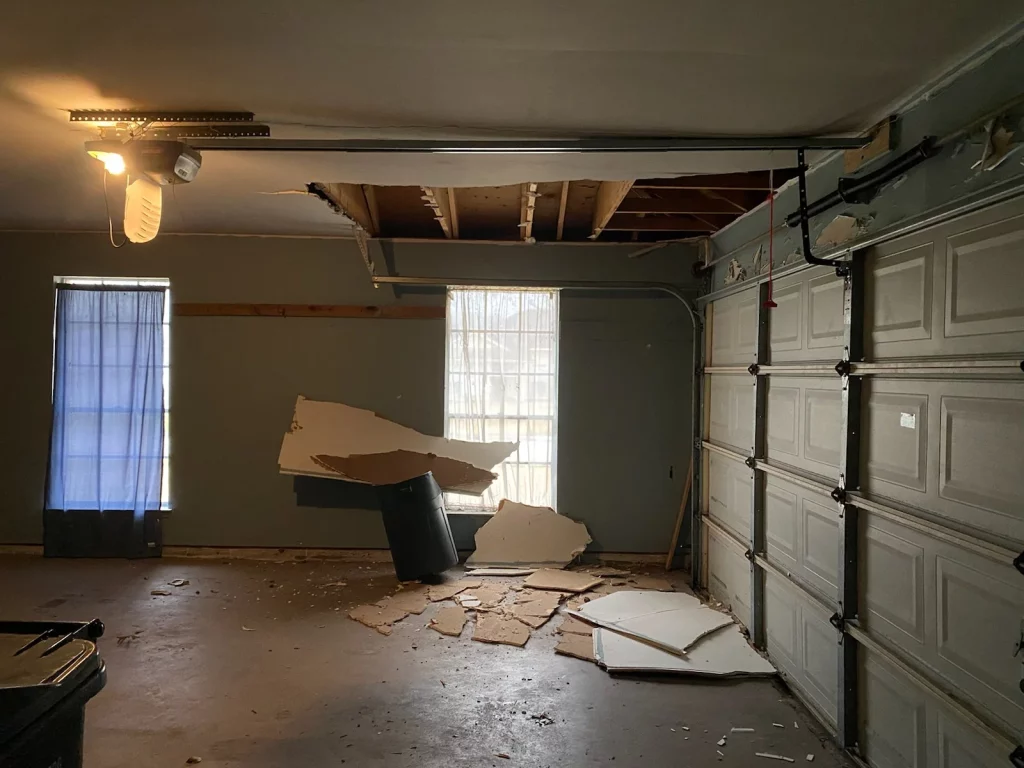
Gain insights into the detailed process of Popcorn Ceiling Removal. Understand how professionals assess, prepare, and execute the removal, ensuring a seamless transition from outdated popcorn ceilings to a sleek, modern finish.
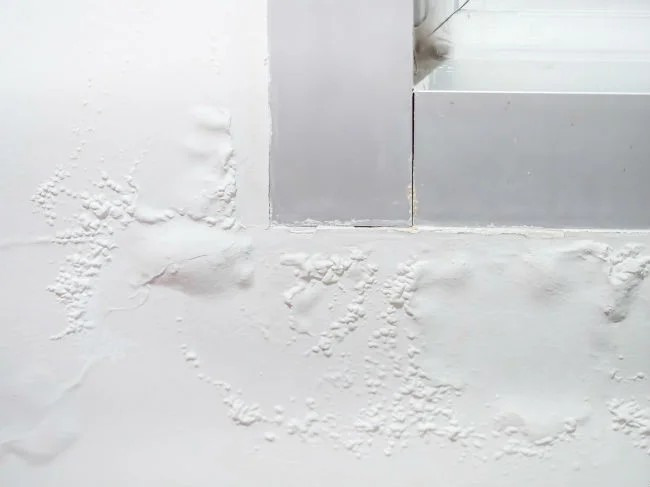
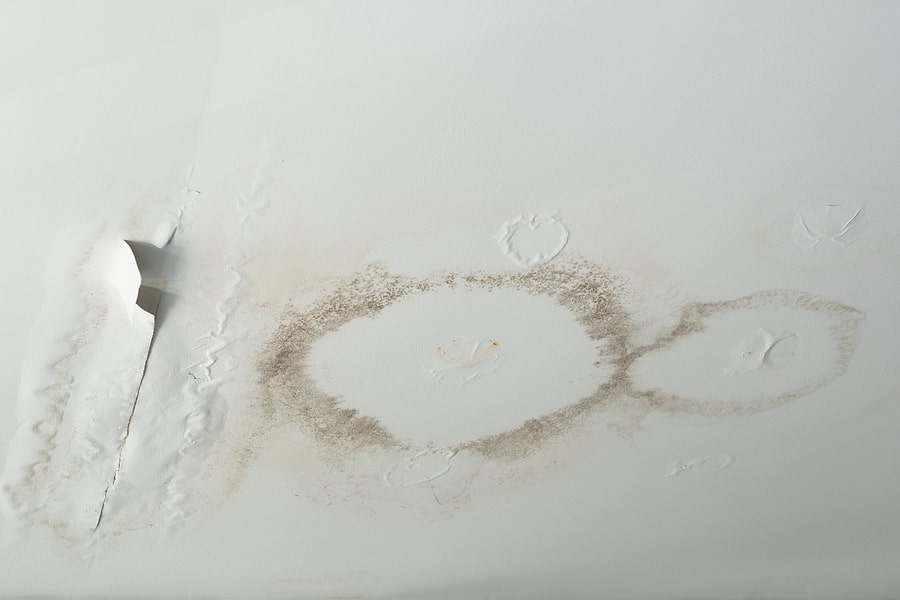
Benefits Beyond Aesthetics
More Than Just Looks: The Practical Advantages of Popcorn Ceiling Removal in Minneapolis
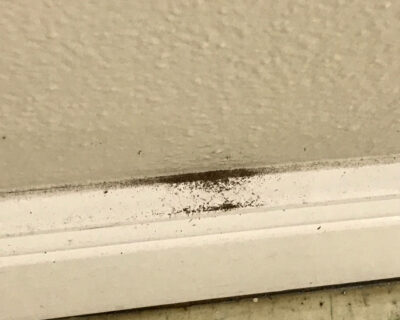
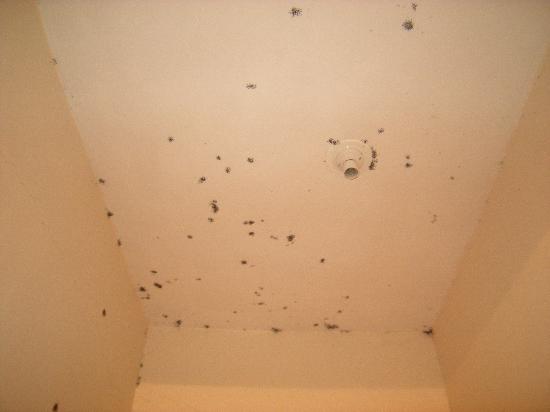
Explore the practical advantages of opting for Popcorn Ceiling Removal. From improving air quality to eliminating potential hazards, discover how this service goes beyond aesthetics to enhance the overall functionality of your living space.
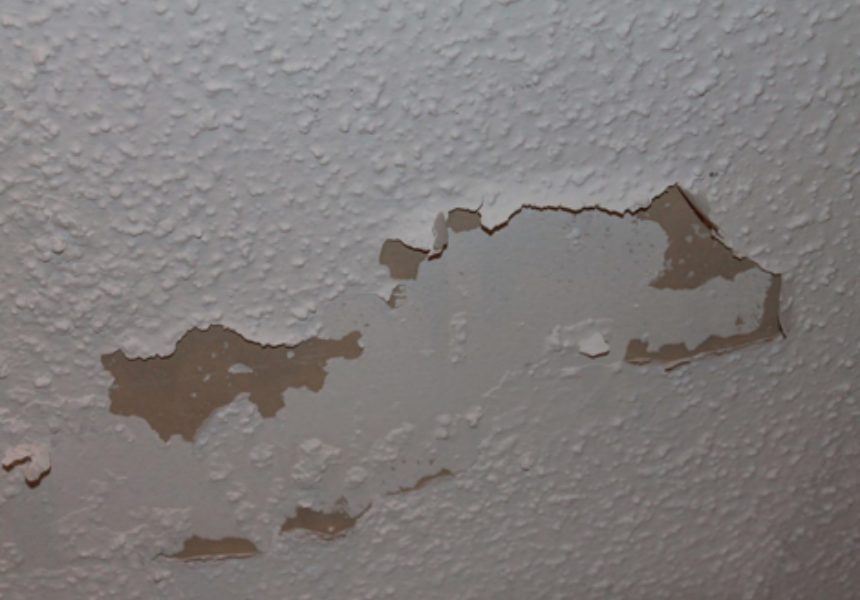
Professional Expertise Matters
Why Choose Professionals: The Importance of Hiring Experts for Popcorn Ceiling Removal in Minneapolis
Understand the significance of hiring professionals for Popcorn Ceiling Removal. From ensuring safety to achieving flawless results, discover why expertise matters when it comes to transforming your ceilings.
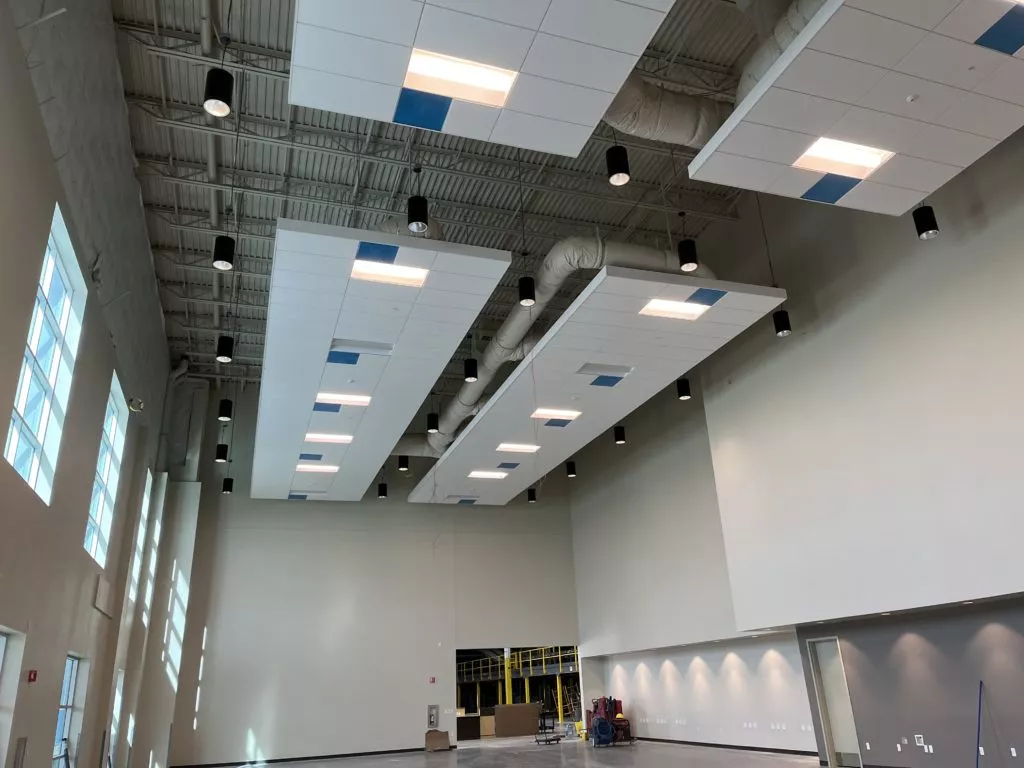
Customization Options
Tailoring the Look
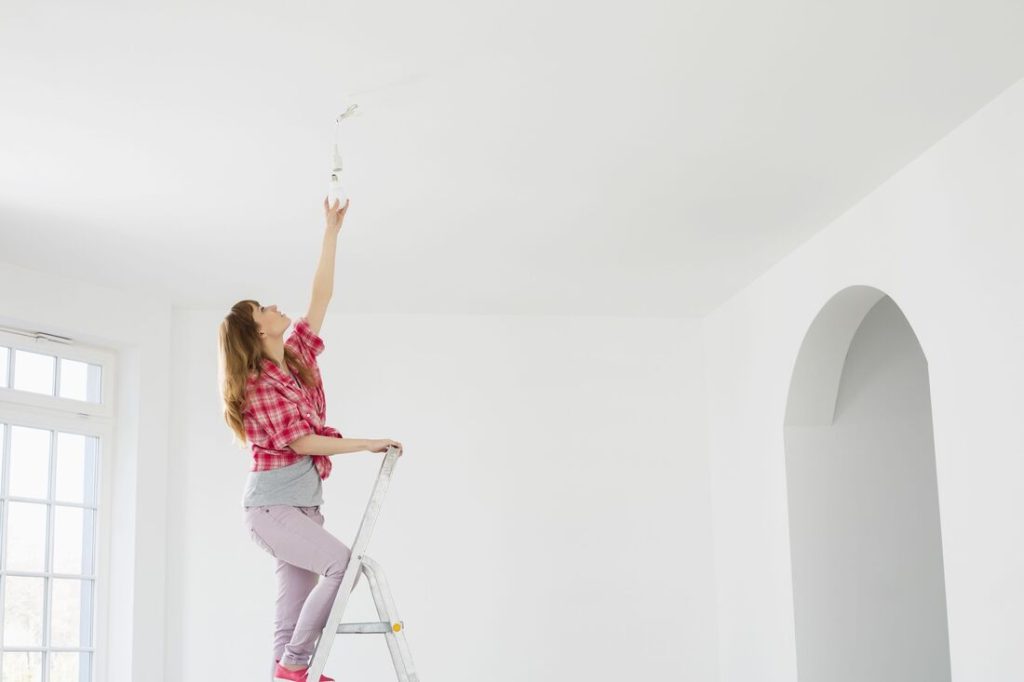
After Popcorn Ceiling Removal, the possibilities for customization are endless. Explore various finishes, designs, and paint options that allow you to tailor your ceilings to match your unique style preferences.
Read too: Discovering the Charm of Nautical Outdoor Ceiling Fans for Your Coastal Retreat: Sail into Style
Investment in Home Value
Adding Value to Your Property
Discover how investing in Popcorn Ceiling Removal can positively impact the resale value of your home in Minneapolis. Uncover the potential return on investment and the increased appeal for potential buyers.
In conclusion, Popcorn Ceiling Removal is more than just a home improvement task – it’s a gateway to a modern, sophisticated living space. Elevate your home’s aesthetics, enhance practicality, and add significant value with professional Popcorn Ceiling Removal services.