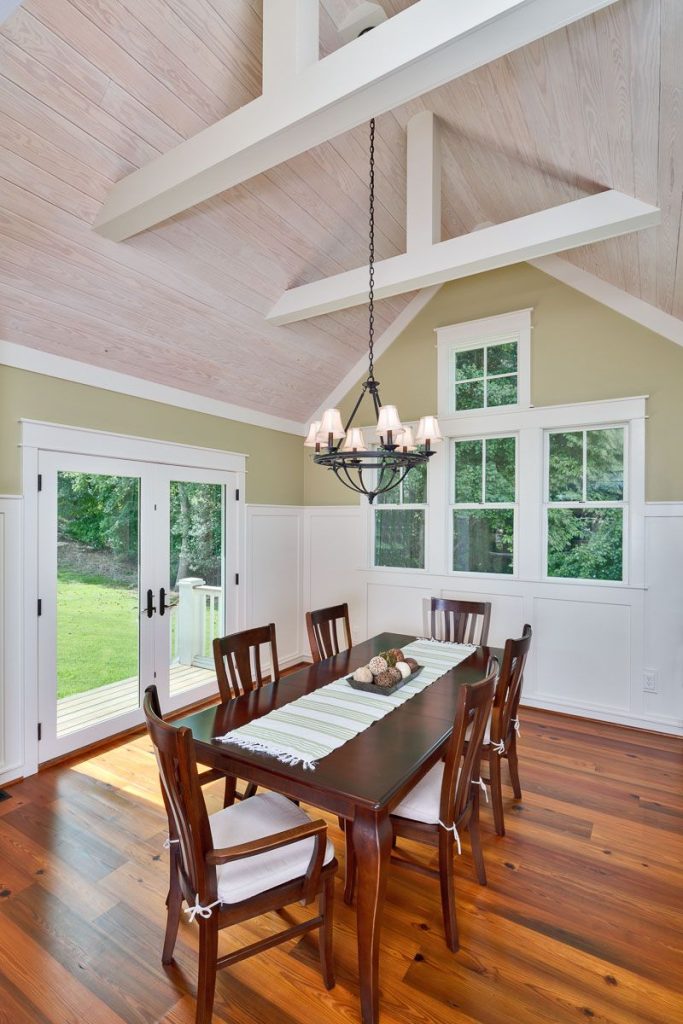
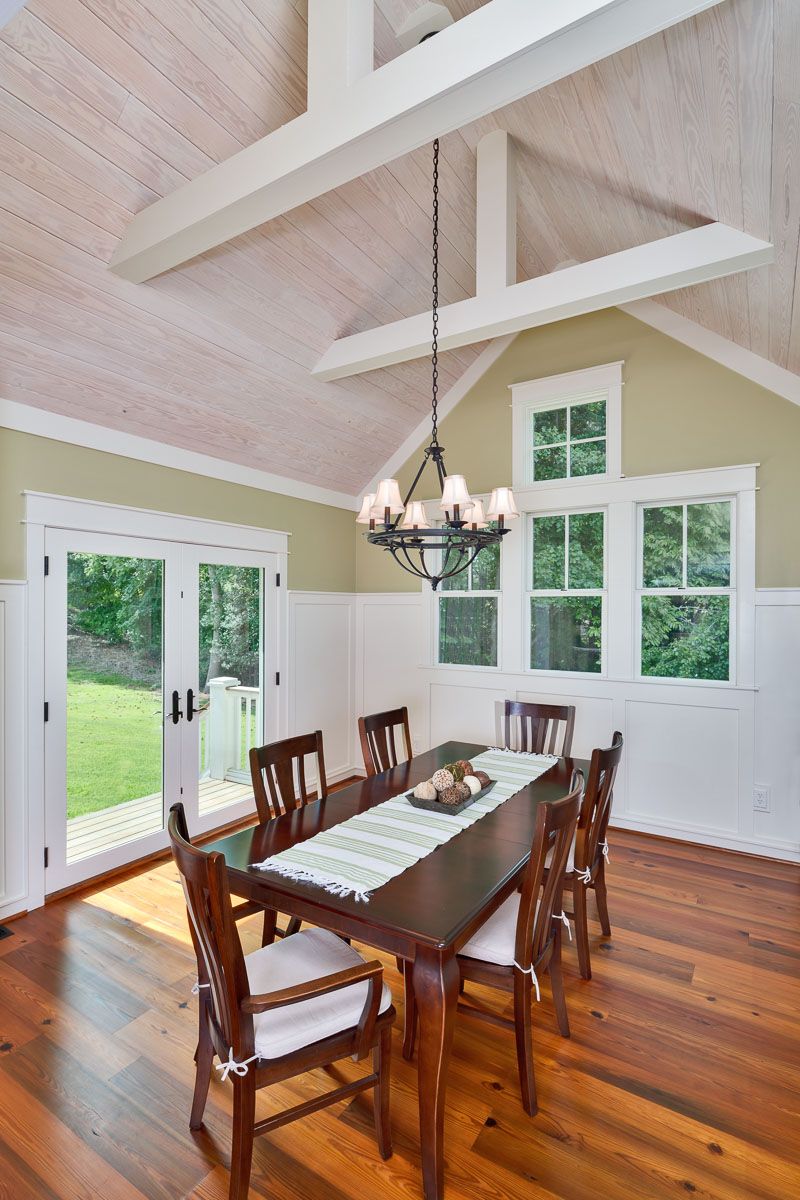
A whitewashed tongue and groove ceiling adds a touch of rustic elegance to any space, creating a warm and inviting atmosphere that exudes timeless charm. Whether you’re renovating a farmhouse-style kitchen or adding character to a contemporary living room, this classic design feature can transform the look and feel of your home. In this comprehensive guide, we’ll explore the beauty of a whitewashed tongue and groove ceiling, its benefits, installation process, and how you can incorporate this stunning element into your interior design.

Introducing Whitewashed Tongue And Groove Ceiling
A whitewashed tongue and groove ceiling is a type of ceiling treatment that features narrow wooden planks with interlocking edges, known as tongue and groove, installed in a parallel pattern across the ceiling surface. The planks are typically made from pine, cedar, or other types of wood and are whitewashed to create a light, airy feel while still showcasing the natural grain and texture of the wood.
Read too: Exploring the Efficiency of Radiant Ceiling Heater Electric: A Comprehensive Guide
Benefits of Whitewashed Tongue And Groove Ceiling
1. Timeless Elegance
Whitewashed tongue and groove ceilings have a timeless appeal that complements a wide range of interior styles, from traditional to contemporary. The soft, neutral hue of the whitewash adds warmth and character to any room, creating a cozy and inviting atmosphere.
2. Visual Interest
The texture and pattern of tongue and groove planks add visual interest to the ceiling, becoming a focal point in the room. Natural variations in wood grain, with the subtle whitewash finish, create a beautiful backdrop, enhancing the space’s overall aesthetic.
3. Light and Airy Feel
The whitewash’s light color reflects natural light, creating a bright, airy feel in the room. This is particularly helpful in low-ceilinged or dimly lit rooms, where a darker ceiling could make the space seem smaller and more enclosed.
4. Versatility
Whitewashed tongue and groove ceilings are versatile, fitting rustic cottages to modern lofts. They complement various decor styles and color palettes, adding character and charm to any space.
Installation Process
Installing a whitewashed tongue and groove ceiling is simple and straightforward, requiring just a few steps:
- Prepare the Ceiling: Begin by preparing the ceiling surface, ensuring that it is clean, smooth, and free of any debris or imperfections. If necessary, install furring strips or a moisture barrier to provide a stable base for the planks.
- Measure and Cut Planks: Measure the dimensions of the ceiling and cut the tongue and groove planks to size using a saw. Be sure to leave a small gap around the edges to allow for expansion and contraction.
- Install the Planks: Starting at one end of the room, begin installing the planks perpendicular to the ceiling joists, using a nail gun or adhesive to secure them in place. Continue working across the ceiling, staggering the joints between planks for a seamless finish.
- Whitewash the Ceiling: Once the planks are installed, apply a whitewash finish to the wood using a brush or roller. Allow the whitewash to dry completely before applying additional coats, if desired, to achieve the desired level of coverage.
- Seal the Ceiling: Once the whitewash is dry, apply a clear sealer to the ceiling to protect the wood and enhance its durability. This will also help seal in the whitewash finish and prevent it from yellowing over time.
Conclusion
A whitewashed tongue and groove ceiling adds character, warmth, and visual interest to any space. Whether in a farmhouse kitchen or a coastal retreat, it impresses with timeless elegance and easy installation. It’s the perfect way to elevate home decor and create a special space.
