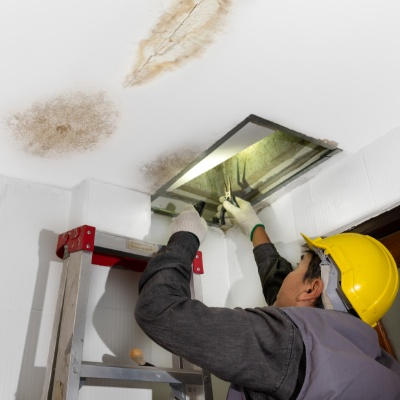
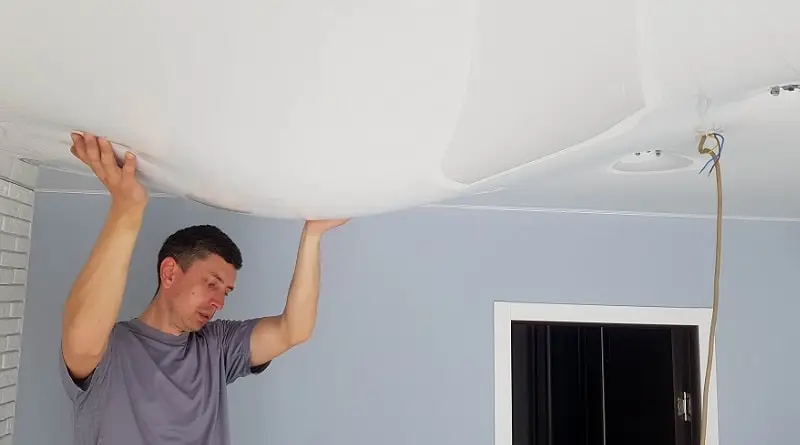
How to Dry a Ceiling Quickly? A wet ceiling can be a stressful situation, whether it’s due to a leak, flooding, or other water damage. It’s essential to address the issue promptly to prevent further damage and mold growth. In this article, we’ll explore effective ways to dry a ceiling quickly and restore your home to its original condition.

Assessing the Damage
Before you begin the drying process, it’s crucial to assess the extent of the damage. Identify the source of the water intrusion, whether it’s a roof leak, burst pipe, or flooding. Understanding the cause will help you prevent further water entry and address the underlying issue.
Safety First
Safety should be your top priority when dealing with water damage. Before you start drying the ceiling, make sure you’ve taken the following safety precautions:
- Turn off the electricity in the affected area to avoid electrical hazards.
- Check for structural damage. If there are signs of instability, avoid the area until it’s deemed safe.
- Wear protective gear such as gloves, goggles, and a dust mask, especially if you suspect mold growth.
Steps to Dry a Ceiling Quickly
- Remove Standing Water: If there is standing water on the ceiling, use a wet/dry vacuum or a mop to remove as much water as possible.
- Ventilation: Increase air circulation in the affected area by opening doors and windows. Use fans and dehumidifiers to reduce humidity and moisture levels.
- Ceiling Inspection: Carefully inspect the ceiling for signs of sagging or bulging. If you notice these issues, it’s essential to puncture a small hole in the ceiling to release trapped water. Use a bucket or container to catch the water.
- Address the Source: Before you can effectively dry the ceiling, you must stop the source of water entry. Repair roof leaks, fix burst pipes, or address any other issues causing the water intrusion.
- Remove Damaged Materials: If the ceiling is sagging or if there are signs of significant water damage, you may need to remove damaged materials. This could include drywall, insulation, or ceiling tiles. Wear appropriate safety gear, such as gloves and goggles, when handling these materials.
- Drywall Replacement: If drywall needs to be replaced, cut it at least 12 inches beyond the visibly affected area to ensure that you remove all damaged sections. Once the ceiling structure and insulation are exposed, thoroughly dry them before installing new drywall.
- Use Dehumidifiers: Dehumidifiers are essential in speeding up the drying process. They remove excess moisture from the air, preventing mold growth and allowing the ceiling to dry more quickly.
- Anti-Mold Treatments: Apply anti-mold treatments to prevent mold growth on the ceiling and surrounding areas. These treatments can be found in hardware stores and can help ensure your home remains mold-free.
- Repaint the Ceiling: After the ceiling is completely dry, repaint it with a mold-resistant paint to prevent future issues. Be sure to match the paint color and finish to the rest of the ceiling for a seamless look.
Read too: What Causes Water Stains On Ceiling
Professional Assistance
In some cases, the extent of the damage may be beyond what you can handle on your own. If the ceiling has sustained significant water damage or you suspect mold growth, it’s advisable to seek professional assistance. Water damage restoration experts have the necessary equipment and expertise to thoroughly dry and restore your ceiling.
Conclusion
A wet ceiling can lead to significant damage and health concerns, so it’s crucial to address the issue promptly and effectively. By following the steps outlined in this article and taking the necessary safety precautions, you can dry a ceiling quickly and prevent further damage to your home. If you’re unsure of the extent of the damage or face challenging circumstances, don’t hesitate to seek professional assistance to ensure a thorough and safe restoration process.
