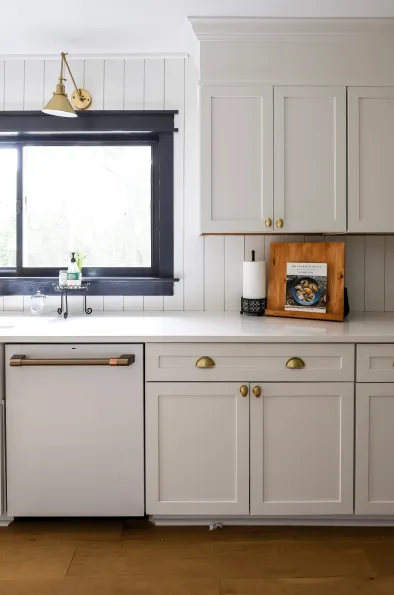
In many kitchens, the space above the cabinets often goes unused, leaving a gap between the top of the cabinets and the ceiling. This unused space not only collects dust but also misses out on the opportunity to enhance the aesthetic appeal and storage capacity of the kitchen. Fortunately, extending kitchen cabinets to the ceiling is a practical solution that can transform your kitchen’s look while maximizing storage space. In this comprehensive guide, we’ll delve into the steps and considerations involved in extending kitchen cabinets to the ceiling, empowering you to make the most of your kitchen space efficiently.

Why Extend Kitchen Cabinets To The Ceiling?
Extending kitchen cabinets to the ceiling offers several benefits beyond just aesthetics. It maximizes storage space, allowing you to utilize every inch of vertical space in your kitchen. By eliminating the gap between the cabinets and the ceiling, you prevent dust and grime buildup, making cleaning easier and reducing maintenance efforts. Additionally, extending cabinets to the ceiling creates a seamless and cohesive look, enhancing the overall design and visual appeal of your kitchen.
Planning Your Cabinet Extension
Before you embark on extending your kitchen cabinets to the ceiling, thorough planning is essential. Begin by assessing the current layout of your kitchen and identifying the cabinets that you wish to extend. Consider factors such as ceiling height, cabinet material, and existing design elements to ensure a cohesive look.
How To Extend Kitchen Cabinets To The Ceiling: Step-By-Step Guide
- Measurements and Preparation: Start by measuring the height and width of the cabinets you plan to extend. Take accurate measurements of the space between the cabinets and the ceiling to determine the size of filler strips or crown molding needed.
- Remove Existing Molding: If your cabinets have crown molding or trim at the top, carefully remove it using a pry bar or a similar tool. Be cautious to avoid damaging the cabinets or the surrounding wall.
- Install Filler Strips: Cut filler strips from the same material as your cabinets to fill the gap between the cabinets and the ceiling. Secure the filler strips in place using wood glue and nails or screws.
- Attach Crown Molding: To create a polished look, install crown molding along the top of the cabinets. Cut the molding to size and attach it securely using a nail gun or finishing nails. Ensure that the molding is level and aligned properly for a professional finish.
- Paint or Finish: Once the extension is complete, paint or finish the cabinets and molding to match the existing kitchen décor. Choose a color or finish that complements your kitchen style and enhances the overall aesthetic appeal.
Tips for Success
- When selecting filler strips and crown molding, opt for materials that match your existing cabinets to maintain a cohesive look.
- Use a stud finder to locate studs in the wall when securing filler strips and crown molding for added stability.
- Consider adding LED strip lighting above the cabinets to illuminate the space and create ambiance.
Conclusion
Extending kitchen cabinets to the ceiling is a practical and stylish way to maximize space and enhance the aesthetics of your kitchen. By following the steps outlined in this guide and considering essential factors, you can transform your kitchen into a functional and visually appealing space. With careful planning and attention to detail, you can achieve a seamless integration that elevates the overall design of your kitchen.