Ceiling fans are a fantastic addition to any room, providing both aesthetic appeal and functional cooling. However, when it comes to installing a ceiling fan on a sloped ceiling, the process can be a bit more complex than with a standard flat ceiling. This article will provide a comprehensive guide to help you navigate the installation process of a ceiling fan on a sloped ceiling, ensuring a safe and effective setup.
Why Choose a Ceiling Fan for a Sloped Ceiling?
Before diving into the installation process, it’s important to understand the benefits of having a ceiling fan on a sloped ceiling. Ceiling fans can enhance air circulation, reduce energy costs, and add a stylish touch to your home. When installed on a sloped ceiling, they can make the most of the room’s unique architectural features, providing both function and flair.
Preparing for Installation
Tools and Materials Needed
To install a ceiling fan on a sloped ceiling, you will need the following tools and materials:
- Ceiling fan
- Ceiling fan mounting kit designed for sloped ceilings
- Extension downrod (if necessary)
- Ladder
- Screwdriver
- Drill
- Wire strippers
- Electrical tape
- Stud finder
- Level
- Safety glasses
Safety Precautions
Safety is paramount when installing a ceiling fan, especially on a sloped ceiling. Ensure you follow these safety precautions:
- Turn off the power to the circuit at the breaker box before beginning the installation.
- Use a sturdy ladder and have a helper if possible.
- Wear safety glasses to protect your eyes from debris.
- Follow the manufacturer’s instructions for your specific ceiling fan model.
Read too: Kitchen Lighting For A Vaulted Ceiling: Illuminating Your Space with Style and Functionality
Step-by-Step Guide to Installing a Ceiling Fan on a Sloped Ceiling
Step 1: Choose the Right Ceiling Fan and Mounting Kit
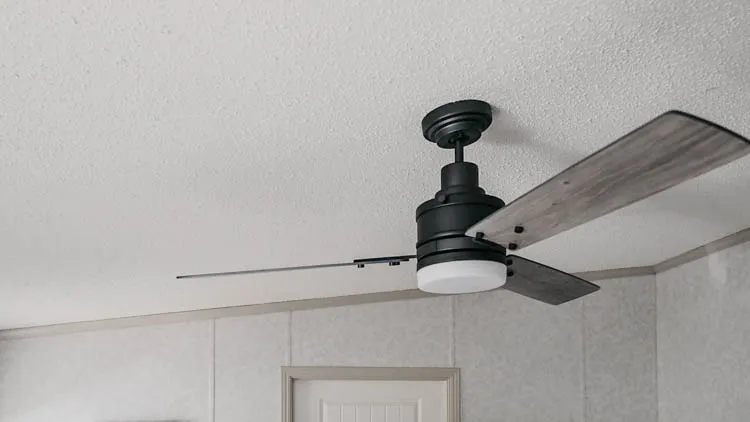
When installing a ceiling fan on a sloped ceiling, it’s essential to choose a fan and mounting kit designed for this purpose. Look for fans with a sloped ceiling adapter or a sloped ceiling mounting kit. These kits allow the fan to hang straight down from the ceiling, even on an angle.
Step 2: Measure the Ceiling Slope
To determine the angle of your ceiling, use a level and a protractor or angle finder. Measure the slope and check the ceiling fan’s specifications to ensure it is compatible with the angle. Most sloped ceiling adapters accommodate slopes up to 45 degrees, but it’s important to verify this with your fan model.
Step 3: Install the Ceiling Fan Bracket
Use a stud finder to locate a ceiling joist in the desired installation area. Mark the location and attach the ceiling fan bracket to the joist using the provided screws and a drill. Ensure the bracket is securely fastened, as it will bear the weight of the fan.
Step 4: Attach the Downrod (if necessary)
If your ceiling is very high or the slope is steep, you may need an extension downrod to lower the fan to an appropriate height. Attach the downrod to the fan motor, following the manufacturer’s instructions. Thread the wiring through the downrod before securing it in place.
Step 5: Mount the Ceiling Fan
With the help of a helper, lift the ceiling fan and align it with the bracket. Attach the fan to the bracket using the provided hardware, ensuring it is securely fastened. The sloped ceiling adapter should allow the fan to hang straight down, regardless of the ceiling angle.
Step 6: Connect the Wiring
Carefully connect the fan wiring to the house wiring, following the color-coded wires. Typically, you will connect black to black, white to white, and green or bare copper to the ground wire. Use wire strippers to expose the wires and wire nuts to secure the connections. Wrap the connections with electrical tape for added safety.
Step 7: Attach the Fan Blades and Light Kit
Attach the fan blades to the motor, following the manufacturer’s instructions. Ensure the blades are evenly spaced and securely fastened. If your fan includes a light kit, install it according to the instructions, connecting the wiring as needed.
Step 8: Test the Fan
Before completing the installation, turn the power back on at the breaker box and test the fan. Ensure it operates smoothly at all speeds and that the light kit (if included) functions properly. Check for any wobbling or unusual noises, which may indicate the need for further adjustments.
Tips for Optimal Performance and Maintenance
Balancing the Fan
A wobbly ceiling fan can be both annoying and dangerous. Use a balancing kit, typically included with your fan, to ensure it operates smoothly. Follow the instructions to identify and correct any imbalance in the blades.
Regular Maintenance
To keep your ceiling fan in top condition, perform regular maintenance. Dust the blades regularly to prevent buildup, which can cause the fan to wobble. Check the wiring and connections periodically to ensure they remain secure.
Adjusting for Seasonal Changes
Ceiling fans can help with both cooling and heating. In the summer, set the fan to rotate counterclockwise to create a cooling breeze. In the winter, switch the direction to clockwise to circulate warm air down from the ceiling.
Benefits of Professional Installation
While installing a ceiling fan on a sloped ceiling can be a DIY project, there are benefits to hiring a professional. Professional installers have the experience and tools to ensure a safe and efficient installation. They can also provide advice on the best fan and mounting kit for your specific ceiling and needs.
Conclusion
Installing a ceiling fan on a sloped ceiling can enhance your home’s comfort and style. By following this comprehensive guide, you can achieve a successful installation and enjoy the benefits of a well-placed ceiling fan. Remember to prioritize safety, choose the right materials, and perform regular maintenance to keep your fan operating smoothly for years to come.