How Much Should I Charge To Paint A Ceiling?

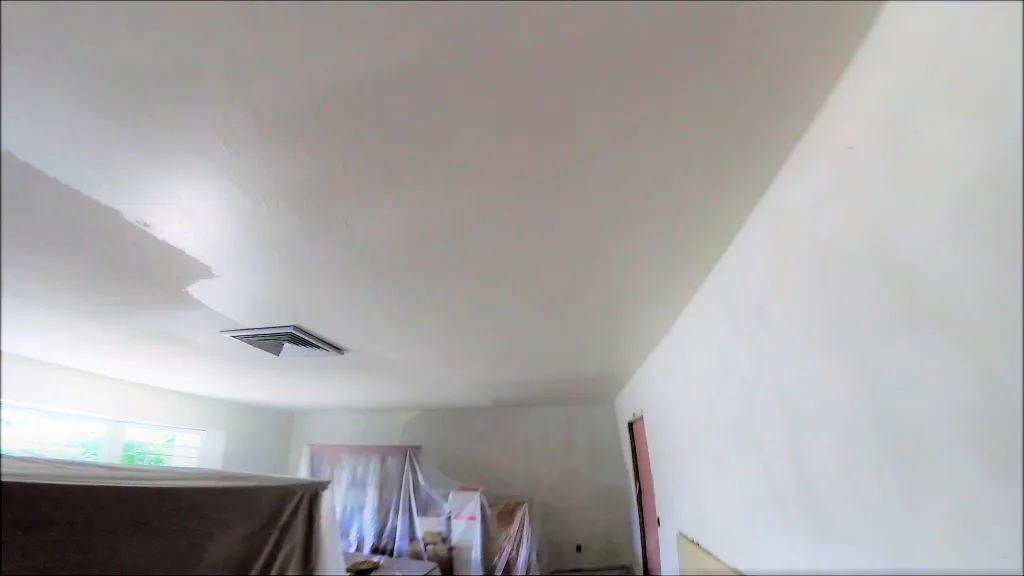
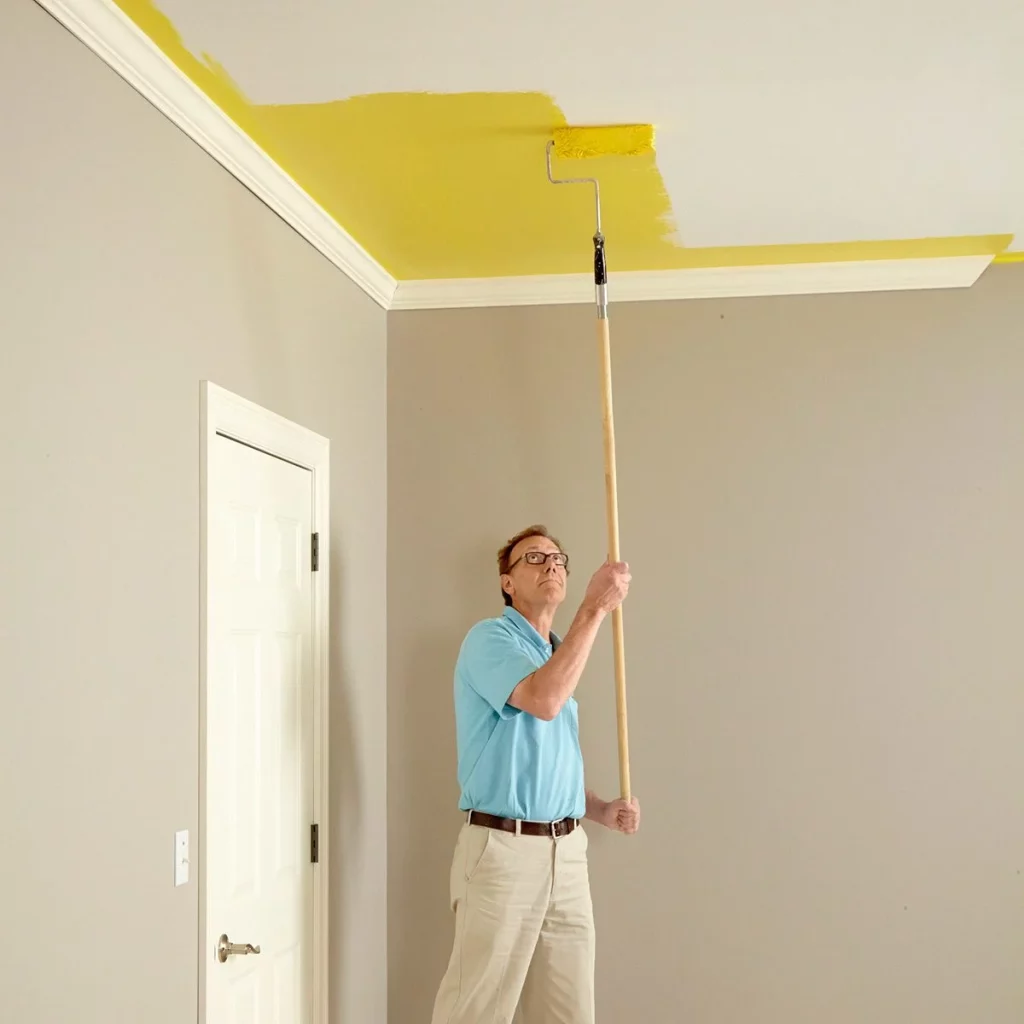
Painting a ceiling can be a challenging task that requires skill and patience. Whether you’re a professional painter or a homeowner looking to tackle a DIY project, one of the most important questions you’ll face is, “How much should I charge to paint a ceiling?” In this article, we’ll explore the factors that influence the cost of ceiling painting and provide guidance on how to determine a fair price for your services.

how much should i charge to paint a ceiling

Factors Affecting Ceiling Painting Costs

Understanding the Variables

The cost of painting a ceiling can vary significantly based on several factors. It’s essential to consider these variables when determining how much to charge for your painting services:

1. Ceiling Size and Height

The size of the ceiling is a fundamental factor in pricing. Larger ceilings will require more paint and time to complete. Additionally, if the ceiling is unusually high, it may necessitate specialized equipment or scaffolding, which can increase the cost.

2. Ceiling Condition

The condition of the ceiling plays a crucial role in pricing. A ceiling with extensive cracks, stains, or peeling paint may require additional preparation work, such as patching and priming. This will add to the overall cost.

3. Ceiling Material

The material of the ceiling can impact the cost. Painting a smooth, flat drywall ceiling is generally less labor-intensive than painting a textured or popcorn ceiling, which may require more attention to detail.

4. Ceiling Height and Design

Ceilings with intricate designs or architectural features, such as coffers or tray ceilings, may require more time and skill to paint. These factors can influence the pricing significantly.

5. Paint Type and Quality

The type and quality of paint chosen will affect the overall cost. High-quality paint brands often come at a higher price, but they can provide better coverage and durability, resulting in a longer-lasting finish.

6. Labor and Professional Expertise

If you’re a professional painter, your hourly rate or flat fee for labor will contribute to the overall cost. Homeowners tackling a DIY project should consider the value of their time and effort when determining the cost.

Calculating the Cost

Steps to Determine Your Rate

To determine how much you should charge to paint a ceiling, follow these steps:

1. Measure the Ceiling

Begin by measuring the size of the ceiling in square feet. Multiply the length by the width to calculate the square footage.

2. Assess the Ceiling Condition

Evaluate the ceiling’s condition and any necessary repairs or preparation work. Factor in the time and materials needed for these tasks.

3. Consider Labor

Determine your hourly rate or the amount you want to charge for your labor. Be sure to account for the time required to paint the ceiling, including setup and cleanup.

4. Estimate Paint Costs

Calculate the cost of paint based on the type and quantity needed. Don’t forget to include primer if necessary.

5. Account for Additional Costs

Consider any additional expenses, such as equipment rental, drop cloths, painter’s tape, and brushes or rollers.

6. Add a Profit Margin

To ensure you’re compensated fairly for your skills and expertise, add a profit margin to your calculations.

7. Provide a Detailed Quote

Present your potential clients with a detailed quote that outlines all the costs involved in painting their ceiling. This transparency builds trust and helps clients understand the value of your services.

Conclusion

Determining how much to charge to paint a ceiling involves a careful assessment of various factors, including ceiling size, condition, and materials, as well as labor and paint costs. By following a structured approach to pricing and providing clear, detailed quotes, you can offer fair and competitive pricing for your ceiling painting services. Remember that delivering high-quality work and excellent customer service will contribute to your reputation and success in the painting industry.

Can A Handyman Install A Ceiling Fan In Texas?

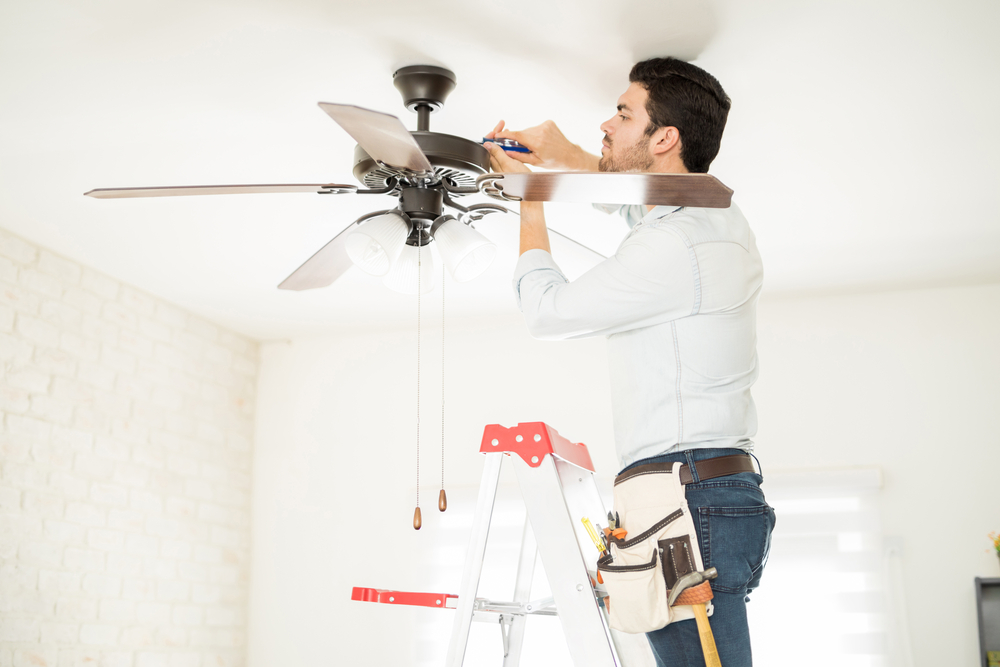
When the scorching Texas summer arrives, the idea of having a ceiling fan in your home becomes more than just a luxury; it’s a necessity. But as you look up at your ceiling, you might be wondering: Can a handyman install a ceiling fan in Texas? In this article, we’ll explore the regulations, skills, and considerations involved in hiring a handyman to install a ceiling fan in the Lone Star State.

can a handyman install a ceiling fan in texas

Understanding the Role of a Handyman

What Does a Handyman Do?

Before we delve into the specifics of ceiling fan installation, let’s clarify the role of a handyman. A handyman is a versatile professional who performs various tasks around the house, from minor repairs to simple installations. They are typically skilled in plumbing, electrical work, carpentry, and other trades, making them a go-to option for homeowners seeking assistance with small to medium-sized home improvement projects.

Ceiling Fan Installation in Texas: The Regulations

The Importance of Compliance

In Texas, like in many other states, electrical work is heavily regulated due to safety concerns. When it comes to ceiling fan installation, there are specific rules and regulations that must be followed to ensure safety. The Texas Department of Licensing and Regulation (TDLR) oversees electrical licensing in the state.

Can a Handyman Handle Electrical Work?

Understanding the Limitations

The key question remains: Can a handyman install a ceiling fan in Texas, considering the electrical work involved? The answer is somewhat nuanced. While handymen are generally skilled in various trades, including electrical work, they are not licensed electricians.

Hiring a Licensed Electrician

The Safer Route

To ensure your ceiling fan is installed safely and in compliance with Texas regulations, it is recommended to hire a licensed electrician. Licensed electricians have undergone extensive training and certification processes, making them experts in electrical work. They are well-versed in the specific codes and regulations of the state and can provide a safe and reliable installation.

Benefits of Hiring a Licensed Electrician

  1. Compliance with Regulations: Licensed electricians are well-informed about the latest electrical codes and regulations in Texas, ensuring that your ceiling fan installation meets all safety standards.
  2. Safety First: Electrical work can be hazardous when not done correctly. Hiring a licensed electrician reduces the risk of electrical accidents, fires, and other safety issues.
  3. Warranty and Guarantee: Many licensed electricians offer warranties or guarantees on their work. If any issues arise after installation, they will typically return to rectify the problem at no extra cost.
  4. Peace of Mind: Knowing that your ceiling fan is installed by a professional provides peace of mind, allowing you to enjoy its benefits without worry.

Considerations When Hiring a Handyman

When a Handyman Might Be Suitable

While hiring a licensed electrician is recommended for ceiling fan installation in Texas, there may be circumstances where a handyman can assist:

  1. Pre-Installation Preparation: A handyman can help with tasks like assembling the fan, preparing the ceiling mount, and ensuring all necessary components are ready for the electrician to install.
  2. After Installation Tasks: Once the electrician has installed the fan, a handyman can handle additional tasks such as painting, patching holes, or installing decorative elements.

Conclusion

In Texas, whether a handyman can install a ceiling fan depends on the scope of work and local regulations. To ensure safety and code compliance, it’s wise to hire a licensed electrician. While handymen can help with preparation and post-installation, electrical work should be handled by a professional. Prioritize safety and peace of mind by choosing a licensed electrician for your ceiling fan installation in Texas.

Can A Handyman Install A Ceiling Fan In Florida

Can a handyman install a ceiling fan in florida? Ceiling fans are a common fixture in Florida homes, providing relief from the sweltering heat and helping to reduce cooling costs. If you’re considering installing a ceiling fan in your Florida home, you might be wondering whether a handyman can handle the job. In this article, we’ll delve into the guidelines and considerations surrounding ceiling fan installation by a handyman in the Sunshine State.

Can A Handyman Install A Ceiling Fan In Florida

Understanding Florida’s Licensing Requirements

Florida has specific licensing requirements for individuals performing electrical work, including ceiling fan installation. The state takes electrical safety seriously, and for good reason. Faulty electrical work can lead to safety hazards, including fire risks and electrocution.

  1. Licensed Electricians: In Florida, only licensed electricians are authorized to perform electrical installations, repairs, or modifications. This includes ceiling fan installation, as it involves electrical wiring and connections.
  2. Limited Handyman Exemptions: Florida does provide exemptions for handymen when it comes to minor electrical tasks. A handyman can perform certain electrical work, such as replacing a ceiling fan that is already in place, as long as it doesn’t require new wiring or significant modifications.

Handyman Ceiling Fan Installation Limitations

While a handyman can replace an existing ceiling fan, there are limitations to what they can do without an electrical license:

  1. Existing Wiring: If the necessary wiring and electrical connections are already in place for the ceiling fan, a handyman can typically replace the fan without the need for additional electrical work.
  2. No New Wiring: Handymen cannot run new electrical wiring or make significant modifications to existing electrical systems. If the ceiling fan installation requires additional wiring or changes to the electrical setup, it must be performed by a licensed electrician.
  3. Compliance: Any ceiling fan installation, even a replacement, must comply with local building codes and safety regulations. It’s essential to ensure that the installation meets all legal requirements.

When to Hire a Licensed Electrician

In Florida, it’s advisable to hire a licensed electrician for ceiling fan installation in the following situations:

  1. New Installation: For new fan installations or rooms without existing wiring, hire a licensed electrician.
  2. Wiring Modifications: Licensed electricians should handle any changes to existing wiring, like relocating a ceiling fan or adding new switches.
  3. Electrical Panel Upgrades: For electrical panel changes or upgrades during installation, use a licensed electrician.
  4. Complex Installations: For fans with extras like remotes, lighting, or complex installation, hire a licensed pro to ensure correct setup.

Conclusion: Prioritizing Safety and Compliance

Handymen in Florida can assist with ceiling fan installation, but prioritize safety and state compliance. For new installations, wiring modifications, or complex setups, hiring a licensed electrician is the safest and most responsible choice. Enjoy a well-installed ceiling fan, ensuring home and family safety.

The Expert’s Touch: An Electrician Is Hired to Install a Ceiling Fan

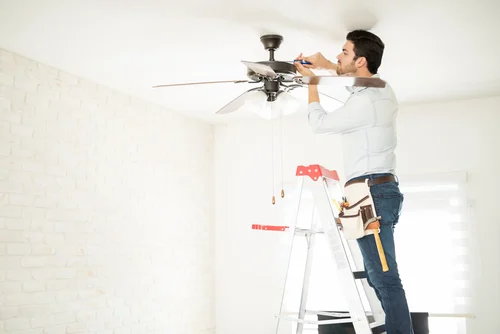
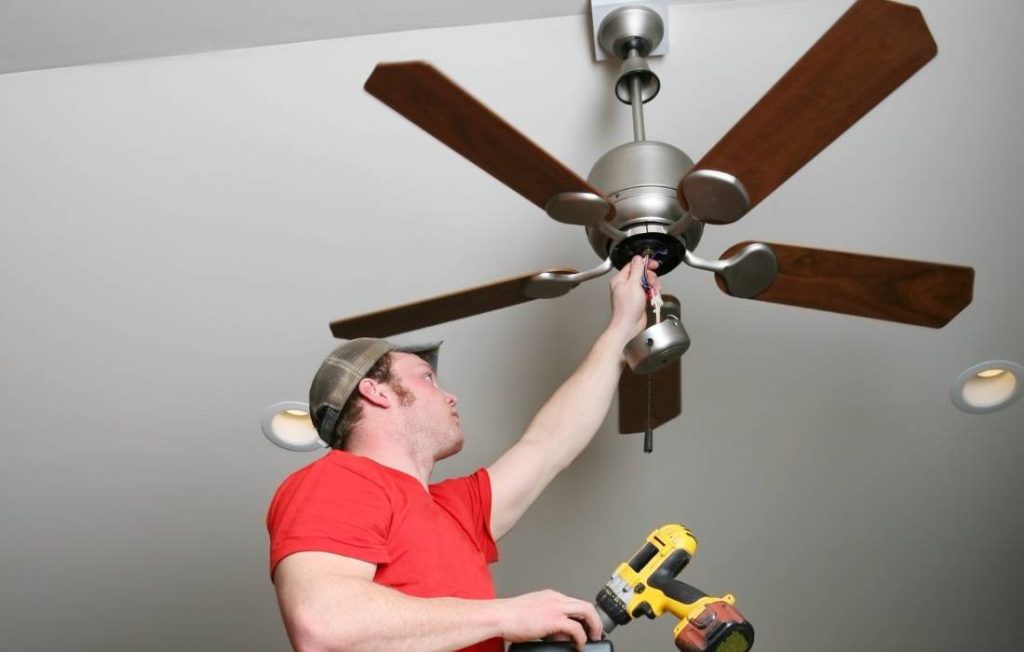
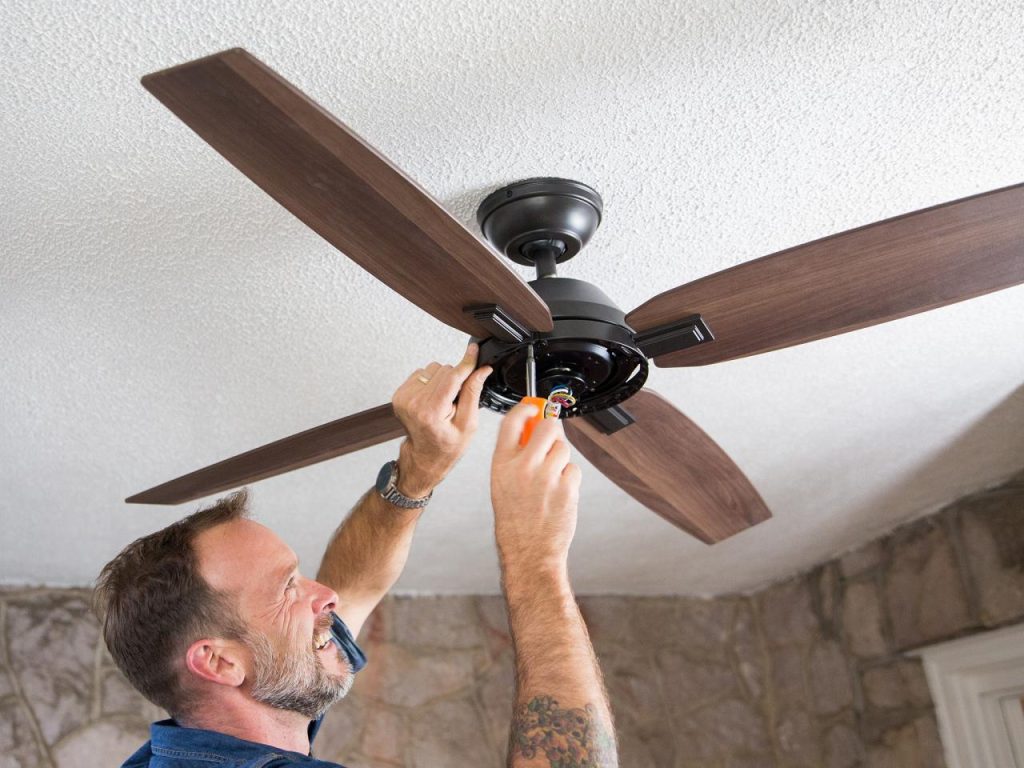
Ceiling fans are a popular addition to homes for their ability to improve comfort and energy efficiency. While many homeowners are adept at DIY projects, installing a ceiling fan can be a bit more complex, especially when electrical work is involved. In this article, we’ll explore why an electrician is hired to install a ceiling fan is a smart decision and what to expect during the installation process.

an electrician is hired to install a ceiling fan

Why Hire an Electrician for Ceiling Fan Installation

Ceiling fan installation is not just about aesthetics; it involves electrical work that should be done by a trained professional for several reasons:

  1. Electrical Safety: Electricians are well-versed in electrical safety standards. They can ensure the wiring is done correctly, preventing fire hazards and electrocution risks.
  2. Code Compliance: Electrical work must comply with local building codes and regulations. Electricians are familiar with these requirements and can ensure your installation meets all standards.
  3. Proper Wiring: Ceiling fans often require new wiring or modifications to existing wiring. Electricians have the expertise to handle this safely and efficiently.
  4. Structural Considerations: Electricians can assess the ceiling’s structural integrity and make any necessary reinforcements to support the ceiling fan’s weight.

The Ceiling Fan Installation Process

When you hire an electrician to install a ceiling fan, you can expect the following steps:

  1. Assessment: The electrician will assess the room to determine the best location for the ceiling fan. Factors like room size, ceiling height, and existing electrical connections will be considered.
  2. Wiring: If the room doesn’t already have the necessary wiring, the electrician will run new electrical lines to the desired location. This step is critical to ensure the fan operates safely and efficiently.
  3. Mounting Bracket: The electrician will install a mounting bracket securely to the ceiling. This bracket provides the foundation for the fan and helps distribute its weight.
  4. Assembly: Your electrician will carefully assemble the ceiling fan, ensuring that all components are properly connected and balanced.
  5. Installation: With the fan assembled, it will be securely attached to the mounting bracket. This step is crucial for safety and stability.
  6. Wiring Connections: The electrician will connect the fan’s wiring to the electrical supply. They’ll also ensure that the wall switch and remote control (if applicable) are correctly integrated into the electrical system.
  7. Testing: After installation, the electrician will test the fan’s operation to confirm that it functions correctly and without any issues.
  8. Cleanup: The electrician will clean up the installation area, removing any debris and ensuring that your space is left tidy.

Benefits of Hiring an Electrician

Hiring an electrician for ceiling fan installation offers numerous benefits:

  1. Safety: An electrician ensures that the fan is safely installed, reducing the risk of electrical problems or accidents.
  2. Efficiency: Electricians have the knowledge and tools to complete the installation efficiently, saving you time and effort.
  3. Compliance: They ensure the installation adheres to local building codes and regulations, preventing potential legal issues.
  4. Warranty: Many ceiling fans come with warranties that require professional installation for them to remain valid. An electrician can provide the necessary documentation to support any warranty claims.

Conclusion: Professional Quality and Peace of Mind

An electrician is hired to install a ceiling fan not only ensures the safety of your home but also guarantees that the fan operates at its best. With the expertise and knowledge of a qualified electrician, you can enjoy the benefits of a ceiling fan with confidence, knowing that it’s been professionally installed to enhance your comfort and energy efficiency.

How Tall Do Ceilings Need To Be For Golf Simulator?

How Tall Do Ceilings Need To Be For Golf Simulator? Golf simulators have revolutionized the way golf enthusiasts practice and enjoy their favorite sport. These advanced systems offer a realistic golfing experience, allowing players to tee off from the comfort of their own homes or indoor facilities. One critical factor to consider when setting up a golf simulator is the height of the ceilings. In this article, we’ll explore how tall your ceilings need to be for a golf simulator and why it matters.

how tall do ceilings need to be for golf simulator

The Importance of Ceiling Height for Golf Simulators

Before we dive into the specific ceiling height requirements, let’s understand why ceiling height is a crucial consideration for your golf simulator setup.

1. Swing Space:

One of the primary reasons for adequate ceiling height is providing enough clearance for your golf swing. When you take a swing with a driver or any other golf club, your arms and club extend both backward and upward. If the ceiling is too low, you risk hitting the ceiling, which not only disrupts your game but can also damage the equipment and the ceiling itself.

2. Realism and Comfort:

To enjoy a realistic golfing experience, it’s essential to have enough overhead space. A taller ceiling allows for a more authentic feel, especially when using projection screens or high-quality monitors. Additionally, it provides a comfortable and safe environment for your swing.

3. Simulated Ball Flight:

Many golf simulators are designed to calculate ball flight and simulate the trajectory of your shots. To do this accurately, the system needs sufficient space for the ball to travel and gather data. Inadequate ceiling height can limit the system’s ability to provide accurate feedback on your shots.

Ceiling Height Requirements for Golf Simulators

The ideal ceiling height for a golf simulator can vary depending on several factors, including your height, the length of your golf clubs, and your swing characteristics. However, as a general guideline, a minimum ceiling height of 9 to 10 feet (2.7 to 3 meters) is recommended. This height should accommodate most golfers comfortably and allow for a full swing with standard-sized clubs.

For taller individuals or those who want more room for their swing, a ceiling height of 12 feet (3.7 meters) or more is preferable. This height provides extra clearance, ensuring that even the tallest golfers can swing freely without any concerns about hitting the ceiling.

Measuring Your Ceiling Height

Before purchasing or setting up a golf simulator, it’s essential to measure your ceiling height accurately. Here’s how you can do it:

  1. Gather your equipment: You’ll need a tape measure, a step ladder, and a friend or family member to assist you.
  2. Find a suitable location: Choose the spot where you plan to set up your golf simulator.
  3. Position the tape measure: Place the ladder in the selected location and extend the tape measure vertically from the floor to the ceiling. Ensure it’s level.
  4. Measure the height: Have your friend or family member read the measurement at the highest point where the ceiling meets the wall.
  5. Record the measurement: Note down the height in feet or meters.

Conclusion: Creating the Ideal Golf Simulator Space

To fully enjoy the benefits of a golf simulator, including improving your game and practicing from the comfort of your own space, it’s crucial to have the right ceiling height. A minimum height of 9 to 10 feet is typically recommended, but taller ceilings, such as 12 feet or more, can provide an even better experience. Measure your ceiling height accurately before investing in a golf simulator to ensure that you have the space needed for a realistic and enjoyable golfing experience at home.