The Westinghouse Comet ceiling fan combines stylish design with powerful performance to create a comfortable and inviting atmosphere in any room. In this detailed review and installation guide, we’ll explore the features, benefits, and installation process of the Westinghouse Comet ceiling fan, helping you make an informed decision about adding this stylish and functional fixture to your home.
Introducing the Westinghouse Comet Ceiling Fan
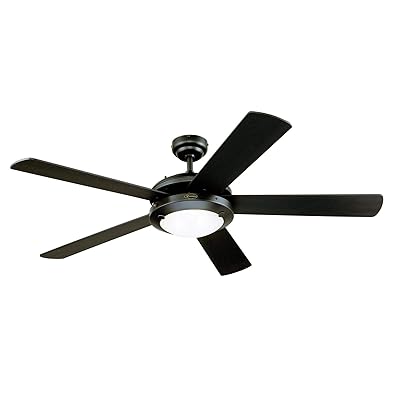
The Westinghouse Comet ceiling fan features a sleek and modern design that complements a variety of interior styles. Available in multiple finishes, including brushed pewter, matte black, and white, the Comet fan adds a touch of sophistication to any room while providing optimal airflow and comfort.
Key Features of the Westinghouse Comet Ceiling Fan
The Westinghouse Comet ceiling fan boasts several features that set it apart from other ceiling fans on the market:
- Powerful Motor: The Comet fan is equipped with a high-quality motor that delivers powerful and efficient airflow, making it ideal for both small and large rooms.
- Reversible Blades: The fan’s reversible blades allow you to customize the look of your space and adapt to changing seasons. Choose between a sleek black finish or a classic wood grain design.
- Integrated Light Fixture: The Comet fan includes an integrated light fixture with a frosted glass shade, providing both illumination and ambiance to your room.
- Remote Control Compatibility: The fan can be operated via remote control for added convenience, allowing you to adjust the fan speed and light settings from anywhere in the room.
Read too: Discovering the Charm of Nautical Outdoor Ceiling Fans for Your Coastal Retreat: Sail into Style
Installation Guide for the Westinghouse Comet Ceiling Fan
Follow these steps to install the Westinghouse Comet ceiling fans in your home:
1. Gather Tools and Materials
- Before you begin, gather the necessary tools and materials, including a screwdriver, wire stripper, ladder, and electrical tape.
- Ensure that the power to the ceiling fan circuit is turned off at the breaker box before starting the installation process.
2. Mount the Ceiling Bracket
- Install the ceiling bracket provided with the fan according to the manufacturer’s instructions, ensuring that it is securely attached to the ceiling joist or support structure.
3. Wire the Fan
- Follow the wiring diagram included with the fan to connect the electrical wires from the ceiling to the fan motor.
- Use wire nuts to secure the connections and electrical tape to cover exposed wires.
4. Attach the Fan Blades and Light Fixture
- Attach the fan blades to the motor housing using the screws provided, ensuring that they are securely fastened.
- Install the light fixture onto the fan motor housing, following the manufacturer’s instructions for assembly.
5. Test the Fan
- Once the fan is fully assembled and securely mounted to the ceiling, turn the power back on at the breaker box and test the fan and light functions using the remote control.
Conclusion
The Westinghouse Comet ceiling fans offers a stylish and practical solution for enhancing the comfort and ambiance of your home. The Comet fan’s sleek design, powerful motor, and integrated light fixture make it a standout feature in any room.