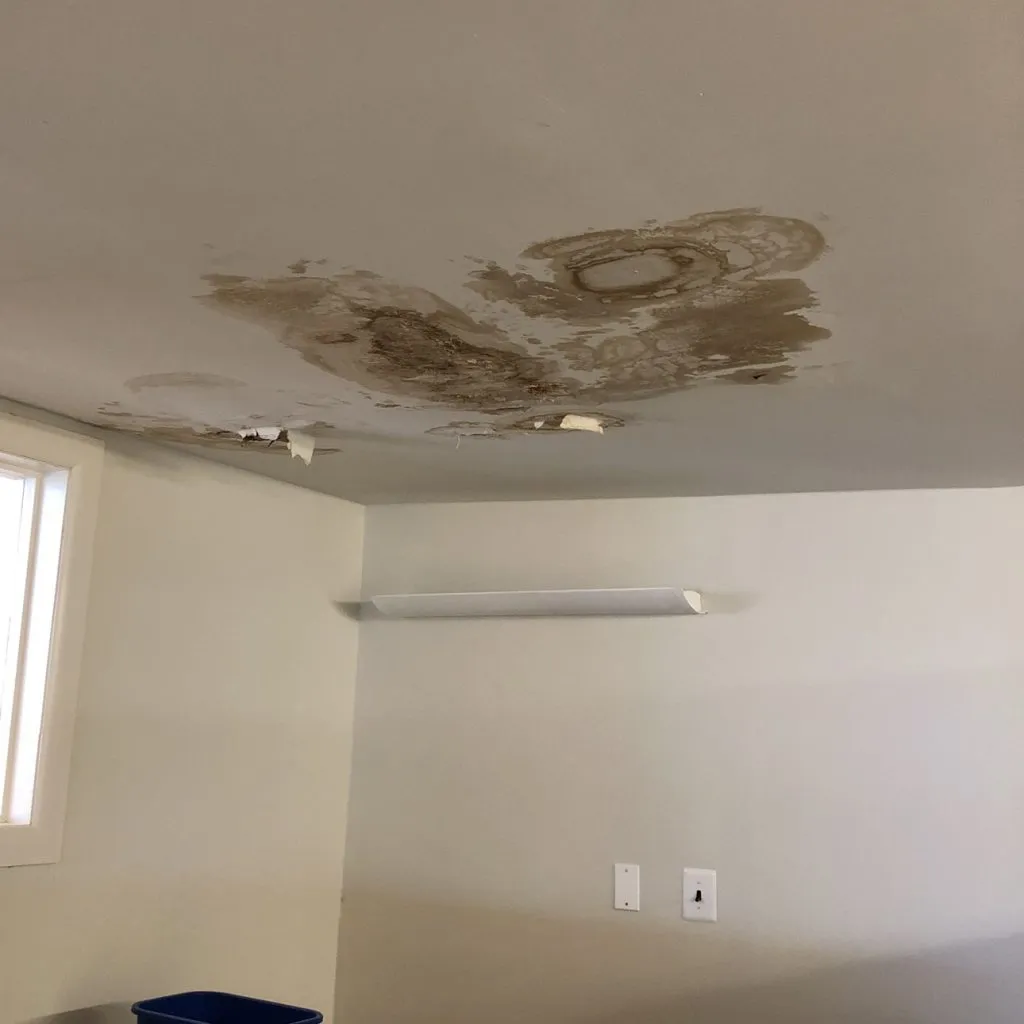
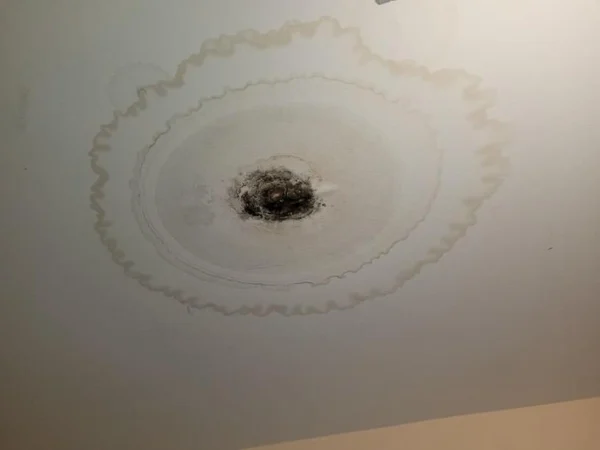
A ceiling leak after rain can turn a peaceful home into a source of worry. In this comprehensive guide, we will unravel the mysteries behind a ceiling leak after rain, offering valuable insights and practical steps to address and prevent this common household issue.

Decoding the Dilemma: Causes of a Ceiling Leak After Rain
Understanding the causes behind a ceiling leak after rain is essential for implementing targeted solutions. Let’s delve into the potential reasons and proactive measures to protect your home.
*1. Damaged Roofing Materials
One of the primary culprits behind a ceiling leak after rain is damaged roofing materials. Missing shingles, cracks, or deterioration can allow rainwater to penetrate and find its way into the interior of your home.
Solution:
- Conduct a thorough roof inspection to identify and address damaged or missing shingles.
- Consider professional roof repair or replacement if needed.
*2. Clogged or Damaged Gutters
Clogged or damaged gutters can impede the proper flow of rainwater, causing it to overflow and potentially infiltrate the ceiling. This is particularly common in homes surrounded by trees, leading to debris buildup.
Solution:
- Regularly clean gutters and downspouts to prevent clogs.
- Repair or replace damaged gutter sections to ensure efficient water drainage.
*3. Flashing Issues
Flashing, the material used to seal joints and transitions on a roof, can degrade over time. When flashing is compromised, it creates vulnerabilities that allow rainwater to seep into the home.
Solution:
- Inspect flashing around chimneys, vents, and other roof transitions.
- Replace damaged or corroded flashing to maintain a watertight seal.
*4. Poorly Sealed Roof Penetrations
Any openings or penetrations in the roof, such as vents, skylights, or chimneys, require proper sealing. If the seals around these penetrations degrade, rainwater can enter the home.
Solution:
- Check and reseal roof penetrations regularly.
- Consider professional assistance for a more thorough inspection and sealing.
*5. Condensation and Humidity Issues
In some cases, condensation and humidity can mimic the symptoms of a ceiling leak after rain. Poor ventilation or insulation can lead to moisture buildup, creating similar visual signs.
Solution:
- Improve ventilation and insulation in the attic to minimize condensation.
- Monitor humidity levels and use dehumidifiers if necessary.
Steps to Address and Prevent Ceiling Leaks After Rain
- Prompt Inspection and Repairs: Regularly inspect your roof for any signs of damage, especially after heavy rain. Address repairs promptly to prevent further water infiltration.
- Gutter Maintenance: Keep gutters clean and free of debris to ensure proper water drainage. Install gutter guards to minimize the risk of clogs.
- Flashing Checkup: Periodically inspect flashing around roof transitions and penetrations. Replace any damaged or corroded flashing to maintain a watertight seal.
- Sealing Roof Penetrations: Ensure that all roof penetrations are properly sealed. Periodically check and reseal these areas to prevent water entry.
- Attic Ventilation and Insulation: Improve attic ventilation and insulation to minimize condensation. Adequate airflow helps maintain a dry and well-ventilated attic space.
- Professional Assistance: If issues persist or are beyond your expertise, consult with roofing professionals for a comprehensive inspection and necessary repairs.
Read too: Troubleshooting and Addressing a Water Bubble in Ceiling: Causes and Solutions Revealed
Conclusion: Safeguarding Your Home from Ceiling Leaks After Rain
In conclusion, addressing a ceiling leak after rain requires a systematic approach to identify and resolve the root causes. By understanding the potential issues and implementing proactive maintenance, homeowners can protect their homes from water-related damage.
Regular inspections, timely repairs, and a vigilant eye for signs of roof vulnerabilities contribute to a secure and dry living environment. Remember, a proactive stance is key to preserving the structural integrity and longevity of your home.
