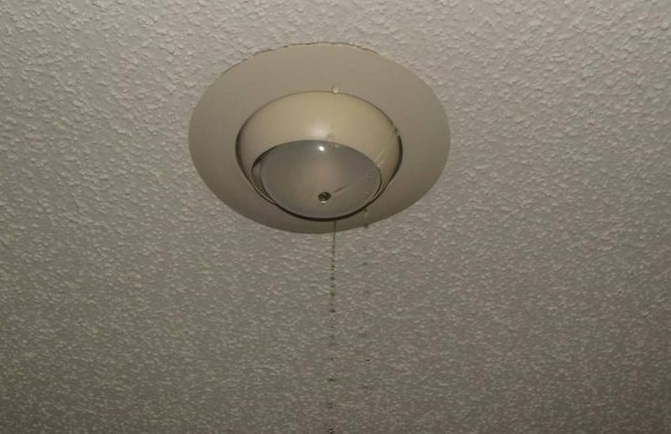
Uncover the mysteries behind “Ceiling Leaking Through Light Fixture” as we guide you through the causes, potential damages, and effective solutions. Explore the signs, preventive measures, and step-by-step remediation to safeguard your home from this common issue.

Introduction: Decoding the Dilemma
A leaking ceiling through a light fixture can turn a seemingly ordinary day into a homeowner’s nightmare. In this comprehensive guide, we delve into the intricacies of “Ceiling Leaking Through Light Fixture,” shedding light on the reasons behind this occurrence and empowering you with the knowledge to tackle it head-on.
Identifying the Culprits – Ceiling Leaking Through Light Fixture
Understanding Roof and Ceiling Leaks
- Roof Leaks: Damaged or aging roofs can allow water to penetrate, leading to leaks that manifest through light fixtures. Learn how to differentiate roof leaks from other sources.
- Plumbing Issues: Faulty plumbing in upper floors can result in water leaks that travel down to light fixtures on lower levels. Recognizing the signs can aid in early detection.
Read too: Discover the Allure of Hunter Douglas Wood Ceiling Designs: Enhancing Spaces with Elegance
Signs of Ceiling Leaking Through Light Fixture
- Water Stains: Noticeable water stains around the light fixture or on the ceiling are key indicators of a leak.
- Dripping Water: If you observe water dripping directly from the light fixture, it’s a clear sign of an active leak.
- Bulb or Fixture Damage: Damage to bulbs or fixtures, such as rust or discoloration, may be a result of continuous exposure to water.
Potential Damages Caused by Ceiling Leaking
- Electrical Hazards: Water and electricity don’t mix. Discover the potential electrical hazards associated with leaks and the importance of addressing them promptly.
- Mold Growth: Persistent moisture can create an ideal environment for mold growth, posing health risks and requiring thorough remediation.
Addressing Ceiling Leaking Through Light Fixture: A Step-by-Step Guide
*1. Safety First: Turn Off Power
Before attempting any repairs, prioritize safety by turning off the power to the affected light fixture and surrounding electrical components.
*2. Assessing the Source of the Leak
Identify the source of the leak, whether it’s a roof issue, plumbing problem, or other structural concerns. This step is crucial for effective and lasting solutions.
*3. Temporary Containment Measures
Implement temporary containment measures to prevent further damage while awaiting professional assistance or before tackling repairs yourself.
*4. Roof Repairs and Plumbing Fixes
Engage professionals to address roof leaks or plumbing issues promptly. Ensure proper repairs to prevent recurring leaks.
*5. Ceiling and Electrical Repairs
Once the source is resolved, proceed with ceiling repairs, including addressing water damage and ensuring the electrical components are safe for use.
Preventive Measures to Avoid Future Leaks
- Regular Roof Inspections: Schedule routine roof inspections to identify and address potential issues before they escalate.
- Plumbing Maintenance: Stay proactive with plumbing maintenance to prevent leaks and water damage.
- Prompt Repairs: Address any signs of water damage immediately to avoid exacerbating the issue.
Conclusion: Empowered to Tackle Ceiling Leaks Through Light Fixtures
In conclusion, understanding and addressing “Ceiling Leaking Through Light Fixture” requires a combination of vigilance, prompt action, and, at times, professional assistance. Armed with the insights from this guide, you can navigate this homeowner’s dilemma with confidence, protecting your home from potential damages and ensuring a safe living environment.