When it comes to enhancing your outdoor spaces, safety and functionality are key considerations. One of the best ways to achieve this is by installing a Ceiling Mount Motion Sensor Light Outdoor. This innovative lighting solution not only illuminates your exterior areas but also provides enhanced security and energy efficiency. In this comprehensive guide, we will explore the features, benefits, installation processes, and the top models of ceiling mount motion sensor lights, ensuring you have all the information you need to make an informed decision.
What is a Ceiling Mount Motion Sensor Light Outdoor?
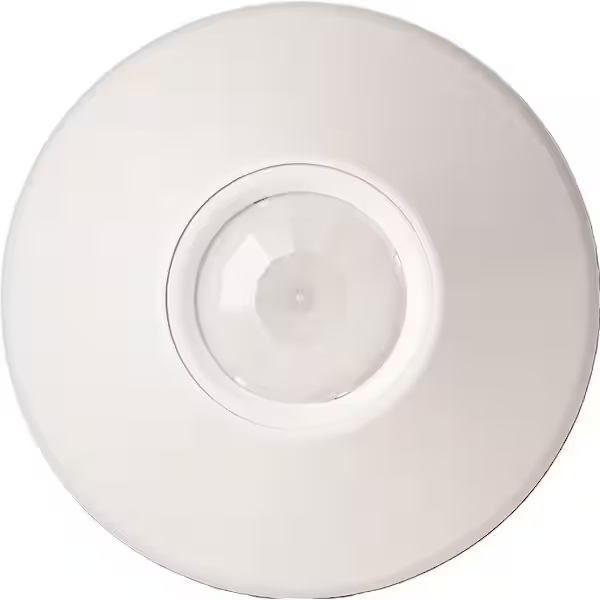
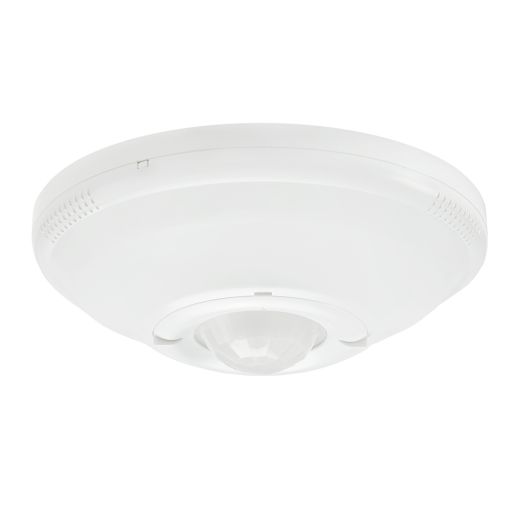
A Ceiling Mount Motion Sensor Light Outdoor is a lighting fixture that combines motion sensor technology with a ceiling-mounted design. This type of lighting is specifically designed for outdoor use, making it ideal for porches, patios, garages, and entryways. The motion sensor detects movement within a certain range and automatically turns the light on, providing illumination when it’s needed most.
Key Features of Ceiling Mount Motion Sensor Lights
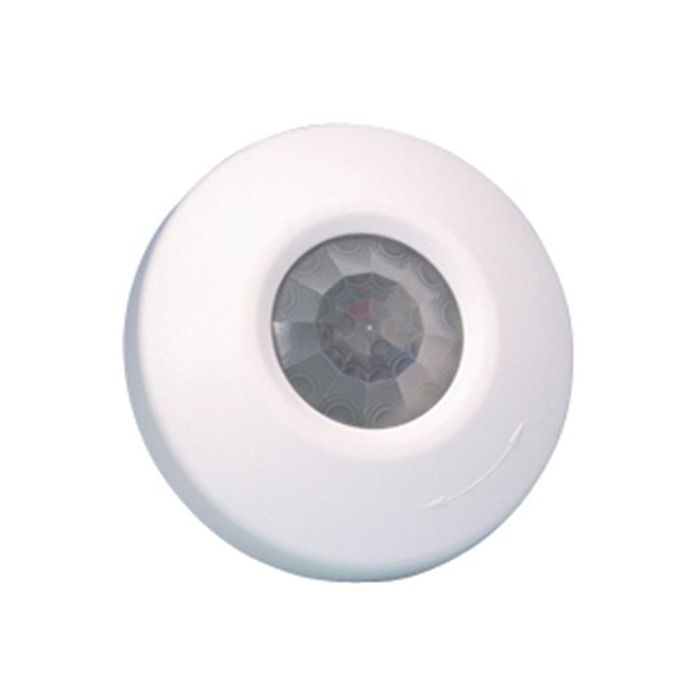
- Motion Detection:
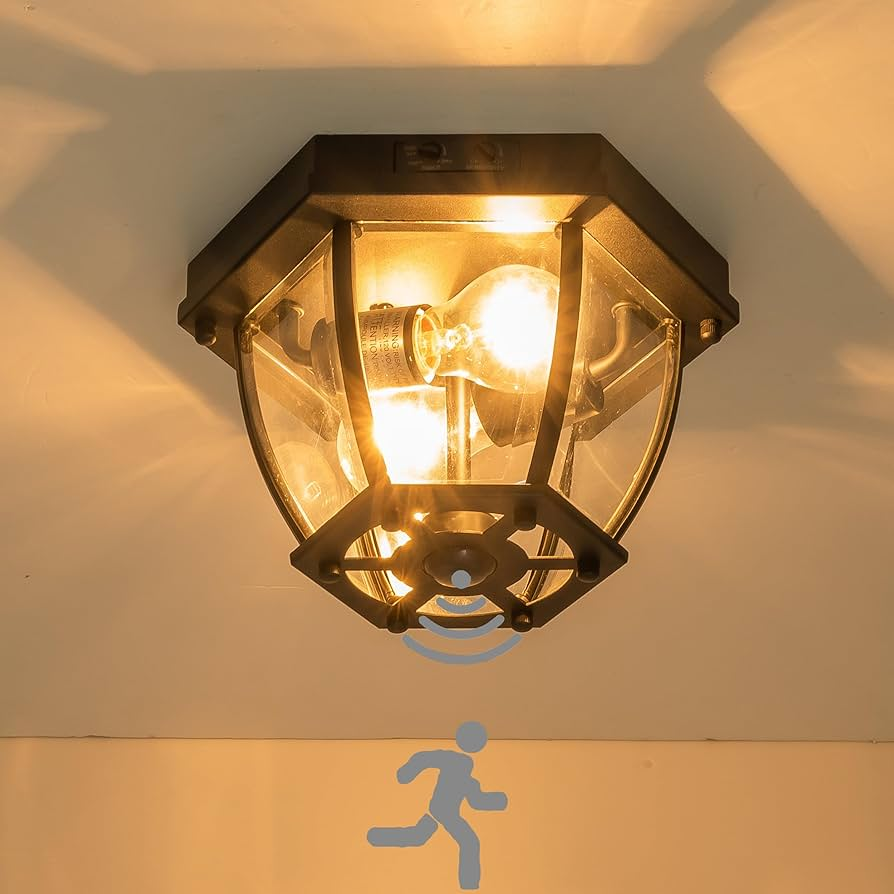
- Equipped with sensors that detect motion, these lights automatically activate when someone approaches, providing hands-free convenience and enhancing security.
- Energy Efficiency:
- Many models use LED technology, which consumes less energy compared to traditional lighting options. This means lower electricity bills and a reduced environmental footprint.
- Weather Resistance:
- Designed for outdoor use, these fixtures are typically built to withstand various weather conditions, including rain, snow, and extreme temperatures.
- Adjustable Settings:
- Many ceiling mount motion sensor lights allow you to customize settings such as sensitivity, light duration, and even the range of the sensor, giving you control over how and when they operate.
- Stylish Designs:
- Available in various styles and finishes, these lights can enhance the aesthetic appeal of your outdoor space while providing essential lighting.
Read too: Discovering the Charm of Nautical Outdoor Ceiling Fans for Your Coastal Retreat: Sail into Style
Benefits of Installing Ceiling Mount Motion Sensor Lights Outdoors
1. Enhanced Security
One of the primary reasons homeowners choose to install Ceiling Mount Motion Sensor Lights Outdoor is to enhance security. These lights deter potential intruders by illuminating areas around your home when they detect movement. A well-lit exterior can make it less likely for burglars to target your home.
2. Convenience and Safety
Imagine arriving home late at night and having the lights automatically turn on as you approach. This convenience not only makes it easier to navigate your property but also reduces the risk of accidents in the dark.
3. Energy Savings
Traditional outdoor lights often remain on all night, wasting energy. With motion sensor lights, you only use electricity when needed. This smart technology helps lower your energy consumption, making it an eco-friendly option.
4. Versatility
Ceiling mount motion sensor lights can be installed in various outdoor locations. From garages and patios to front porches and backyards, they provide versatile lighting solutions that can fit any outdoor space.
5. Low Maintenance
LED lights have a long lifespan and require minimal maintenance. Additionally, many motion sensor lights are designed to be easy to install and require little upkeep, allowing you to enjoy your lighting without hassle.
Installation Process for Ceiling Mount Motion Sensor Lights
Installing a Ceiling Mount Motion Sensor Light Outdoor is a manageable DIY project if you follow the right steps. Here’s a simple guide to help you through the process:
Tools and Materials Needed
- Ceiling mount motion sensor light
- Screwdriver
- Drill
- Wire connectors
- Electrical tape
- Safety goggles
- Ladder
Step-by-Step Installation Guide
Step 1: Choose the Location
Identify the best location for your motion sensor light. Ideal spots include entryways, garages, and outdoor patios where illumination is needed most. Ensure the location allows for optimal motion detection coverage.
Step 2: Turn Off Power
Safety first! Before beginning the installation, turn off the power to the existing light fixture (if applicable) at the circuit breaker. Use a voltage tester to ensure no electricity is flowing to the wires.
Step 3: Remove Existing Fixture
If you are replacing an existing light fixture, carefully remove it by unscrewing it from the mounting plate. Disconnect the wiring and set the old fixture aside.
Step 4: Prepare the New Fixture
Follow the manufacturer’s instructions to prepare your new ceiling mount motion sensor light for installation. This may involve assembling parts or adjusting settings.
Step 5: Connect the Wires
Connect the wires from the ceiling to the corresponding wires on the motion sensor light. Typically, this will include connecting the black (hot) wire, white (neutral) wire, and green or bare (ground) wire. Use wire connectors and electrical tape to secure the connections.
Step 6: Secure the Light Fixture
Attach the new motion sensor light to the mounting plate and secure it according to the manufacturer’s instructions. Ensure it is firmly in place and level.
Step 7: Restore Power and Test
Once the installation is complete, restore power at the circuit breaker. Test the motion sensor by walking within its range to ensure it activates correctly.
Maintenance Tips for Ceiling Mount Motion Sensor Lights
To ensure your Ceiling Mount Motion Sensor Light Outdoor functions optimally, follow these maintenance tips:
1. Regularly Clean the Fixture
Dirt and debris can obstruct the motion sensor’s view. Clean the fixture periodically with a soft cloth and mild soap to ensure clear visibility.
2. Check Sensor Settings
If you notice the light isn’t activating as expected, check the sensor settings. Adjust the sensitivity and duration settings if necessary to ensure optimal performance.
3. Replace Bulbs as Needed
If your motion sensor light uses replaceable bulbs, monitor their lifespan and replace them when they begin to dim or burn out.
4. Inspect Wiring
Periodically check the wiring for signs of wear or damage. If you notice any fraying or exposed wires, consult a professional for repairs.
Top Models of Ceiling Mount Motion Sensor Lights
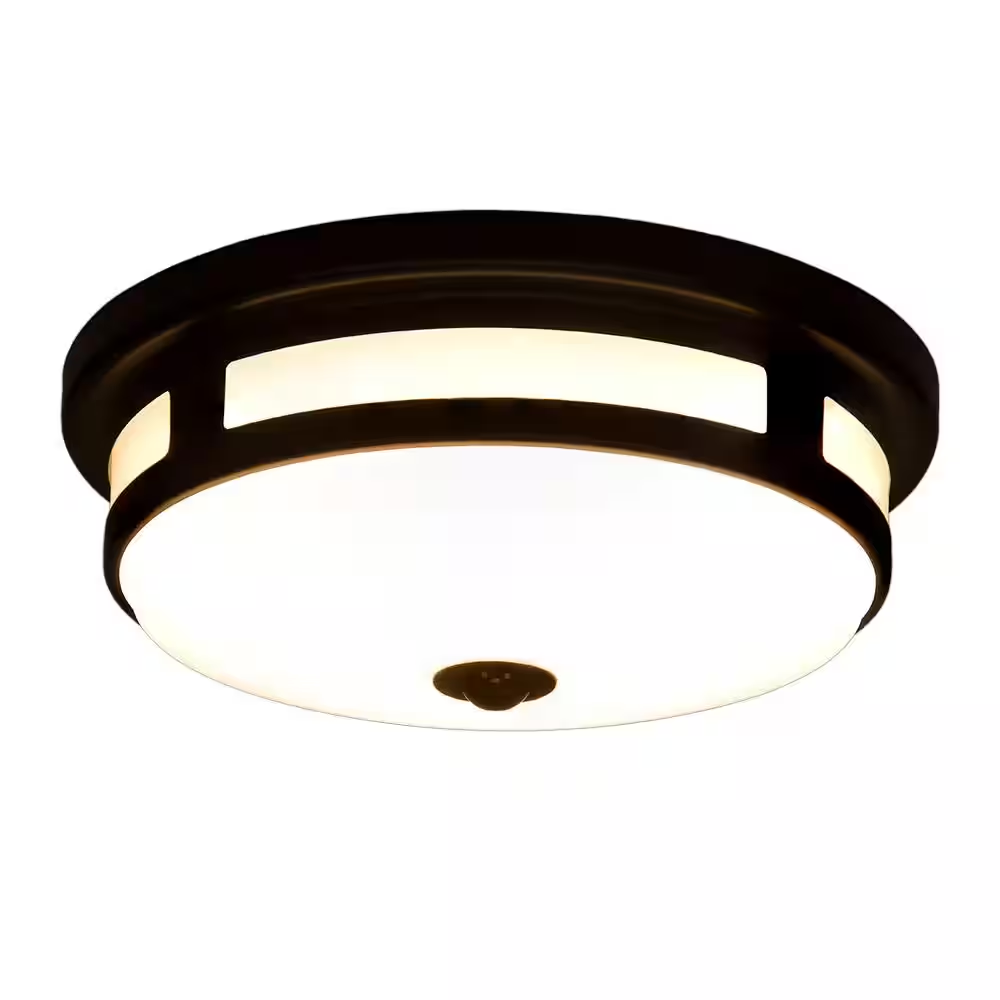
1. Lithonia Lighting Motion Sensor Ceiling Light
This model is highly regarded for its durability and efficiency. It features a wide detection range, making it ideal for larger outdoor areas. The integrated LED technology provides bright illumination while saving energy.
2. Hykolity LED Ceiling Mount Motion Sensor Light
The Hykolity model combines stylish design with functionality. It features a sleek, modern look and is weather-resistant, making it perfect for outdoor installations. The adjustable sensor allows for customization of sensitivity and duration.
3. Leviton Decora Motion Sensor Ceiling Light
The Leviton Decora is known for its ease of installation and user-friendly design. This model is perfect for residential use, offering reliable performance and an attractive appearance that complements any home.
4. Westinghouse Lighting Motion Sensor Light
The Westinghouse model is praised for its reliability and effectiveness. It features a robust sensor that detects movement from a considerable distance, making it suitable for larger outdoor spaces.
Conclusion
A Ceiling Mount Motion Sensor Light Outdoor is an excellent investment for enhancing your outdoor spaces. With improved security, energy savings, and convenience, these fixtures offer numerous benefits for homeowners. Whether you choose a model with advanced features or a simple, efficient design, you’ll find that motion sensor lights not only brighten your exterior areas but also provide peace of mind.
By following the installation and maintenance tips outlined in this guide, you can ensure that your outdoor lighting remains effective and functional for years to come. Illuminate your surroundings and enjoy the many advantages of ceiling mount motion sensor lights today!