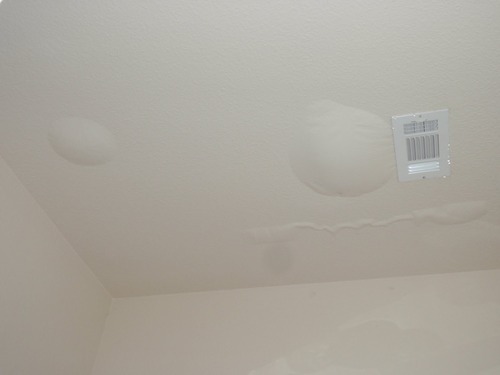
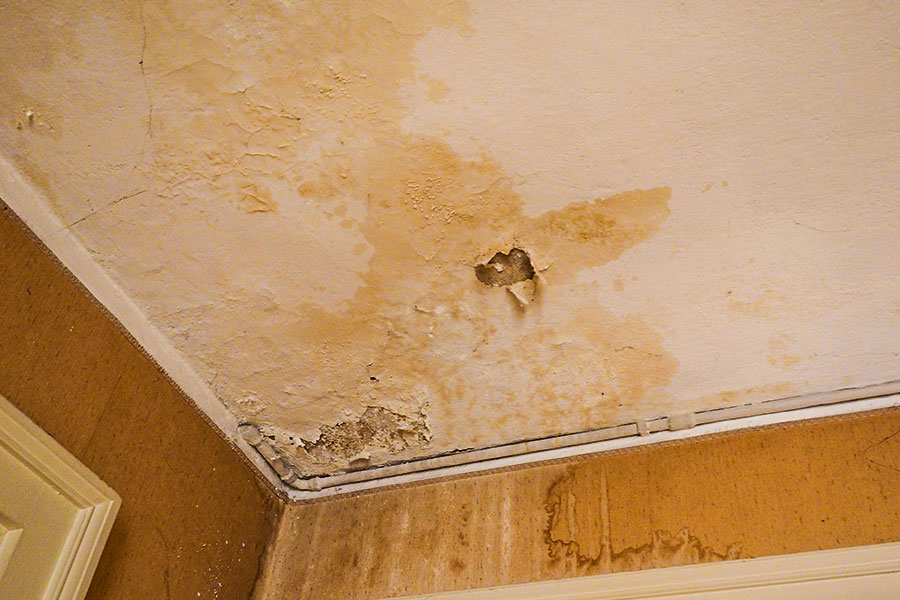
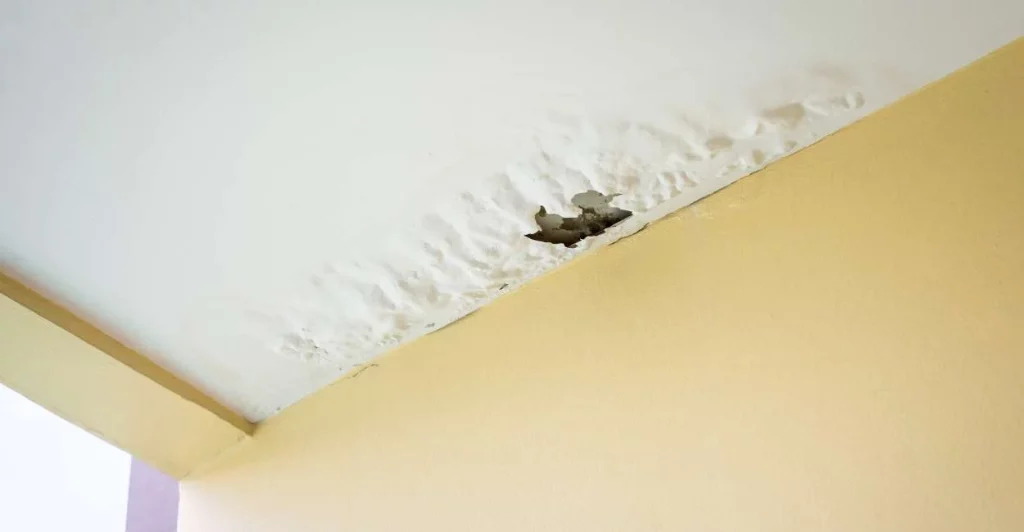
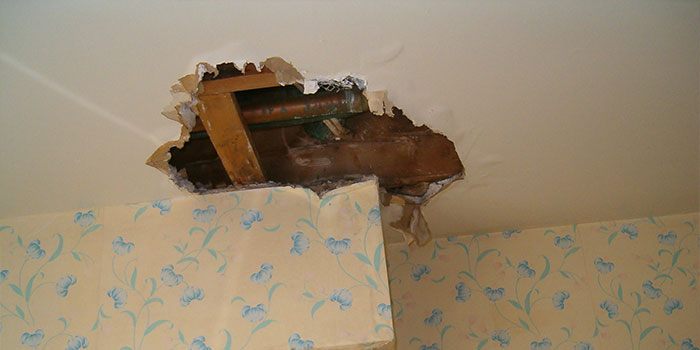
Have you ever dreamed of water leaking from your ceiling? If so, you’re not alone. This is a common dream that can be interpreted in a variety of ways. In this article, we will explore the meanings and interpretations of dreams about water leaking from the ceiling. We will also provide some tips on how to deal with these dreams if they are causing you distress.

What do dreams about water leaking from the ceiling mean?
There is no one definitive answer to this question. However, there are a few common interpretations that can be drawn from these dreams.
- Frustration or stress: Dreams about water leaking from the ceiling can be a sign of frustration or stress in your waking life. The water may represent your emotions, which are overflowing and causing problems. For example, if you are feeling stressed about work, you might dream of water leaking from the ceiling of your office.
- Change: Dreams about water leaking from the ceiling can also be a sign of change. The water may represent new beginnings or challenges that are coming your way. For example, if you are about to start a new job, you might dream of water leaking from the ceiling of your new home.
- Uncertainty: Dreams about water leaking from the ceiling can also be a sign of uncertainty or anxiety. The water may represent a lack of control or stability in your life. For example, if you are feeling anxious about a relationship, you might dream of water leaking from the ceiling of your bedroom.
How to interpret your dream
The best way to interpret your dream about water leaking from the ceiling is to consider the context of the dream. What was the water like? Where was it leaking from? What were you doing in the dream?
For example, if the water was clear and flowing, it could be a sign of positive change. However, if the water was dirty or stagnant, it could be a sign of negative change.
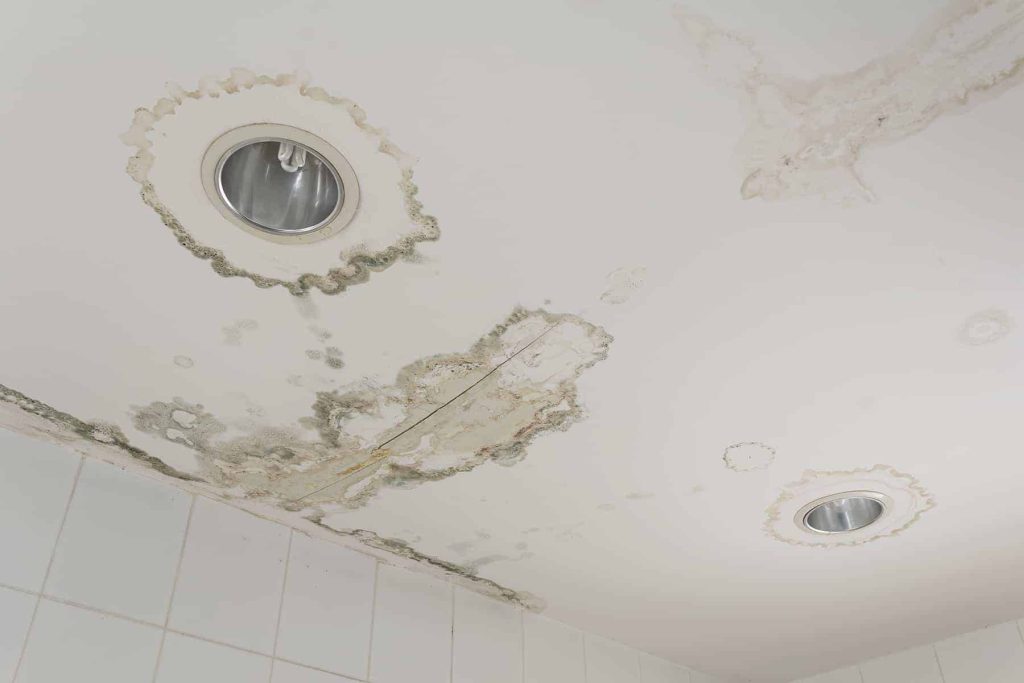
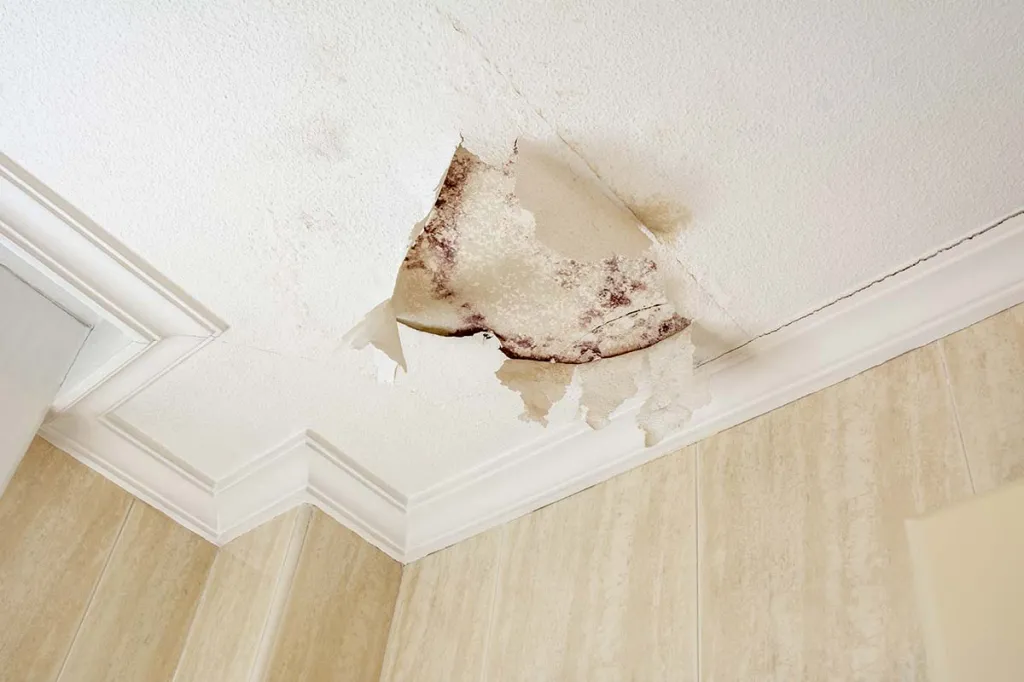
If the water was leaking from a hole in the ceiling, it could be a sign that you are feeling vulnerable or exposed. However, if the water was leaking from a pipe, it could be a sign that you are feeling stressed or overwhelmed.
How to deal with dreams about water leaking from the ceiling
If dreams about water leaking from the ceiling are causing you distress, there are a few things you can do to deal with them.
- Talk to someone you trust: Talking to a friend, family member, or therapist can help you to process your dreams and understand their meaning.
- Journal about your dreams: Keeping a journal of your dreams can help you to track patterns and identify themes.
- Practice relaxation techniques: Relaxation techniques, such as meditation or yoga, can help to reduce stress and anxiety, which can contribute to nightmares.
Conclusion
Dreams about water leaking from the ceiling can be a sign of a variety of things. By understanding the context of your dream, you can gain insight into your own thoughts and feelings.
Read too: How To Paint A Basement Ceiling
Additional details
In addition to the common interpretations discussed above, there are a few other things to consider when interpreting a dream about water leaking from the ceiling.
- The location of the leak: The location of the leak can provide additional clues about the meaning of the dream. For example, if the leak is in your bedroom, it could be a sign that you are feeling insecure or anxious about your relationships.
- The amount of water: The amount of water can also be significant. A small leak could be a sign of a minor problem, while a large leak could be a sign of a major issue.
- The actions you take in the dream: The actions you take in the dream can also provide insights into your subconscious thoughts and feelings. For example, if you try to fix the leak, it could be a sign that you are trying to address a problem in your waking life.
Tips for dealing with distressing dreams
If dreams about water leaking from the ceiling are causing you distress, there are a few things you can do to deal with them.
- Try to relax before bed: Stress and anxiety can contribute to nightmares, so it is important to relax before bed. This could include taking a warm bath, reading a calming book, or listening to relaxing music.
- Create a positive bedtime routine: A positive bedtime routine can help you to wind down and prepare for sleep. This could include reading a book, taking a warm bath, or listening to calming music.
- Avoid caffeine and alcohol before bed: Caffeine and alcohol can interfere with sleep, so it is best to avoid them before bed.
- See a therapist: If dreams about water leaking from the ceiling are causing you significant distress, it is important to seek professional