Out with the old, in with the new! If you’re tired of the dated and textured look of popcorn ceilings, you’re not alone. Many homeowners are opting to remove their popcorn ceilings for a more modern and sleek appearance. However, once the popcorn texture is gone, you’re often left with a ceiling that needs a bit of TLC. That’s where skim coating comes in. In this article, we’ll explore the process of skim coat a ceiling after removing popcorn, transforming your space into something fresh and appealing.
The Popcorn Ceiling Era: A Brief Overview
Popcorn ceilings, also known as acoustic or stipple ceilings, were a trend in the mid-20th century. They were popular due to their ability to dampen sound and hide imperfections. However, over the years, their aesthetic appeal has dwindled, and many homeowners now find them outdated and challenging to maintain.
Why Remove Popcorn Ceilings?
There are several reasons why homeowners choose to remove popcorn ceilings:
- Modern Aesthetics: Popcorn ceilings are associated with older homes and can make a space look dated. Removing them can instantly update the look of your home.
- Allergen Collection: Popcorn ceilings can trap dust, allergens, and even spider webs. Removing them can improve indoor air quality.
- Repair and Maintenance: It can be challenging to repair and maintain popcorn ceilings. Once damaged, they are not easily patched or painted.
- Resale Value: Homes with smooth, clean ceilings often have a higher resale value as they appear well-maintained and up-to-date.
Skim Coating: The Solution After Popcorn Removal
Once you’ve successfully removed the popcorn texture, you’ll likely be left with a ceiling that has imperfections, such as uneven surfaces, small holes, and cracks. Skim coating is a technique used to create a smooth and uniform surface on the ceiling. Here’s how to do it:
1. Prepare Your Space
- Clear the room of all furniture and cover the floor with drop cloths or plastic sheeting to protect it from the skim coat.
- Remove any light fixtures or ceiling fans to make the ceiling accessible.
2. Repair Any Damage
Before applying the skim coat, fill in any holes or cracks with joint compound. Sand the repaired areas once they’ve dried to ensure they are smooth and even with the rest of the ceiling.
3. Mix the Skim Coat
Skim coat is a thin layer of joint compound that is applied to the ceiling to create a smooth surface. Mix the joint compound with water until it’s the consistency of thick paint. It should be smooth and free of lumps.
4. Apply the Skim Coat
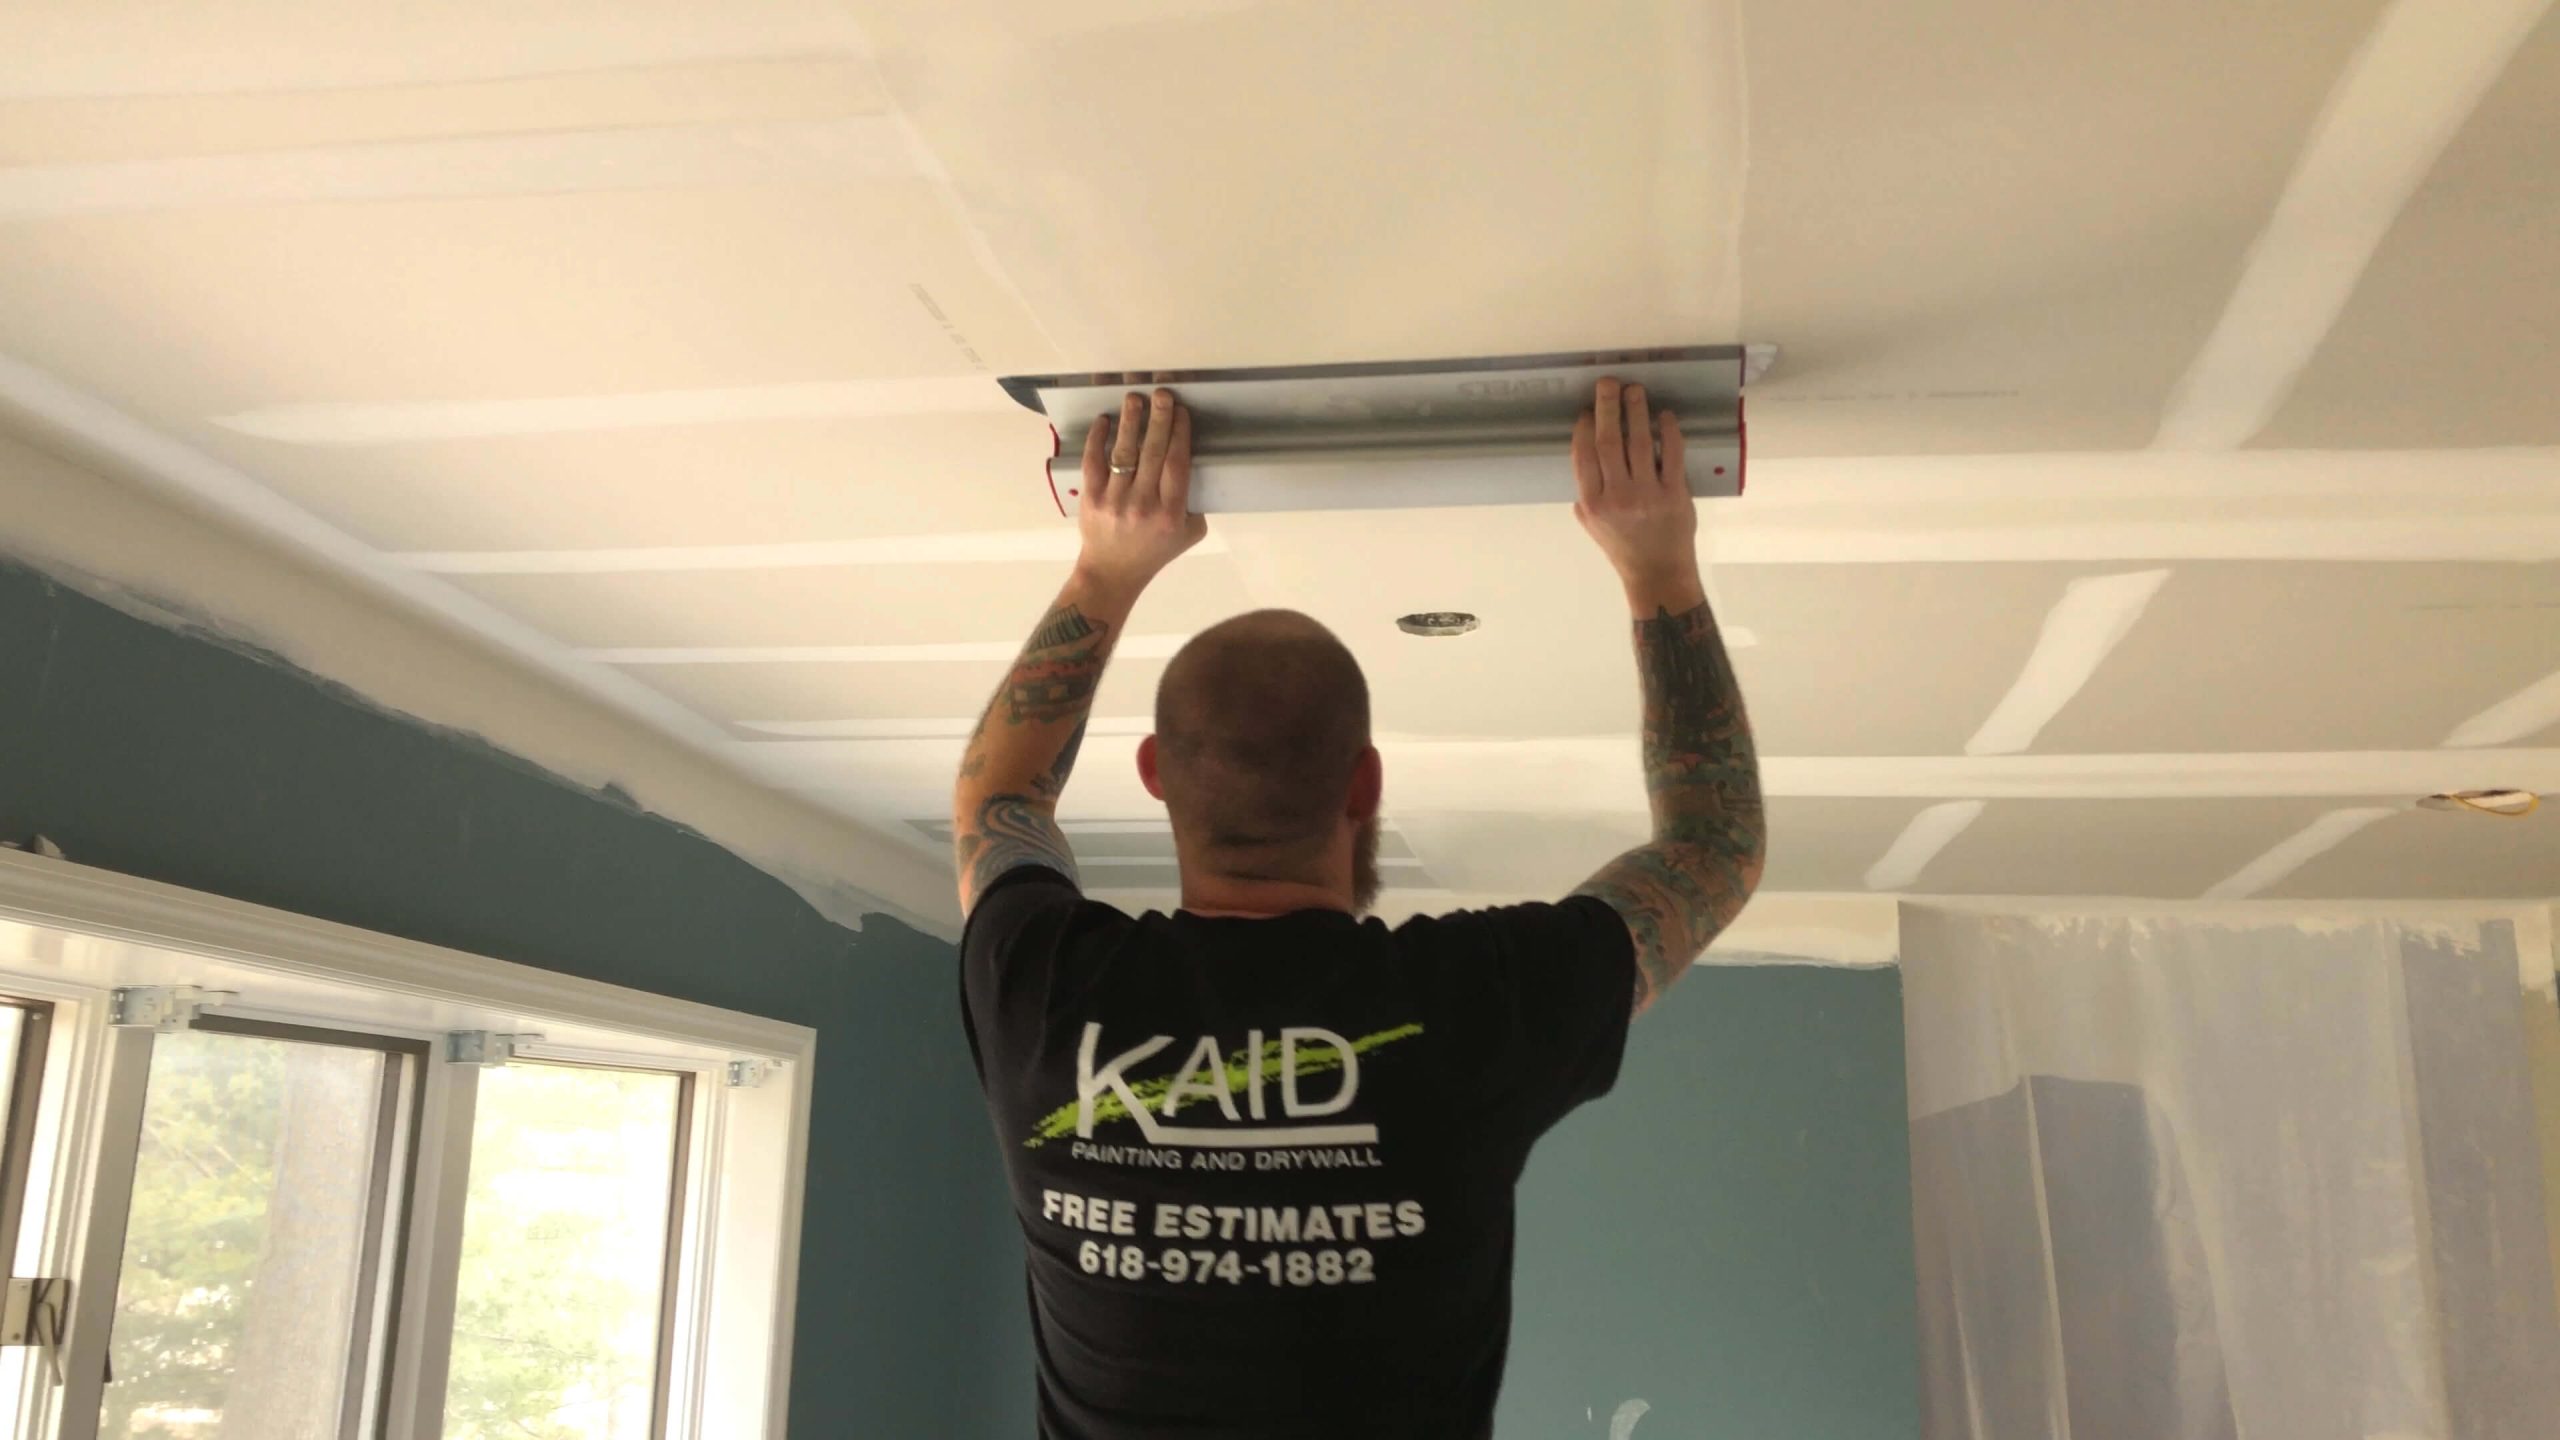
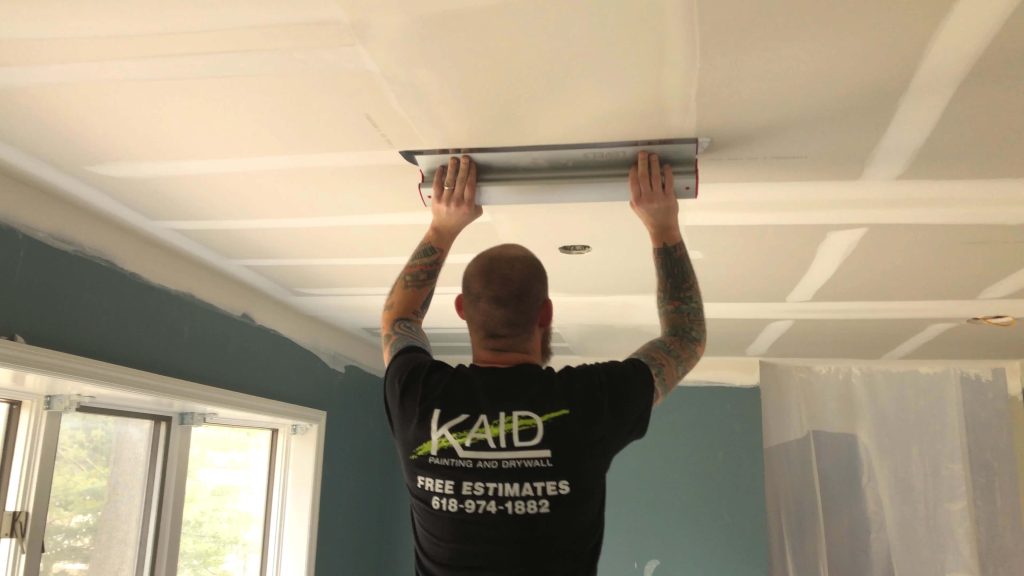
- Start by applying a thin layer of the skim coat to the ceiling with a large drywall knife or trowel.
- Spread the skim coat evenly across the ceiling, working in small sections. It’s important to maintain a consistent thickness to achieve a smooth finish.
- Allow the first coat to dry completely. This can take several hours, so be patient.
5. Sand and Repeat
- Once the first coat is dry, lightly sand the surface to remove any imperfections and create a smooth texture.
- Apply a second coat of skim coat in the same manner as the first. Again, allow it to dry completely and sand as needed.
6. Prime and Paint
After the final coat of skim coat is dry and the ceiling is smooth and flawless, prime the surface to ensure proper paint adhesion. Once the primer is dry, you can paint the ceiling with your desired color.
Conclusion: A Fresh Start
Skim coat ceiling after removing popcorn is a rewarding DIY project that can give your space a fresh, modern look. It transforms your room from dated and textured to smooth and sleek. While it may require some time and effort, the results are well worth it, making your home more appealing and increasing its value. So, don’t let the remnants of a bygone era keep your space from looking its best. Embrace the process of skim coating, and enjoy the transformation.