Insulating your attic is one of the most important things you can do to improve the energy efficiency of your home. A well-insulated attic can help to keep your home cool in the summer and warm in the winter, saving you money on your energy bills.
If you have a finished attic, insulating the sloped ceiling can be a bit more challenging than insulating an unfinished attic. However, it is still a relatively easy project that you can do yourself with a little planning and effort.
In this article, we will walk you through the steps on how to insulate a sloped ceiling finished attic. We will cover everything from choosing the right insulation to installing it properly.

Step 1: Choose the right insulation
There are two main types of insulation that are suitable for sloped ceiling finished attics: batt insulation and blown insulation.
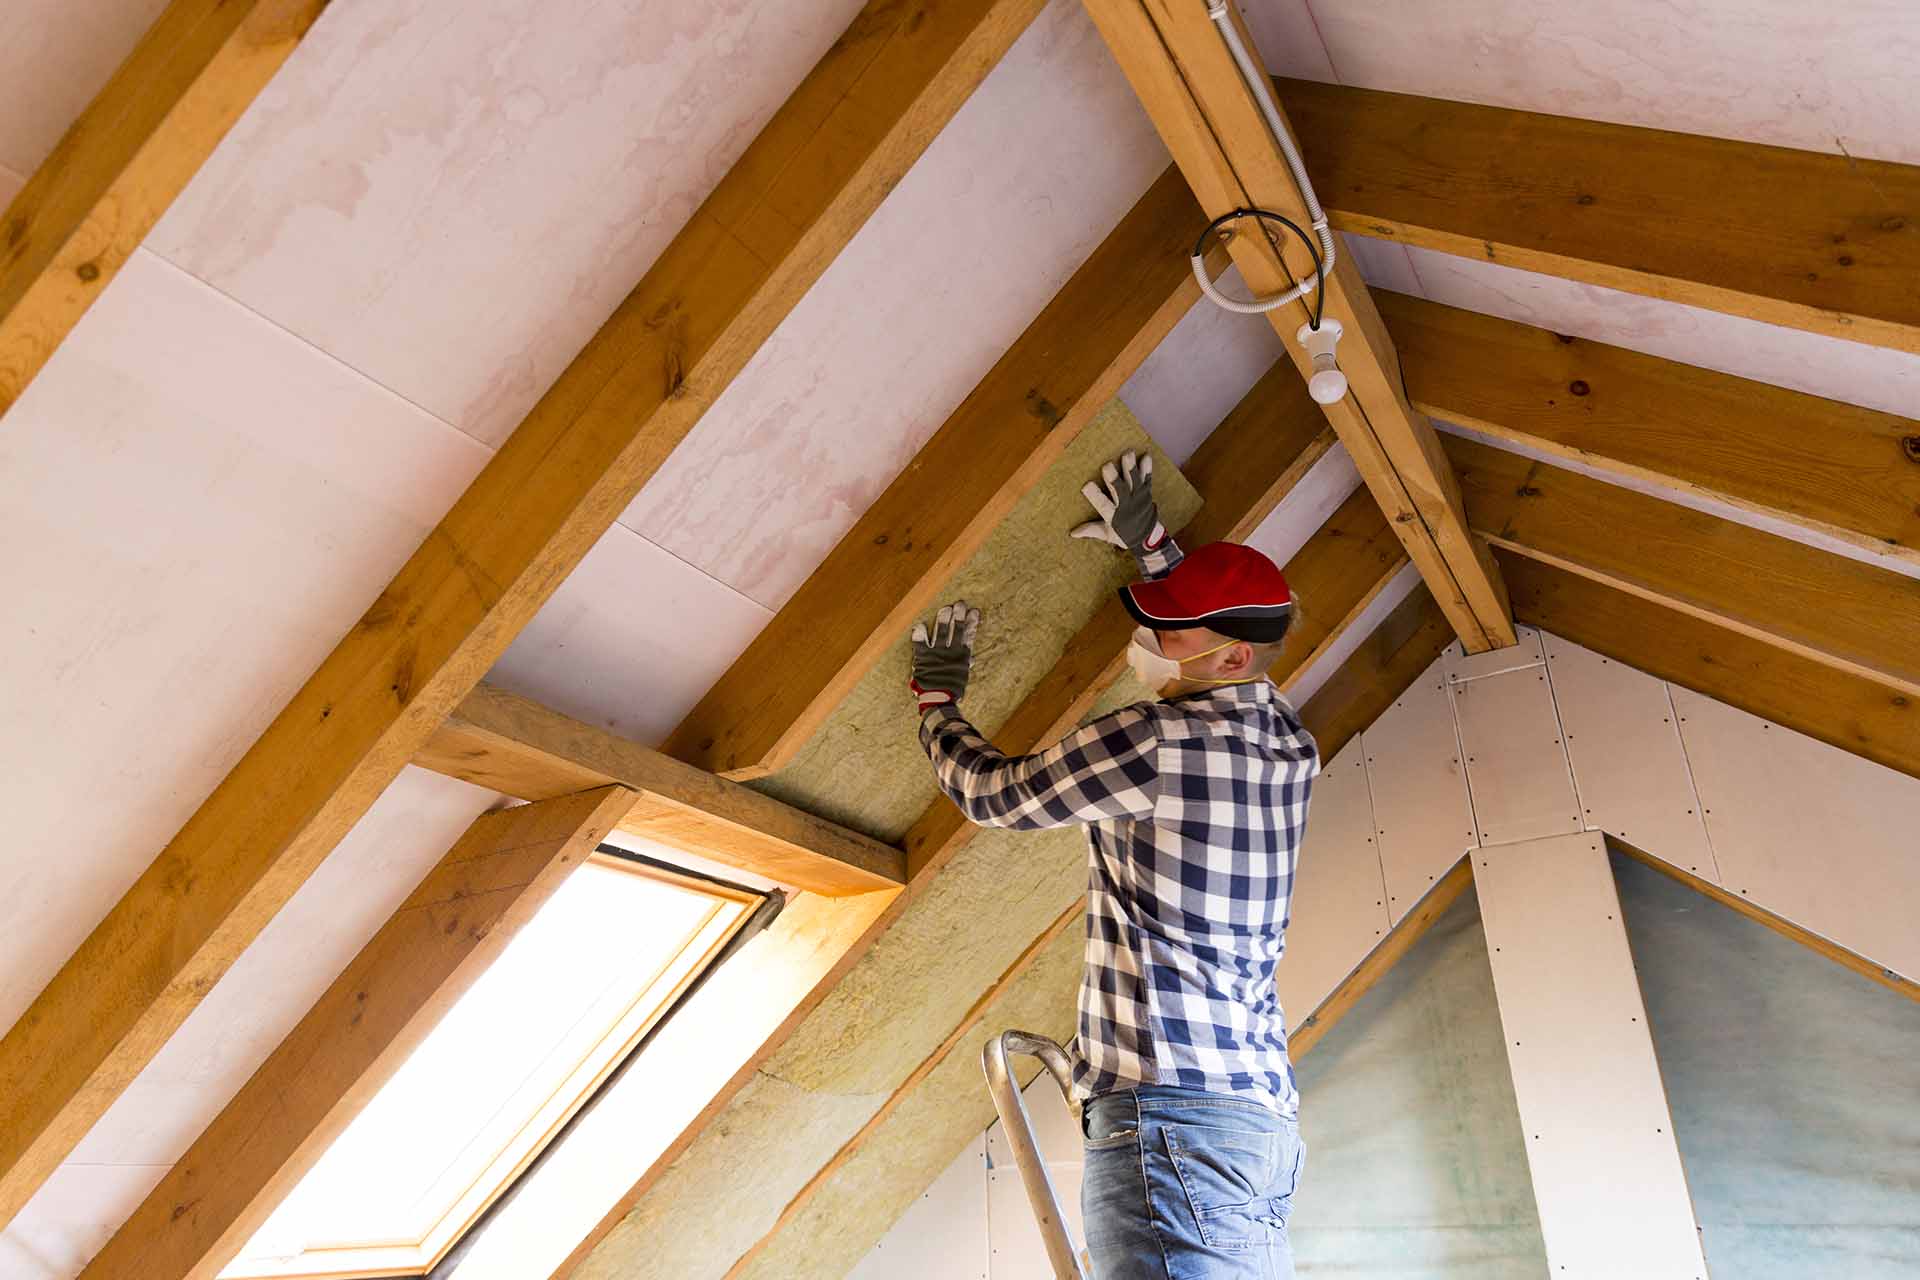
Batt insulation is made up of long, narrow pieces of insulation that are cut to fit between the rafters. Batt insulation is available in a variety of materials, including fiberglass, cellulose, and mineral wool.
Blown insulation is made up of small, loose-fill particles that are blown into the attic. Blown insulation is also available in a variety of materials, including fiberglass, cellulose, and cellulose and foam.
The type of insulation you choose will depend on a number of factors, including your budget, the climate in your area, and your personal preferences.
**In general, fiberglass batt insulation is a good option for most homes. It is relatively inexpensive and easy to install. Cellulose insulation is another good option, as it is more effective at preventing moisture buildup than fiberglass. Mineral wool insulation is a good choice for homes in cold climates, as it is more resistant to heat loss than fiberglass or cellulose.
Step 2: Prepare the attic
Before you begin installing insulation, you need to prepare the attic. This includes cleaning up any debris or clutter that may be present. You should also remove any insulation that is already in place.
If your attic has soffit vents, you will need to install baffles. Baffles are small, L-shaped pieces of plywood or foam that prevent insulation from blocking the vents.
Step 3: Install the insulation
The installation process for batt insulation and blown insulation is different.
To install batt insulation:
- Cut the batts to fit between the rafters.
- Insert the batts into the space between the rafters, making sure that they are snug against the rafters and the roof sheathing.
- Staple or tape the batts in place.
To install blown insulation:
- Rent a blower machine from a home improvement store.
- Seal up any cracks or holes in the attic floor or walls.
- Turn on the blower machine and blow the insulation into the attic.
Step 4: Install a vapor barrier
A vapor barrier is a sheet of material that helps to prevent moisture from building up in the attic. This can help to prevent mold and rot.
The vapor barrier should be installed on the warm side of the insulation, which is usually the underside of the roof sheathing.
Step 5: Seal up any cracks or holes
It is important to seal up any cracks or holes in the attic to prevent air and moisture from escaping. This can be done with caulk, weatherstripping, or expanding foam.
Read too: How Much To Paint Basement Ceiling
Conclusion
How to Insulate a Sloped Ceiling Finished Attic? Insulating your sloped ceiling finished attic is a relatively easy project that can save you money on your energy bills. By following the steps in this article, you can do it yourself and get the job done right.tunesharemore_vert