Are you gearing up to upgrade your living space with a ceiling fan? Delve into the intricacies of “Installing Ceiling Fan Red Wire” and unlock the secrets to a seamless installation process. This comprehensive guide provides valuable insights, tips, and step-by-step instructions, ensuring you navigate the installation with confidence.

Introduction: The Significance of the Red Wire in Ceiling Fan Installation
Installing a ceiling fan can be a rewarding home improvement project, but the presence of a red wire might raise questions. In this guide, we demystify the role of the red wire and walk you through the process of “Installing Ceiling Fan Red Wire.” Whether you’re a seasoned DIY enthusiast or a novice, this guide equips you with the knowledge to successfully install a ceiling fan with confidence.
Understanding the Red Wire in Ceiling Fan Installation
The Red Wire in Electrical Wiring
Before diving into the installation process, it’s crucial to understand the role of the red wire in electrical wiring. In a typical electrical setup, the red wire is often associated with secondary live wires, three-way switches, or specific functions in a circuit. Understanding its purpose lays the foundation for a safe and efficient ceiling fan installation.
Key Steps in Installing Ceiling Fan with Red Wire
*1. Turn Off Power: Safety first! Begin by turning off the power to the circuit where you’ll be working. Use a circuit tester to ensure that the power is indeed off before proceeding.
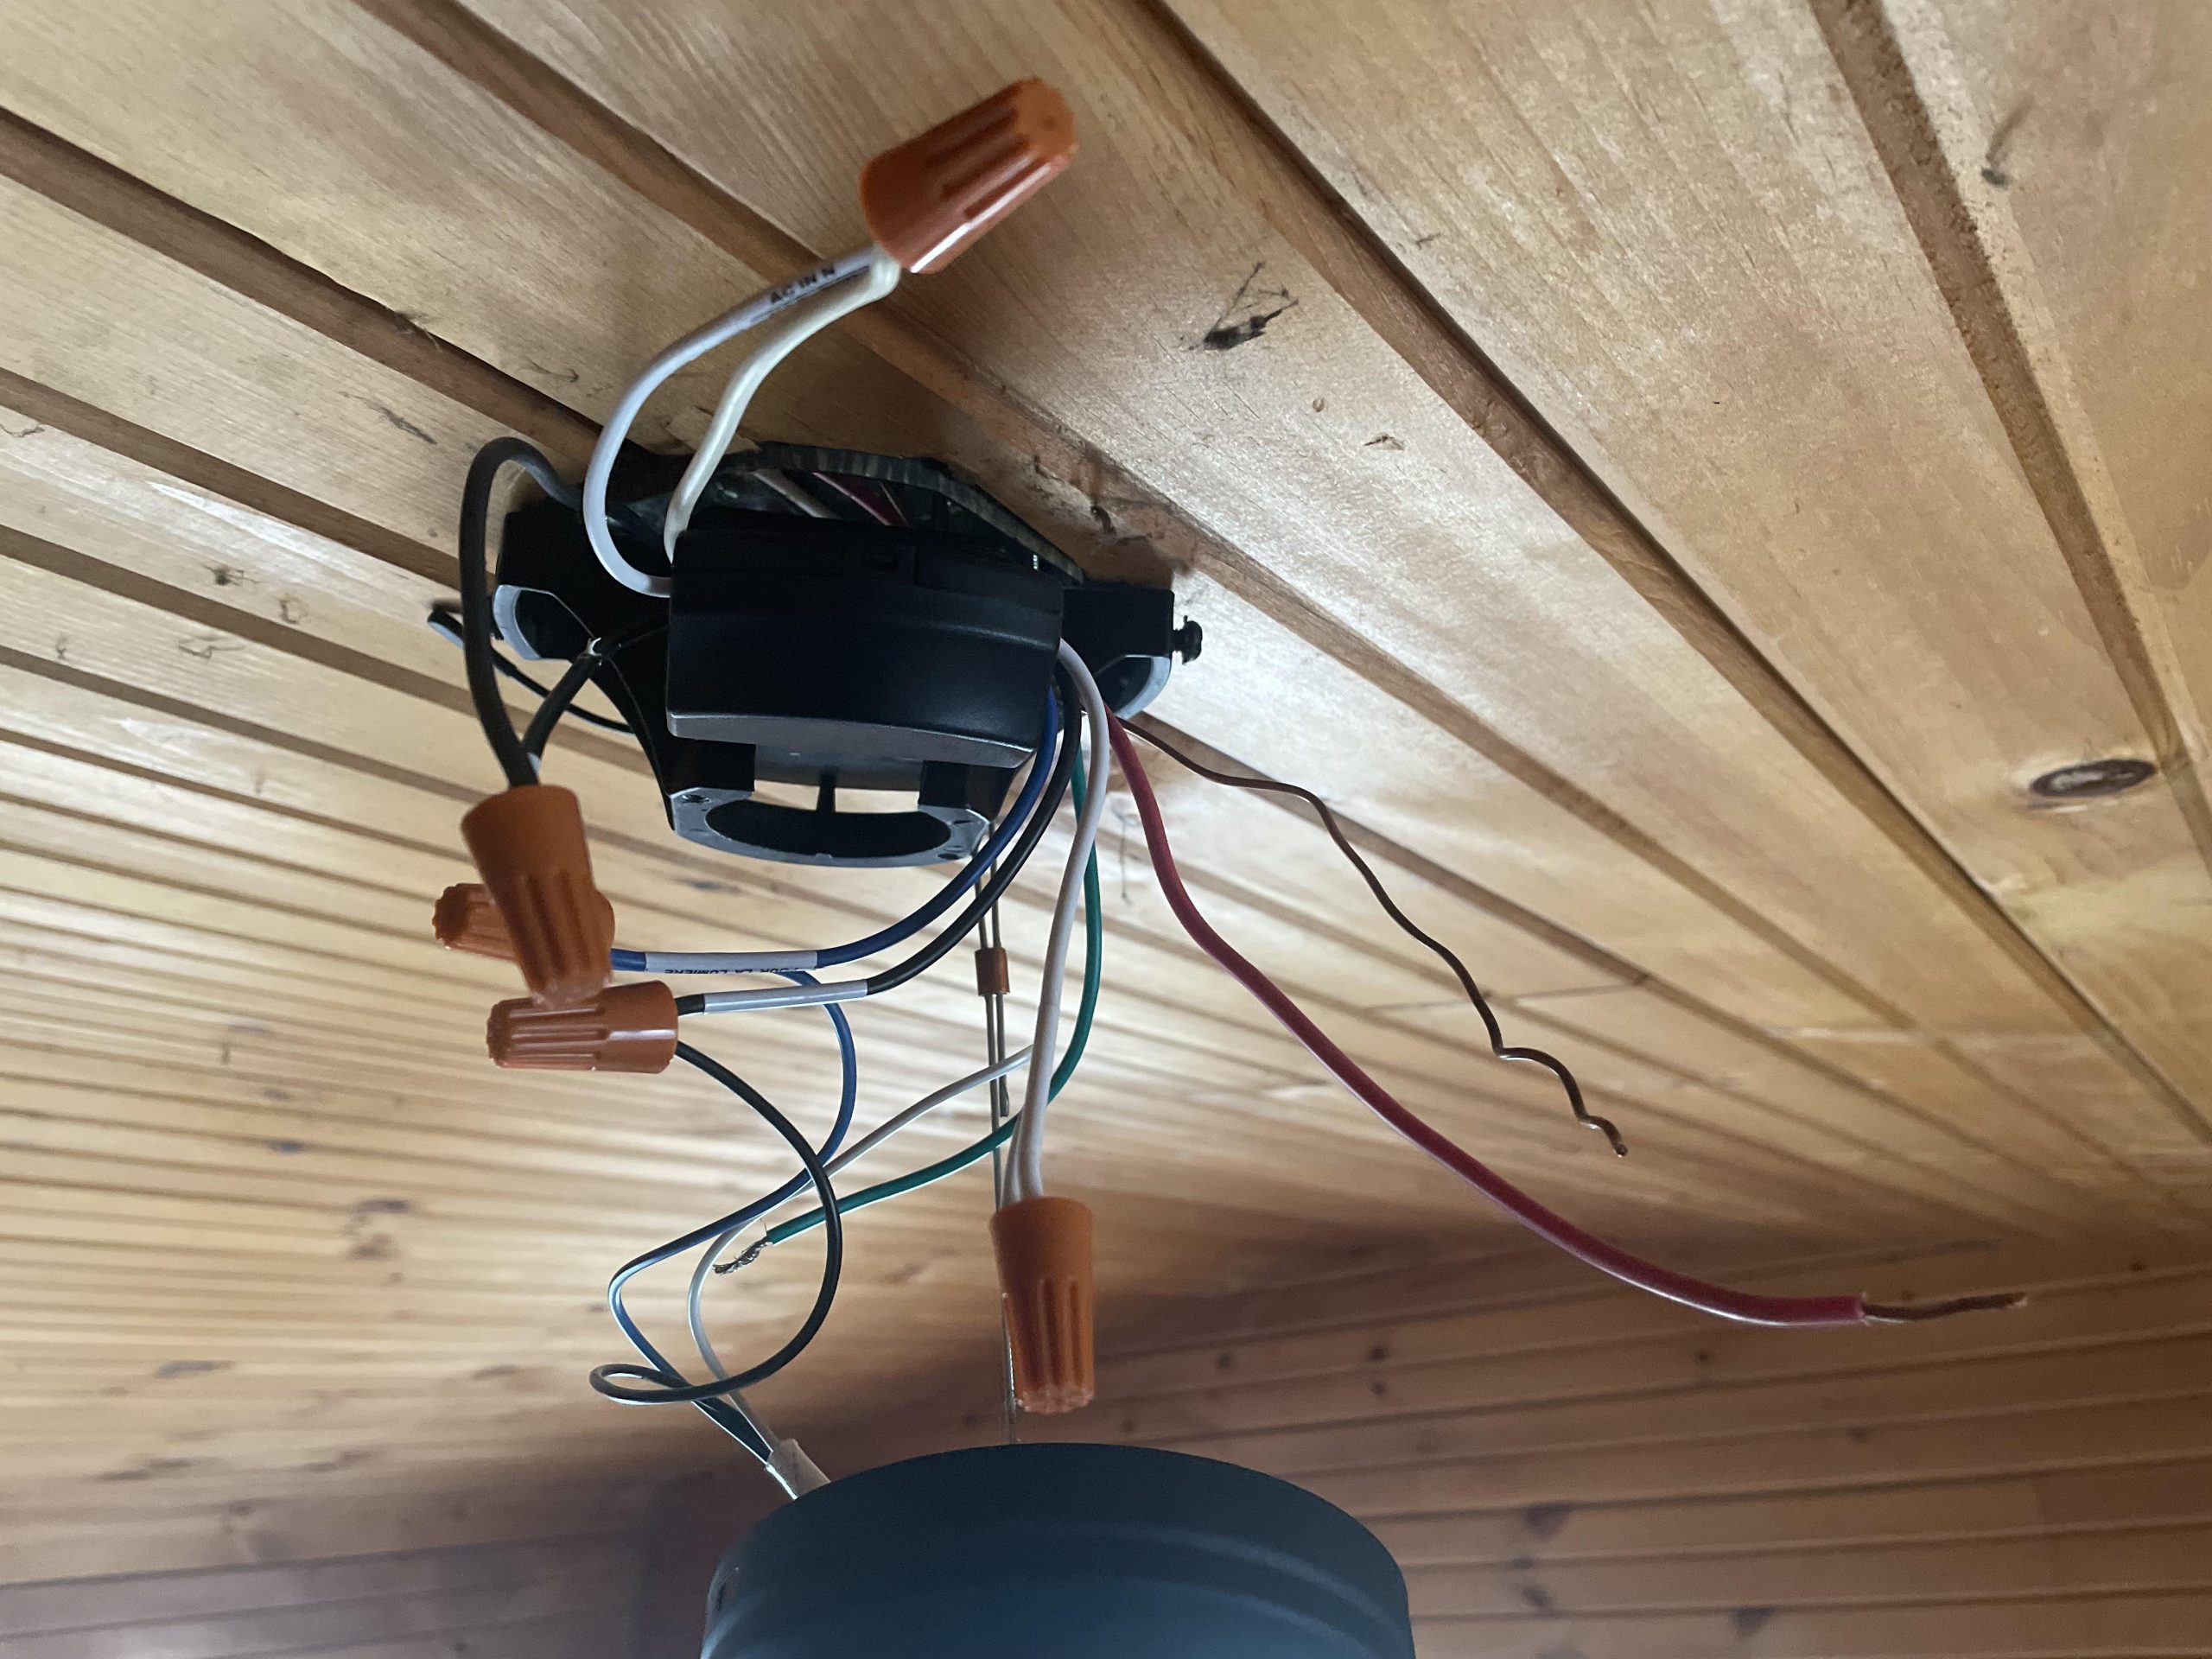
*2. Identify Ceiling Fan Wires: Unbox your ceiling fan and identify the wires. The red wire is typically used for specific functions, such as connecting to a separate light switch or operating the fan’s motor.
*3. Match Wires: Match the red wire from the ceiling fan with the corresponding wire in your electrical box. Consult the manufacturer’s instructions to ensure proper alignment.
*4. Secure Connections: Use wire nuts to secure the connections. Ensure a tight and secure fit for all wires, including the red wire, to prevent loose connections that can lead to electrical issues.
*5. Assemble and Mount Fan: Follow the manufacturer’s instructions to assemble your ceiling fan. Once assembled, carefully mount the fan to the ceiling bracket, securing it in place.
*6. Test the Installation: After completing the installation, turn the power back on and test the ceiling fan’s functions. Confirm that the red wire operates as intended, whether controlling the fan speed or activating a separate light switch.
Common Questions and Troubleshooting Tips
*1. What if There’s No Red Wire? If your ceiling doesn’t have a red wire, don’t panic. Some fans operate without a red wire, and the functions associated with it may be controlled differently.
*2. The Fan Isn’t Working: If the fan isn’t working after installation, double-check the connections, ensuring all wires, including the red wire, are properly secured. Consult troubleshooting tips in the fan’s manual.
Read too: Discover the Allure of Hunter Douglas Wood Ceiling Designs: Enhancing Spaces with Elegance
Conclusion: Enjoying the Fruits of Your Ceiling Fan Installation
In conclusion, “Installing Ceiling Fan Red Wire” need not be a daunting task. By understanding the role of the red wire, following key steps, and addressing common questions, you can successfully install a ceiling fan and enhance your home’s comfort. Enjoy the cool breeze and improved aesthetics as you bask in the satisfaction of a DIY well-done.