A water bubble in the ceiling can be an alarming sight. It not only compromises the aesthetics of your home but also indicates a potential water leak or damage that needs immediate attention. Fixing a water bubble in the ceiling can be a DIY project if the problem is caught early and the damage is not extensive. In this article, we’ll guide you through the steps to address this issue effectively, from identifying the root cause to repairing the damage. Let’s get started.
Identifying the Problem
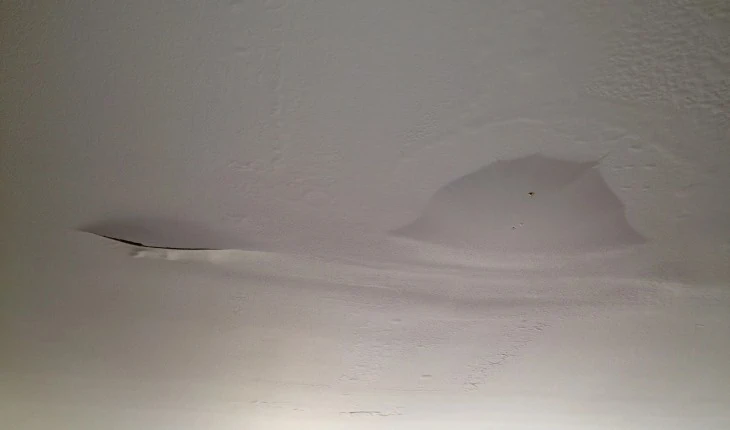
Before you can fix a water bubble in your ceiling, you need to identify the root cause. Water bubbles occur when water accumulates between the paint or drywall and the ceiling surface. This can happen due to various reasons, including:
- Leaky Roof: One of the most common reasons for water bubbles in the ceiling is a leaky roof. When your roof is compromised, rainwater can seep into the attic and then make its way down to the ceiling.
- Plumbing Issues: Faulty plumbing, such as a burst pipe or a leaky connection, can also lead to water bubbles in the ceiling. In this case, the water might come from above or adjacent to the ceiling.
- Condensation: In some cases, condensation can accumulate and create bubbles in the ceiling. This is more common in high-humidity environments or bathrooms without proper ventilation.
Locating the Source of the Leak
To effectively fix the water bubble in your ceiling, you need to find the source of the leak. Here’s how you can do it:
- Inspect the Attic: If you suspect a leaky roof, start by inspecting your attic. Look for wet spots or signs of water infiltration on the attic floor or the rafters. This can help you pinpoint the area where the water is entering.
- Check Plumbing: If you suspect a plumbing issue, turn off the water supply to your home and check for any dampness or leaks near the plumbing fixtures. This can help you identify the source of the problem.
- Look for Stains: Water stains on your ceiling can also provide clues about the source of the leak. The stain will typically be located close to the water bubble.
Repairing the Water Bubble
Once you’ve identified the source of the leak, it’s time to fix the water bubble in your ceiling. Here’s a step-by-step guide to repairing the damage:
- Gather Your Supplies: You’ll need a utility knife, a bucket, a plastic drop cloth, a putty knife, sandpaper, primer, paint, and a paint roller. Make sure to wear safety goggles and gloves during the process.
- Protect the Area: Lay the plastic drop cloth on the floor beneath the water bubble. This will catch any falling debris and water, making cleanup easier.
- Drain the Water: Use the utility knife to puncture the water bubble gently. Allow the water to drain into the bucket. If the bubble is large, be prepared for a significant amount of water.
- Let it Dry: After draining the water, allow the area to dry completely. This might take a few hours or even a day, depending on the extent of the damage.
- Scrape and Sand: Once the area is dry, use the putty knife to scrape away any loose or damaged drywall or paint. Then, sand the area to create a smooth surface for repairs.
- Apply Primer: Apply a layer of primer to the damaged area. This will help seal the surface and prepare it for painting.
- Paint the Ceiling: After the primer has dried, use a paint roller to apply a matching paint color to the ceiling. Make sure to blend the new paint with the surrounding area to create a seamless finish.
- Inspect for Additional Leaks: After the repair is complete, closely monitor the area for signs of additional leaks. If the problem persists, it’s crucial to address the underlying issue.
Preventing Future Water Bubbles
To prevent future water bubbles in your ceiling, consider these preventative measures:
- Regular Roof Inspections: Schedule regular inspections of your roof to catch and fix any issues early.
- Maintain Plumbing: Check and maintain your plumbing regularly to prevent leaks.
- Improve Ventilation: If condensation is a recurring issue, consider improving ventilation in the affected area.
Read too: What Does Water Damage Look Like On Ceiling
Conclusion
Fixing a water bubble in your ceiling is a manageable DIY project if you act promptly and address the underlying issue. Identifying the source of the leak, repairing the damage, and taking preventative measures can help maintain the integrity and appearance of your ceiling. By following the steps outlined in this article, you can resolve the issue and ensure a dry and beautiful home.