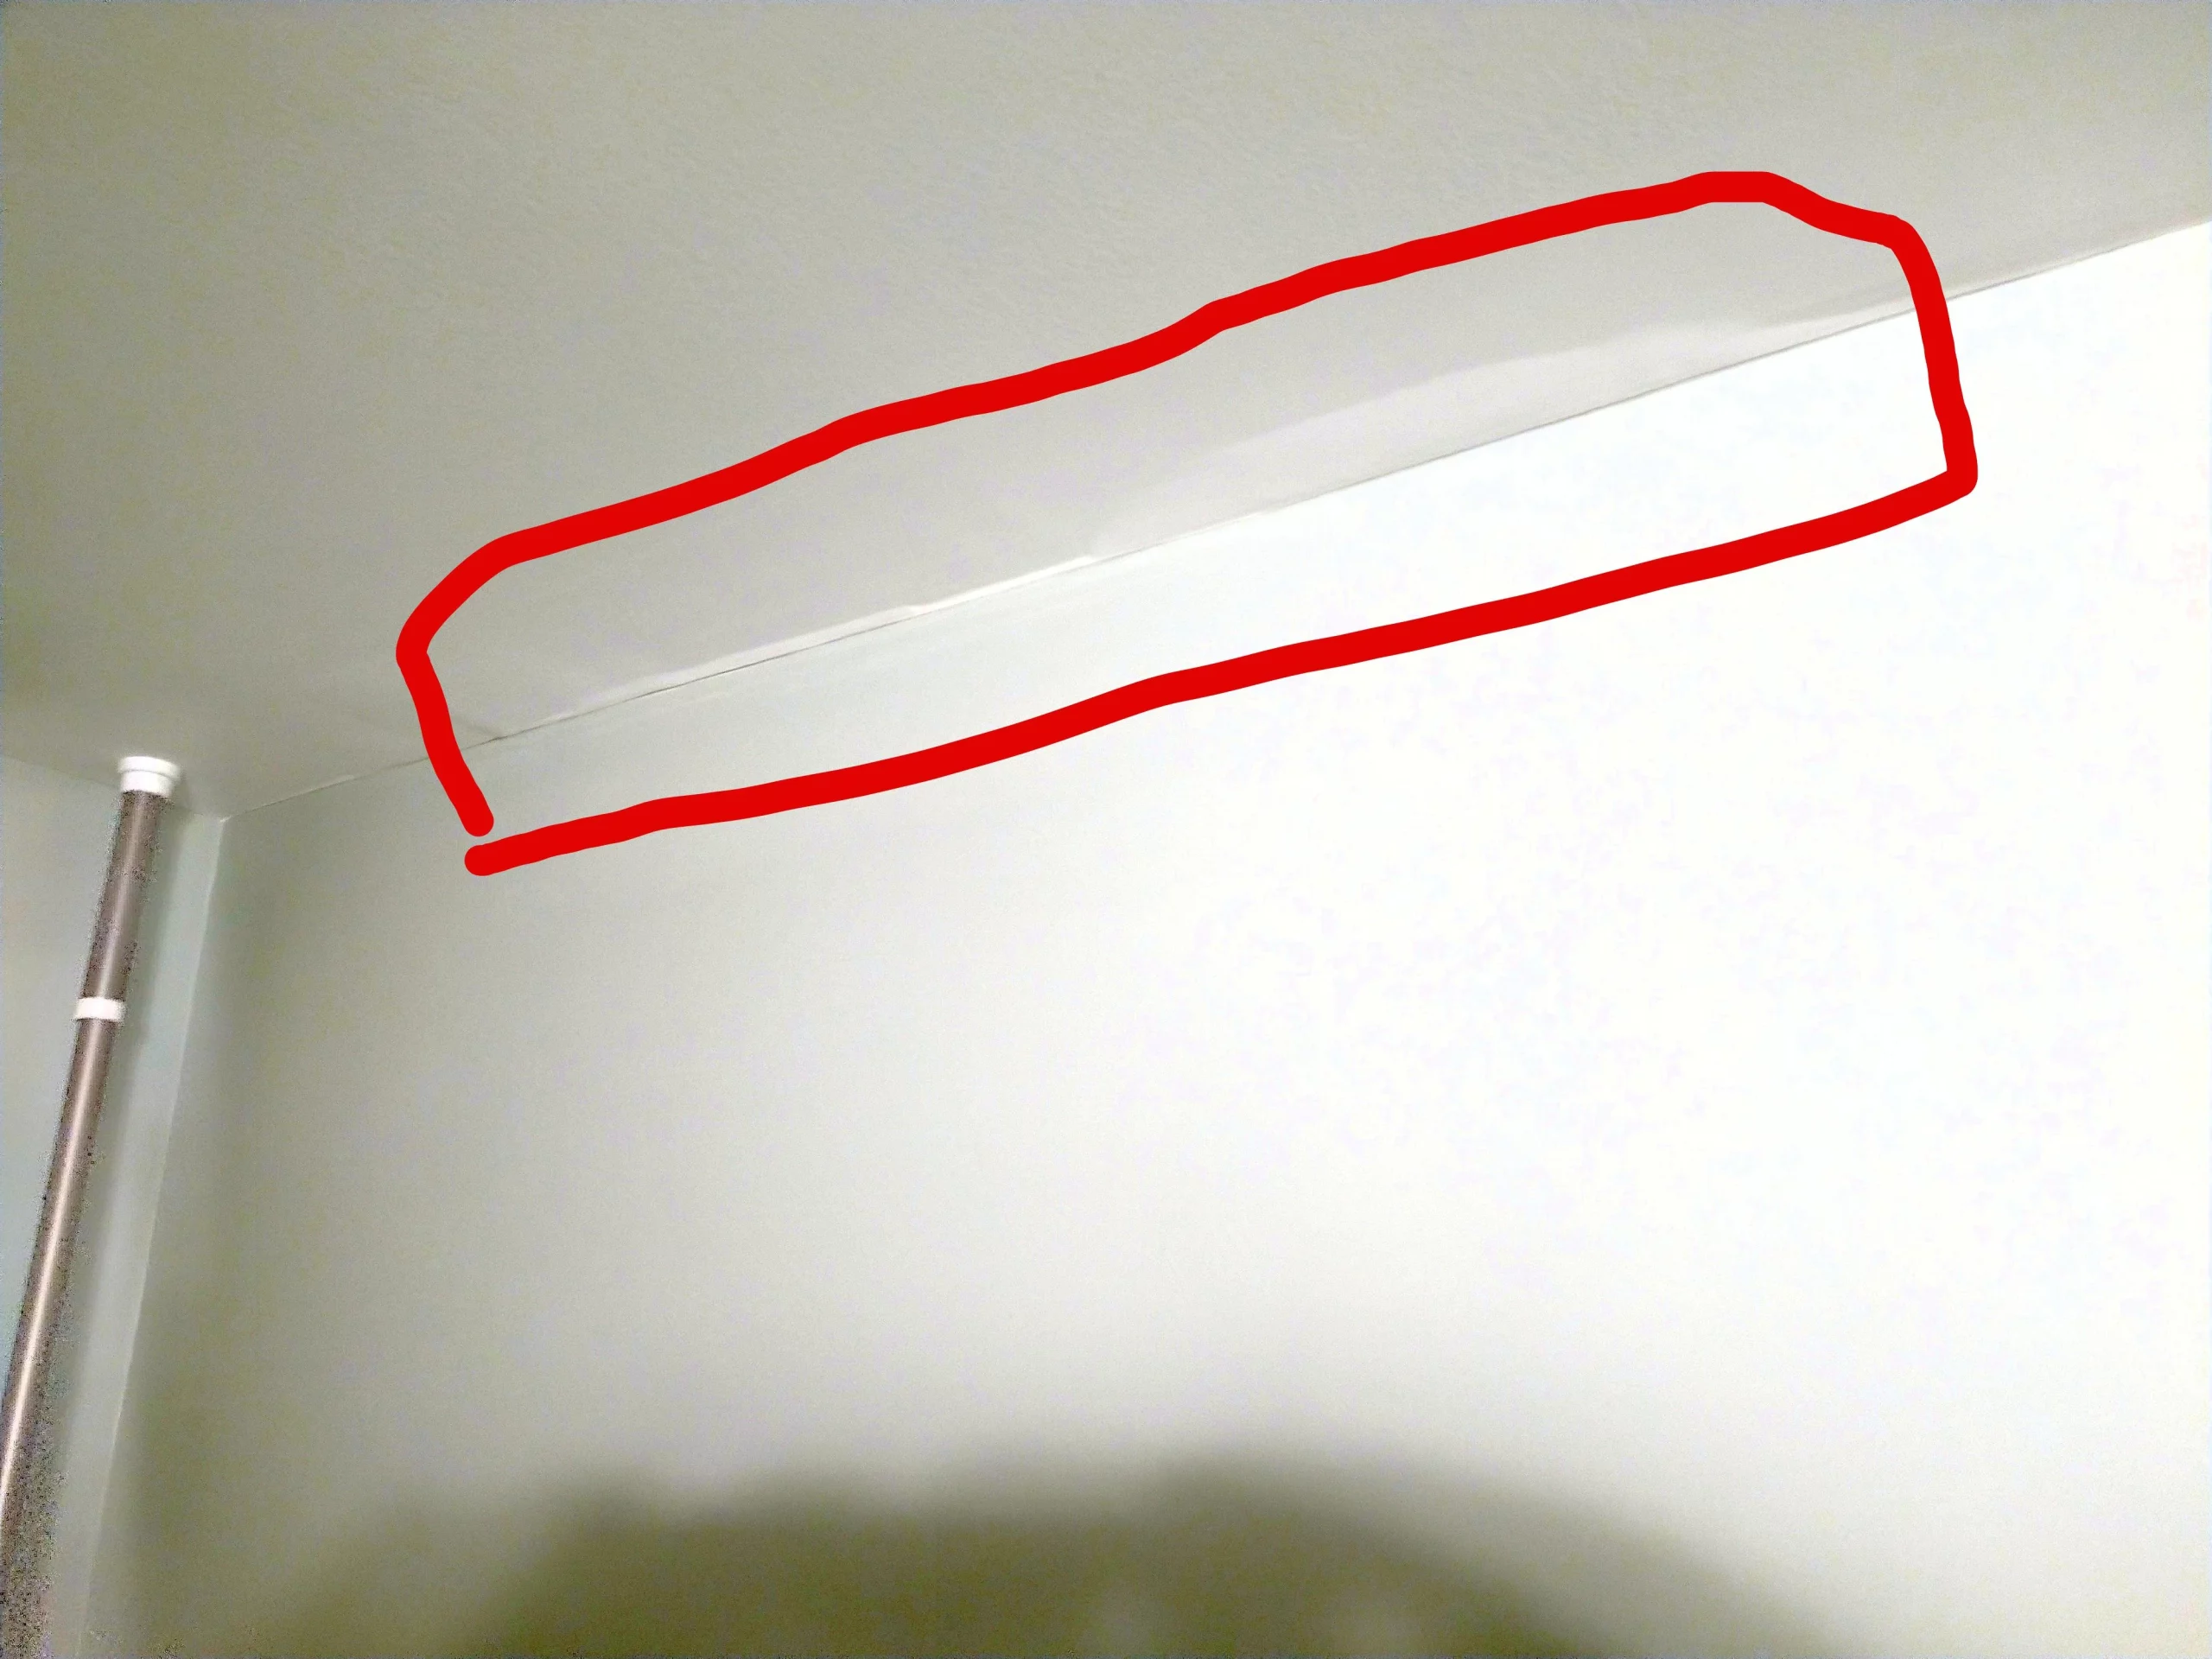
How To Fix Bubble In Ceiling? A bubble in your ceiling is not only an eyesore but also a sign of a larger issue that needs your attention. Whether it’s caused by water damage, poor construction, or humidity, fixing a bubble in the ceiling is crucial to maintaining the integrity and appearance of your home. In this guide, we’ll walk you through the steps to effectively repair a bubble in your ceiling and restore your space.

Understanding Ceiling Bubbles
Before we dive into the repair process, it’s essential to understand what causes bubbles to form in your ceiling:
- Water Damage: Water infiltration from a leaky roof, plumbing issue, or even condensation can lead to ceiling bubbles.
- Humidity: High humidity levels, especially in regions with hot, humid climates, can cause paint and drywall to bubble.
- Poor Construction: In some cases, improper installation or poor construction techniques may lead to ceiling bubbles over time.
- Paint Problems: Low-quality or improperly applied paint can result in bubbles as it dries.
Now, let’s explore the steps to fix a ceiling bubble:
Step 1: Safety First
Safety should be your top priority. Ensure you have the following safety gear before you begin:
- Safety goggles
- Dust mask
- Gloves
Step 2: Identify the Cause
Determine the cause of the bubble before proceeding. Is it due to water damage, humidity, or poor construction? Identifying the cause will help you prevent future bubbles.
Step 3: Release Trapped Air
If the bubble is due to humidity or poor paint application, you may need to release the trapped air. Use a utility knife or a razor blade to make a small incision at the center of the bubble. Be cautious not to cut too deep, as you don’t want to damage the underlying drywall.
Step 4: Remove Loose Material
After releasing the trapped air, gently press on the bubble to remove any loose or damaged material. Use a putty knife to scrape away any peeling paint or damaged drywall. Ensure that the area is smooth and clean.
Step 5: Repair Any Damage
If the bubble was caused by water damage, inspect the underlying drywall for any signs of rot or structural damage. If you find any, it’s crucial to address these issues before proceeding with the repair.
Step 6: Patch the Area
To repair the bubble, you’ll need a high-quality patching compound. Apply a thin layer of the compound to the affected area using a putty knife. Feather the edges to create a smooth transition between the patch and the surrounding ceiling.
Step 7: Sand and Paint
Once the patching compound has dried, sand the area to create a smooth, even surface. Wipe away any dust, and then paint the repaired area to match the rest of the ceiling. It’s important to choose the right type of paint and apply it evenly for a seamless finish.
Step 8: Prevent Future Bubbles
To prevent future ceiling bubbles, consider these preventive measures:
- Address any water leaks or sources of moisture promptly.
- Use high-quality paint and proper painting techniques.
- Ensure proper ventilation to reduce humidity levels in your home.
- Check your roof for leaks and perform regular maintenance.
Conclusion
Fixing a bubble in the ceiling may seem like a daunting task, but with the right tools and knowledge, it’s a manageable DIY project. By identifying the cause, releasing trapped air, and carefully patching and painting the affected area, you can restore your ceiling’s appearance and prevent future bubbles. Remember to prioritize safety and take the necessary steps to address the root cause of the issue to ensure a long-lasting and visually appealing ceiling.