When it comes to modernizing your bathroom, one of the most impactful upgrades you can make is installing a floor to ceiling shower door. This design choice not only enhances the aesthetic appeal of your bathroom but also offers practical benefits such as improved water containment and a sense of spaciousness. In this comprehensive guide, we will explore everything you need to know about floor to ceiling shower doors, including their advantages, design options, installation process, and maintenance tips.
What Are Floor To Ceiling Shower Doors?
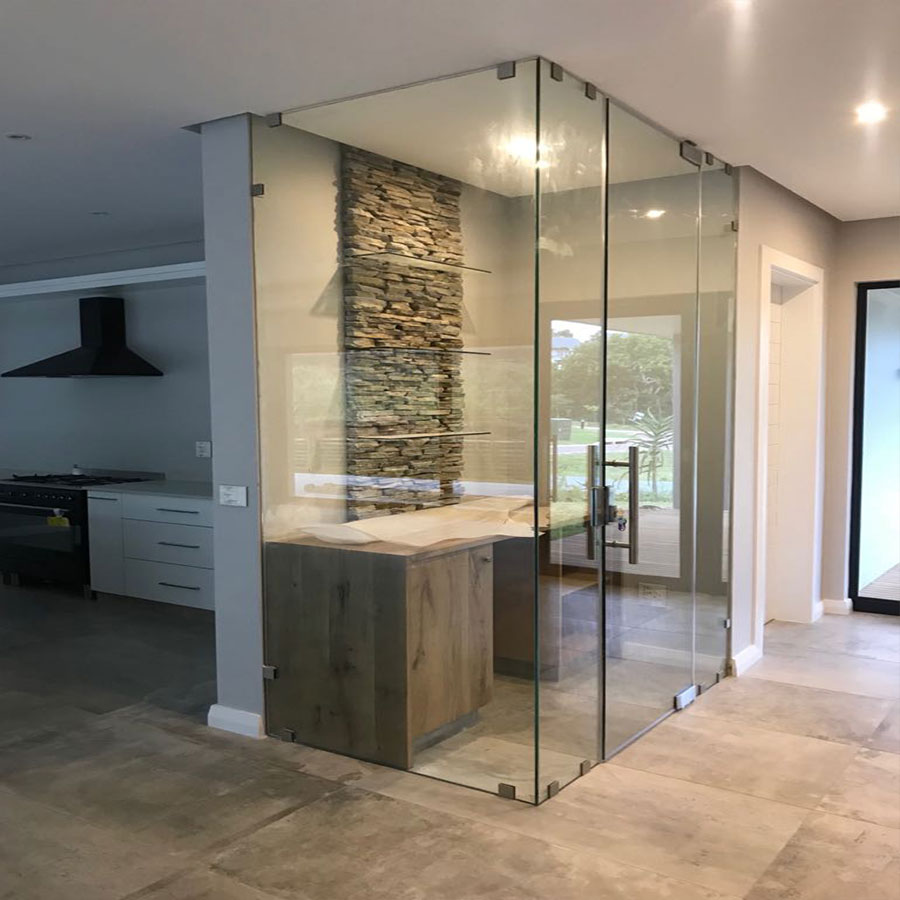
Floor to ceiling shower doors are glass panels that extend from the floor of your shower area all the way up to the ceiling. Unlike traditional shower doors, which often only cover part of the height of the shower space, floor to ceiling doors provide full enclosure. This design creates a sleek, seamless look and offers several functional advantages.
Read too: Kitchen Lighting For A Vaulted Ceiling: Illuminating Your Space with Style and Functionality
Benefits of Floor To Ceiling Shower Doors
1. Enhanced Aesthetic Appeal
One of the primary reasons homeowners opt for floor to ceiling shower doors is their striking appearance. These doors create a clean, contemporary look that can significantly enhance the visual appeal of your bathroom. The uninterrupted glass panels provide a sophisticated, modern touch that can elevate the overall design of the space.
2. Improved Water Containment
Floor to ceiling shower doors provide better water containment compared to shorter shower doors or curtains. By eliminating gaps and minimizing the chances of water escaping the shower area, these doors help keep your bathroom floor dry and reduce the risk of mold and mildew buildup.
3. Sense of Spaciousness
The transparency of glass panels can create an illusion of more space in smaller bathrooms. The continuous glass surface allows light to flow freely, making the shower area feel more open and airy. This can be particularly beneficial in compact bathrooms where space is limited.
4. Easy Maintenance
Glass shower doors are relatively easy to clean and maintain. Unlike shower curtains, which can become stained or develop mold over time, glass doors can be wiped down quickly with a squeegee or glass cleaner to keep them looking pristine.
5. Customization Options
Floor to ceiling shower doors come in a variety of styles and finishes, allowing you to customize them to suit your bathroom decor. Whether you prefer clear, frosted, or textured glass, there are options available to match your design preferences and functional needs.
Types of Floor To Ceiling Shower Doors
When selecting floor to ceiling shower doors, it’s important to consider the various styles and types available to ensure you choose the one that best fits your bathroom. Here are some common options:
1. Frameless Glass Shower Doors
Frameless glass shower doors are a popular choice for modern bathrooms due to their sleek and minimalist appearance. These doors are made from thick tempered glass and do not have metal frames, providing an unobstructed view and a contemporary look.
2. Semi-Frameless Shower Doors
Semi-frameless shower doors combine elements of both framed and frameless designs. They typically have metal framing around the edges but feature clear glass panels in the center. This option offers a balance between modern aesthetics and practical framing support.
3. Sliding Glass Shower Doors
Sliding glass shower doors are designed to slide open and closed along a track, making them an excellent choice for bathrooms with limited space. These doors can be either framed or frameless and are available in various designs and finishes.
4. Bi-Fold Shower Doors
Bi-fold shower doors fold inwards on a hinge, creating a space-saving solution for smaller bathrooms. These doors are typically framed and offer a practical alternative to traditional swinging or sliding doors.
Installation Process for Floor To Ceiling Shower Doors
Installing floor to ceiling shower doors involves several steps, from measuring and planning to the actual installation. Here’s an overview of the process:
1. Measure the Shower Area
Accurate measurements are crucial for a successful installation. Measure the height and width of the shower area, as well as the distance from the floor to the ceiling. Ensure that the measurements account for any irregularities or obstructions.
2. Choose the Glass Type and Design
Select the type of glass and design that best suits your bathroom. Consider factors such as transparency, texture, and finish when making your choice. Consult with a professional to ensure that the selected glass is appropriate for your shower space.
3. Prepare the Installation Area
Prepare the shower area by removing any existing doors or curtains. Ensure that the floor and walls are clean and level, as this will affect the installation of the shower doors.
4. Install the Shower Doors
Follow the manufacturer’s instructions for installing the shower doors. This typically involves securing the glass panels to the wall and floor using specialized hardware. If you’re installing frameless doors, ensure that the glass is properly supported and aligned.
5. Seal and Finish
Once the doors are installed, apply silicone sealant around the edges to prevent water leakage. Allow the sealant to dry completely before using the shower. Clean the glass panels and check for any gaps or issues that need to be addressed.
Maintenance Tips for Floor To Ceiling Shower Doors
Proper maintenance is essential to keep your floor to ceiling shower doors looking their best and functioning properly. Here are some maintenance tips to consider:
1. Clean Regularly
Regular cleaning is key to maintaining the appearance of your glass shower doors. Use a squeegee or soft cloth to remove water spots and soap scum. For more thorough cleaning, use a glass cleaner or a mixture of vinegar and water.
2. Inspect for Damage
Periodically inspect the glass doors for any signs of damage, such as cracks or chips. Address any issues promptly to prevent further damage and ensure the safety and functionality of the doors.
3. Check for Leaks
Monitor the area around the shower doors for any signs of water leakage. If you notice any leaks, check the seals and silicone caulking to ensure that they are intact and properly applied.
4. Maintain Hardware
Keep the hardware, such as hinges and handles, in good condition by cleaning and lubricating them as needed. This helps ensure smooth operation and prolongs the lifespan of the shower doors.
Choosing the Right Floor To Ceiling Shower Door for Your Bathroom
Selecting the right floor to ceiling shower door involves considering several factors:
1. Bathroom Size and Layout
Consider the size and layout of your bathroom when choosing shower doors. Ensure that the doors will fit comfortably in the space and complement the overall design of the bathroom.
2. Style and Design Preferences
Choose a style and design that aligns with your bathroom decor. Consider factors such as glass transparency, texture, and hardware finishes to create a cohesive and stylish look.
3. Budget
Determine your budget for the shower doors and installation. Compare different options and consider both the cost of the doors and any additional expenses, such as installation fees.
4. Professional Installation
While some homeowners may choose to install shower doors themselves, professional installation ensures that the doors are properly fitted and sealed. Consider hiring a professional to ensure a high-quality installation and avoid potential issues.
Conclusion
Floor to ceiling shower doors are a stylish and functional addition to any bathroom. With their modern design, enhanced privacy, and improved water containment, these doors offer numerous benefits that can elevate the look and functionality of your shower space. By understanding the types of doors available, the installation process, and maintenance tips, you can make informed decisions and enjoy a beautifully designed and efficient bathroom for years to come.