Are you ready to transform your space with a sleek and modern drop ceiling? Dive into the world of Drop Ceiling T Bar systems in this in-depth guide. Learn everything you need to know about installation techniques, design options, and maintenance tips to create the perfect suspended ceiling for your home or office.
Introduction
Drop ceilings, also known as suspended ceilings, are a popular choice for commercial and residential spaces due to their versatility and functionality. At the heart of every drop ceiling system is the T Bar grid, which provides support for ceiling tiles while allowing easy access to utilities above. In this article, we’ll explore the ins and outs of Drop Ceiling T Bar systems and how to install them like a pro.
Understanding Drop Ceiling T Bar Systems
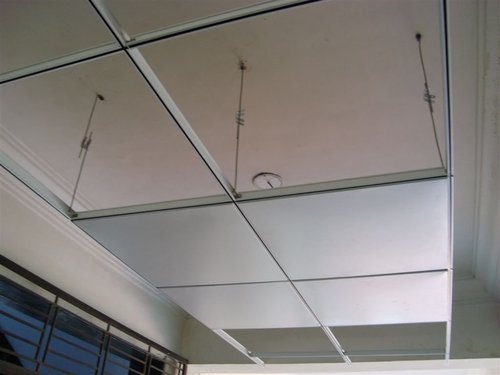
Drop Ceiling T Bar systems consist of interlocking metal grids suspended from the ceiling joists or structure above. These grids form a framework that supports ceiling tiles or panels, creating a seamless and uniform ceiling surface. T Bar systems are available in various configurations, including standard flat grids and more intricate designs for added visual interest.
Benefits of Drop Ceiling T Bar Systems
- Concealed Utilities: Drop ceilings hide unsightly wires, pipes, and ductwork, creating a cleaner and more polished appearance.
- Acoustic Control: T Bar systems can improve acoustics by absorbing sound and reducing noise levels within a space.
- Accessibility: Drop ceilings allow easy access to utilities above, making maintenance and repairs quick and hassle-free.
- Design Flexibility: With a wide range of ceiling tile options available, T Bar systems offer endless design possibilities to suit any aesthetic preference.
Read too: A Comprehensive Mr Cool Ceiling Cassette Review: Unveiling Excellence
Installation Process
Installing a Drop Ceiling T Bar system requires careful planning and precise execution. Here’s a step-by-step guide to help you navigate the installation process:
- Preparation: Measure the dimensions of the room and plan the layout of the T Bar grid, taking into account any obstructions such as lights, vents, or ceiling fixtures.
- Installation of Main Tees: Begin by installing the main tees along the perimeter of the room, ensuring they are level and securely anchored to the ceiling.
- Installation of Cross Tees: Insert cross tees between the main tees at regular intervals, spacing them according to the size of the ceiling tiles.
- Attachment of Wall Angles: Secure wall angles to the walls around the perimeter of the room, providing additional support for the T Bar grid.
- Placement of Ceiling Tiles: Once the T Bar grid is in place, carefully insert ceiling tiles into the grid, ensuring they fit snugly and evenly.
Maintenance and Care
- Regular Cleaning: Dust the surface of the ceiling tiles periodically to prevent dirt and debris buildup.
- Inspect for Damage: Check the T Bar grid and ceiling tiles for any signs of damage or wear, repairing or replacing them as needed.
- Address Water Damage: In the event of water damage, identify and repair the source of the leak promptly to prevent further damage to the ceiling system.
Conclusion
Drop Ceiling T Bar systems offer a practical and stylish solution for creating a seamless and functional ceiling surface. Whether you’re renovating a commercial space or updating your home, mastering the art of installing T Bar systems will elevate your interior design to new heights. With the right tools, techniques, and attention to detail, you can achieve a professional-quality finish that enhances the overall look and feel of your space.