If you’re considering a home renovation or simply looking to refresh your interior, replacing old or damaged ceiling tiles can significantly enhance the aesthetic appeal of your space. Among the many options available, Armstrong 266 Ceiling Tile Replacement stands out for its durability, design, and ease of installation. This article will delve into the ins and outs of replacing Armstrong 266 ceiling tiles, including the benefits, process, and maintenance tips to ensure your new ceiling tiles look great for years to come.
Understanding Armstrong 266 Ceiling Tiles
What Are Armstrong 266 Ceiling Tiles?
Armstrong 266 ceiling tiles are a popular choice for both residential and commercial spaces. Known for their durability and attractive designs, these tiles are made from high-quality materials that resist moisture, mold, and mildew. They are lightweight, making them easy to handle and install. Armstrong 266 tiles are available in a variety of styles, textures, and colors, allowing you to customize your ceiling according to your taste and the overall theme of your space.
Read too: Shiplap Ceiling in Kitchen: A Timeless Trend for a Stylish and Cozy Space
Benefits of Armstrong 266 Ceiling Tiles
- Aesthetic Versatility: The Armstrong 266 tiles come in various designs, including contemporary and traditional styles, which can suit any interior décor.
- Durability: Made from high-quality materials, these tiles can withstand wear and tear over time, making them a long-lasting choice.
- Easy Installation: One of the most appealing features of Armstrong 266 ceiling tiles is their ease of installation. Homeowners can often complete the replacement themselves without hiring a professional.
- Sound Absorption: These tiles are designed to help absorb sound, making them ideal for spaces where noise reduction is a priority, such as offices or home theaters.
- Moisture Resistance: The tiles are designed to resist moisture, reducing the risk of mold and mildew in damp areas, such as kitchens and bathrooms.
Preparing for Armstrong 266 Ceiling Tile Replacement
Step 1: Gather Your Tools and Materials
Before you begin the replacement process, it’s essential to gather all the necessary tools and materials. Here’s a list to help you get started:
- Armstrong 266 ceiling tiles: Ensure you have enough tiles for your ceiling area.
- Measuring tape: For precise measurements.
- Utility knife: For cutting tiles if necessary.
- Level: To ensure your tiles are straight.
- Adhesive or suspension system: Depending on whether you are installing the tiles directly or using a grid system.
- Safety goggles: Protect your eyes during the installation process.
- Drop cloths: To protect your floors from dust and debris.
Step 2: Measure the Ceiling Area
Accurate measurements are crucial for a successful replacement. Use the measuring tape to calculate the length and width of the ceiling area where you’ll be installing the Armstrong 266 tiles. This will help you determine how many tiles you’ll need and if any cuts are necessary.
Step 3: Prepare the Workspace
Before you begin installing the new tiles, prepare your workspace by removing any old tiles and debris. If you’re replacing tiles in a grid system, take down the old grid and inspect the underlying structure for any signs of damage. Repair any issues before proceeding.
The Process of Armstrong 266 Ceiling Tile Replacement
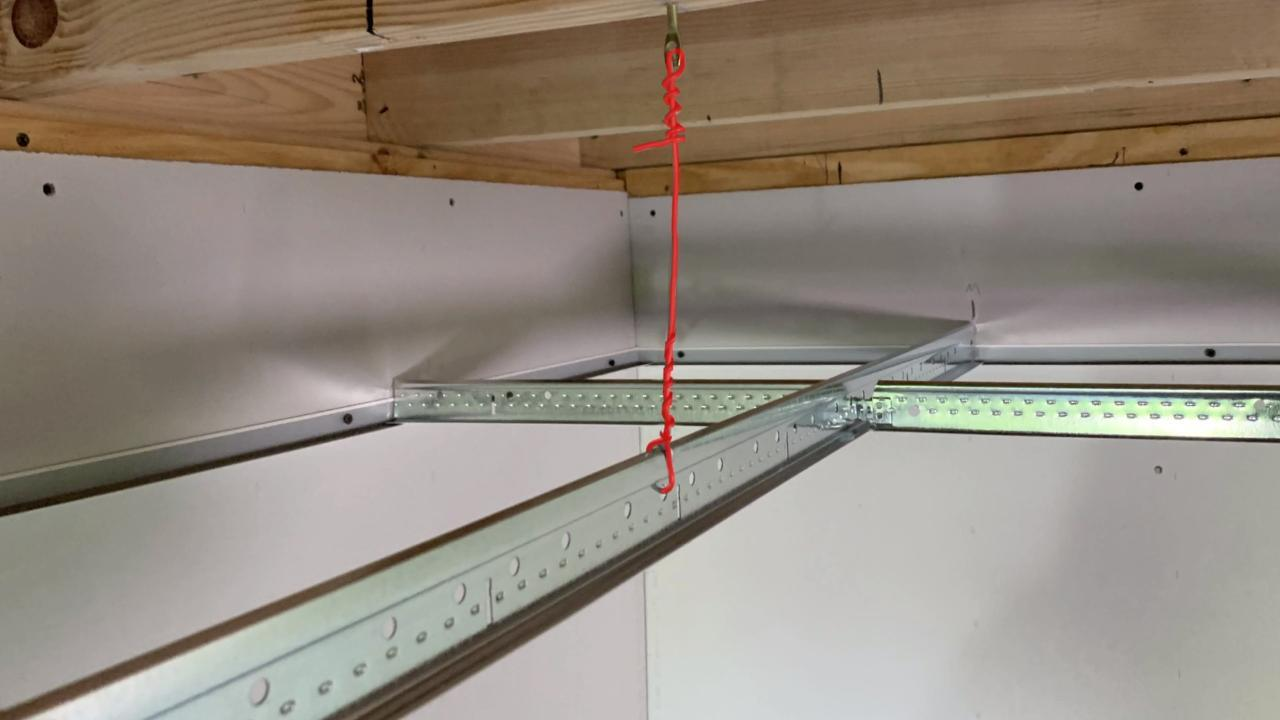
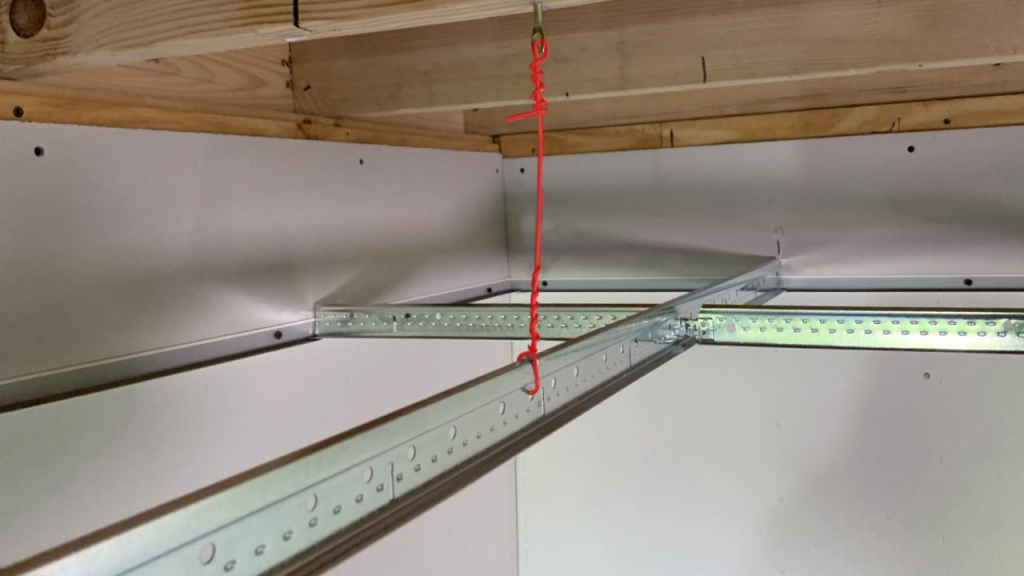
Step 1: Installing a Grid System (If Applicable)
If you are using a grid system for your Armstrong 266 ceiling tiles, follow these steps:
- Mark the Ceiling: Use a chalk line to mark where the grid will be installed. Make sure to account for the height of the tiles.
- Install the Main Tees: Start by installing the main tees, which will form the backbone of your grid system. Attach these to the ceiling joists using screws or anchors, ensuring they are level and spaced according to the manufacturer’s guidelines.
- Add Cross Tees: Next, install the cross tees between the main tees to form a grid pattern. Make sure they are securely attached and level.
Step 2: Installing Armstrong 266 Ceiling Tiles
Once your grid system is in place or if you’re installing tiles directly onto the ceiling, follow these steps:
- Check for Levelness: Before installing the tiles, check the levelness of the grid or ceiling surface. This will help ensure a smooth installation.
- Start in the Corner: Begin installing the Armstrong 266 tiles in one corner of the room. If using a grid, gently place each tile into the grid slots. If applying directly to the ceiling, spread adhesive on the back of the tile and press it firmly against the ceiling.
- Cutting Tiles: If you need to cut tiles to fit around edges or obstacles, measure the required dimensions, and use a utility knife to cut them to size.
- Continue Installation: Work your way across the ceiling, checking for levelness as you go. Make adjustments as necessary to ensure that the tiles are aligned properly.
Step 3: Finalizing the Installation
- Inspect Your Work: After all tiles are installed, take a step back and inspect your work. Look for any misaligned tiles or gaps that may need attention.
- Caulk Edges: If there are gaps around the edges where the tiles meet the wall, use caulk to seal them. This not only improves aesthetics but also helps with insulation.
- Clean Up: Remove any dust and debris from the installation area. If you used drop cloths, take them up and clean the floors.
Maintenance of Armstrong 266 Ceiling Tiles
To keep your new ceiling tiles looking fresh and new, follow these maintenance tips:
- Regular Cleaning: Dust your ceiling tiles regularly to prevent the buildup of dirt and grime. Use a soft cloth or a microfiber duster for this purpose.
- Deep Cleaning: For a deeper clean, use a damp cloth with mild soap. Avoid abrasive cleaners that may scratch the tile surface.
- Inspect for Damage: Periodically check your tiles for any signs of damage or wear. If you notice any issues, such as discoloration or cracks, consider replacing the affected tiles promptly.
- Address Moisture Issues: Since Armstrong 266 tiles are moisture-resistant, it’s still essential to address any leaks or moisture issues in your home. Ensure that your roof, plumbing, and HVAC systems are in good working order.
- Repaint if Necessary: If you choose to paint your tiles, ensure you use a paint that is suitable for metal surfaces to avoid chipping or peeling.
Conclusion
Replacing your ceiling tiles with Armstrong 266 Ceiling Tile Replacement is a straightforward way to enhance the aesthetic and functional aspects of your space. With their durability, design versatility, and easy installation, Armstrong 266 tiles can transform any room into a stylish and inviting area.
By following the steps outlined in this guide, you can achieve a successful installation that will provide lasting beauty and functionality. Whether you’re updating your home or working on a commercial project, Armstrong 266 tiles offer a timeless solution to ceiling design.