
Are you considering enhancing your interior with Arktura ceiling designs? Dive into our guide on “Arktura Ceiling Installation” for a seamless and stylish transformation.
Arktura Ceiling Installation: Crafting a Stylish Interior
Elevate your space with the sophistication of Arktura ceiling designs. In this comprehensive guide, we explore the intricate process of “Arktura Ceiling Installation,” providing insights into creating a stylish and captivating interior.
Understanding Arktura Ceiling Systems
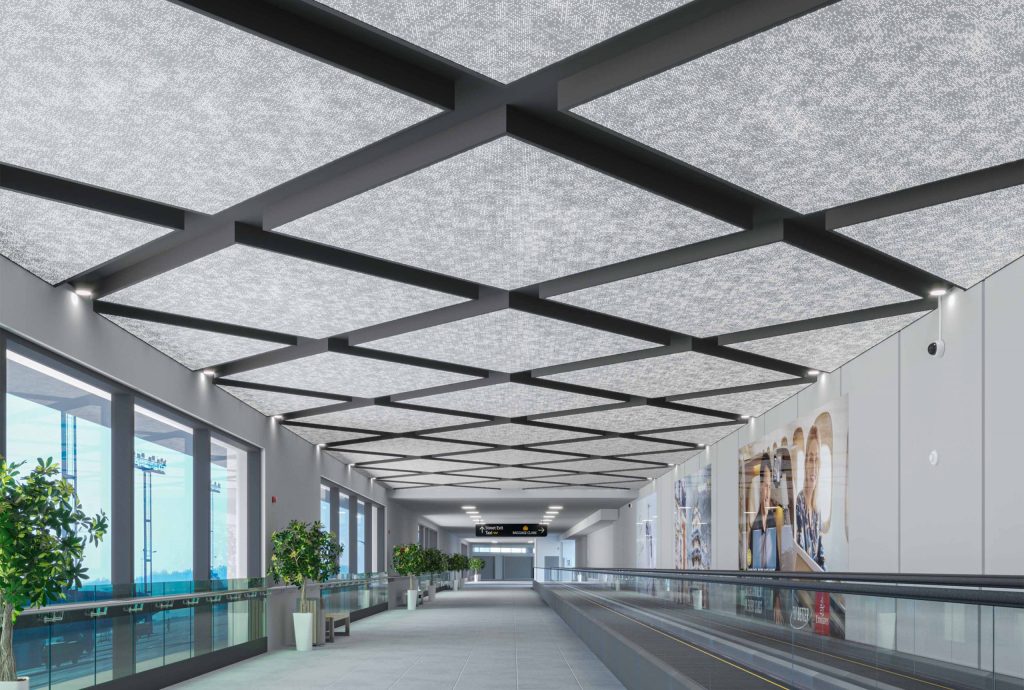
Before delving into the installation process, familiarize yourself with Arktura ceiling systems. Known for their architectural beauty and innovative designs, Arktura ceilings offer a unique way to redefine the aesthetics of your space.
Preparing for Arktura Ceiling Installation
Assessing Structural Compatibility
Ensure that your space is structurally compatible with the chosen Arktura ceiling design. Assess the existing ceiling structure and make any necessary modifications to accommodate the installation.
Selecting the Right Arktura Design
Arktura offers a diverse range of ceiling designs, each with its own aesthetic appeal. Select a design that complements the overall theme of your space and meets your stylistic preferences.
Step-by-Step Guide
Step 1: Gathering Materials and Tools
Before starting the installation, gather all the necessary materials and tools. This may include the chosen Arktura ceiling system, mounting hardware, measuring tape, a level, and safety equipment.
Step 2: Marking and Measuring
Accurate measurements are crucial for a flawless Arktura ceiling installation. Use a measuring tape and a level to mark reference points on the ceiling, ensuring precise alignment.
Step 3: Preparing the Ceiling Surface
Prepare the ceiling surface by ensuring it is clean and free from any debris. Depending on the ceiling material, you may need to make adjustments or apply a primer to enhance adhesion.
Step 4: Installing the Arktura Ceiling System
Follow the manufacturer’s instructions for installing the specific Arktura ceiling system you have chosen. This may involve attaching panels or modules using the provided mounting hardware. Ensure a secure and level installation.
Step 5: Finishing Touches
After the primary installation is complete, add any finishing touches recommended by Arktura. This may include paint, coatings, or additional decorative elements to enhance the visual impact of the ceiling.
Benefits of Arktura Ceiling Systems
Architectural Elegance
Arktura ceiling systems are celebrated for their architectural elegance. The installation of these systems adds a unique and visually striking dimension to any space, making a lasting impression.
Many Arktura ceiling systems are crafted with sustainability in mind. Choose designs that utilize eco-friendly materials and contribute to a more environmentally conscious interior.
Maintenance and Care
Regular Cleaning
Maintain the beauty of your Arktura ceiling by implementing a regular cleaning routine. Dust the surface with a soft brush or use a gentle cleaner recommended by Arktura to keep the design looking pristine.
Read too: Understanding and Addressing a Troublesome Water Pocket in Ceiling: Navigating the Dangers
Conclusion: Transforming Spaces with Arktura Ceiling Elegance
Embrace the artistry of Arktura ceiling designs with our insightful guide on “Arktura Ceiling Installation.” Whether you’re aiming for a modern, industrial, or timeless aesthetic, the installation process is a key step in bringing sophistication and style to your interior. Explore the possibilities, elevate your space, and indulge in the transformative power of Arktura ceilings.