Are you looking to refresh your space and improve its acoustic properties? Consider using acoustic ceiling tile paint! In this guide, we’ll explore everything you need to know about acoustic ceiling tiles paint, from its benefits to application techniques.
Understanding Acoustic Ceiling Tile Paint
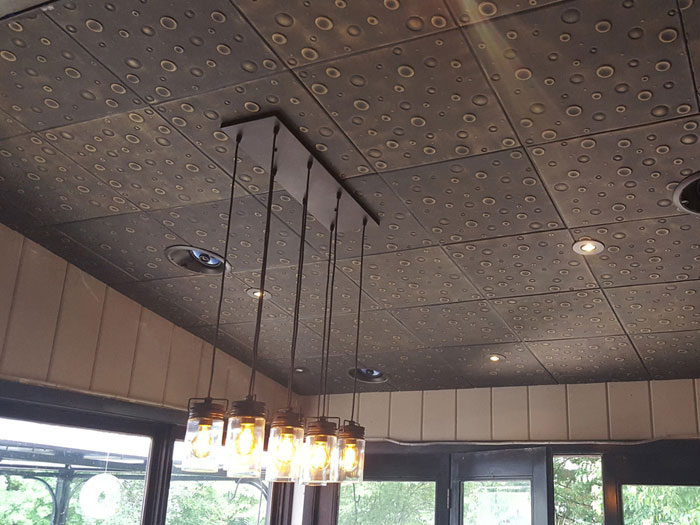
Acoustic ceiling tile paint is a specially formulated paint designed to enhance the appearance and acoustical performance of ceiling tiles. These tiles are commonly used in offices, classrooms, studios, and other spaces where sound absorption and aesthetics are important.
Benefits of Acoustic Ceiling Tile Paint
- Enhanced Aesthetics: Acoustic ceiling tile paint comes in a variety of colors and finishes, allowing you to customize the look of your space to match your decor and style preferences.
- Improved Acoustics: By applying acoustic ceiling tile paint, you can improve the sound-absorbing properties of your ceiling, reducing echo and noise levels within the room.
- Cost-Effective Solution: Painting existing ceiling tiles is often more cost-effective than replacing them entirely, making acoustic ceiling tile paint a budget-friendly option for renovation projects.
- Easy Application: Acoustic ceiling tile paint is easy to apply with a roller or sprayer, allowing for quick and efficient installation with minimal disruption to your space.
Read too: Exploring Craftsman Style Ceiling Fans for Your Home: Embracing Timeless Elegance
How to Apply Acoustic Ceiling Tile Paint
- Preparation: Begin by preparing the surface area. Clean the ceiling tiles thoroughly to remove any dirt, dust, or grease. Repair any damaged tiles or cracks, and allow them to dry completely before painting.
- Priming: Apply a coat of primer to the ceiling tiles to ensure proper adhesion and coverage of the paint. Choose a primer that is compatible with both the ceiling tiles and the paint you plan to use.
- Painting: Once the primer has dried, you can begin painting the ceiling tiles. Use a high-quality acrylic paint specifically designed for acoustic ceiling tiles. Apply the paint evenly with a roller or sprayer, working in small sections to ensure thorough coverage.
- Drying and Curing: Allow the paint to dry completely according to the manufacturer’s instructions. Depending on the paint and environmental conditions, this may take several hours or days. Once dry, the paint will continue to cure over the next few days, so avoid touching or disturbing the surface during this time.
- Finishing Touches: Once the paint has fully cured, inspect the ceiling tiles for any areas that may require touch-ups. Make any necessary repairs or adjustments, and your newly painted acoustic ceiling tiles are ready to impress!
Conclusion
Acoustic ceiling tiles paint offers a versatile and cost-effective solution for enhancing the aesthetics and acoustical performance of your space. Whether you’re renovating an office, classroom, or studio, consider using acoustic ceiling tile paint to achieve the perfect balance of style and functionality.