American tin ceilings have made a remarkable comeback in modern interior design, offering a blend of vintage charm and contemporary aesthetics. The intricate patterns, reflective surfaces, and variety of finishes make tin ceilings a popular choice for homeowners looking to add character and elegance to their spaces. This article will provide you with a detailed guide to American tin ceilings installation, covering everything from the materials needed to the installation process itself.
Understanding American Tin Ceilings
What Are Tin Ceilings?
Tin ceilings are decorative ceiling panels made from thin sheets of metal, traditionally tin. They became popular in the 19th century in the United States, often used in commercial spaces, restaurants, and homes. These ceilings were originally designed to mimic the look of more expensive materials like plaster or wood, but they offered a more affordable and durable alternative.
Today, American tin ceilings are available in a variety of designs, including floral patterns, geometric shapes, and intricate motifs. They can be painted, left in their natural metallic finish, or treated to achieve a vintage look. This versatility allows homeowners to customize their ceilings to fit their design vision perfectly.
Benefits of Tin Ceilings
- Aesthetic Appeal: Tin ceilings add an element of sophistication and elegance to any room. Their reflective surfaces can also help to brighten a space by bouncing light around the room.
- Durability: Made from metal, tin ceilings are resistant to moisture, mold, and mildew. This makes them an excellent choice for areas prone to humidity, such as kitchens and bathrooms.
- Easy Maintenance: Tin ceilings require minimal upkeep. Regular dusting and the occasional wipe with a damp cloth are usually all that’s needed to keep them looking their best.
- Sound Absorption: Tin ceilings can help absorb sound, making them a great option for reducing noise in busy households or commercial settings.
- Eco-Friendly Option: Many manufacturers now produce tin ceiling tiles from recycled materials, making them an environmentally friendly choice for eco-conscious homeowners.
Read too: Shiplap Ceiling in Kitchen: A Timeless Trend for a Stylish and Cozy Space
Preparing for American Tin Ceilings Installation
Step 1: Gather Materials and Tools
Before beginning your installation, it’s essential to gather all necessary materials and tools. Here’s a list to get you started:
- Tin ceiling tiles: Measure your ceiling space to determine how many tiles you’ll need.
- Adhesive: Use construction adhesive or a specific adhesive for tin ceilings.
- Measuring tape: Accurate measurements are crucial for a successful installation.
- Level: To ensure your tiles are straight and even.
- Utility knife: For cutting tiles to fit around edges or obstacles.
- Caulk: For sealing gaps and providing a clean finish.
- Safety goggles: Protect your eyes during installation.
Step 2: Prepare the Ceiling
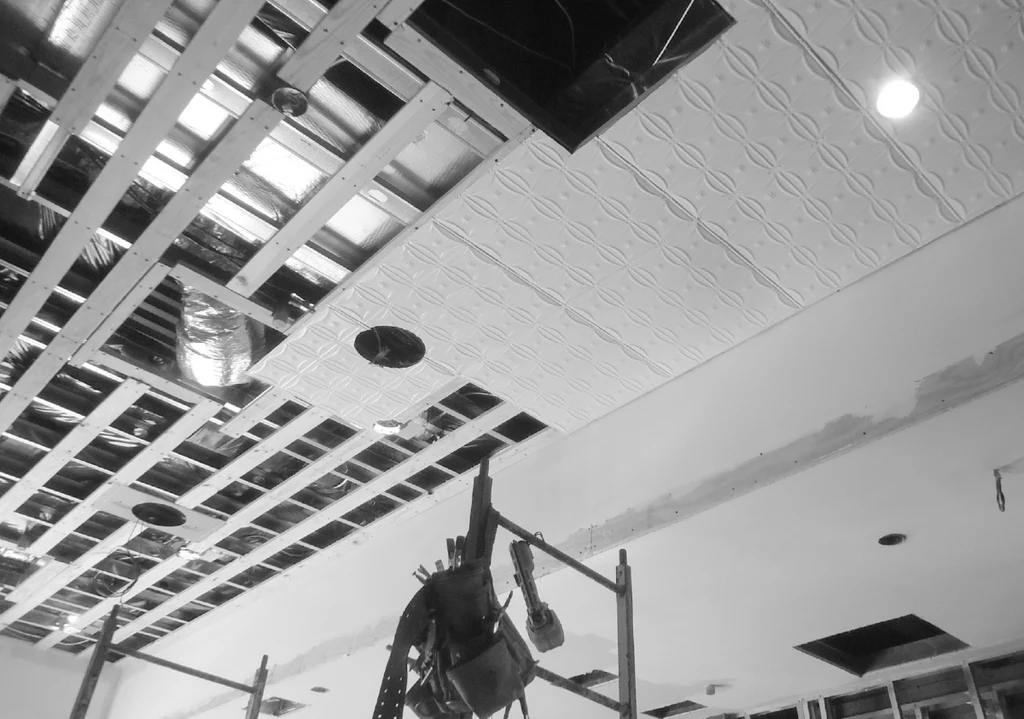
Before installing your tin ceiling tiles, make sure the surface is clean, dry, and free of any debris. If your ceiling is uneven or has bumps, consider using drywall to create a smoother surface. If you’re covering an existing ceiling, ensure that it’s structurally sound and suitable for installation.
Step 3: Measure and Plan
Accurate measurements are crucial for a successful installation. Use a measuring tape to determine the length and width of your ceiling. Divide these measurements by the dimensions of your tin tiles to calculate how many tiles you will need.
Plan the layout of your tiles to ensure that any cut tiles will be placed around the edges, creating a balanced look. It’s often best to start in the center of the room and work your way out to avoid odd-shaped pieces at the edges.
American Tin Ceilings Installation Process
Step 1: Mark the Center
Use a chalk line or a straight edge to mark the center of your ceiling. This will be your starting point for installation.
Step 2: Apply Adhesive
Following the manufacturer’s instructions, apply adhesive to the back of the first tile. Be generous, but avoid excessive amounts that could ooze out during installation.
Step 3: Position the First Tile
Carefully position the tile against the ceiling, aligning it with your center mark. Use a level to ensure it’s straight. Press firmly to adhere the tile to the ceiling.
Step 4: Continue Installing Tiles
Repeat the adhesive application and installation process for the remaining tiles. Work your way outwards from the center, checking for alignment and levelness as you go. If necessary, cut tiles to fit around light fixtures, vents, or edges using a utility knife.
Step 5: Fill in Gaps
Once all tiles are installed, inspect the edges for any gaps. Use caulk to fill these spaces for a polished look. This will also help create a seamless appearance.
Step 6: Final Touches
After the installation, allow the adhesive to cure as per the manufacturer’s guidelines. Once cured, you can paint your tin tiles if desired or leave them in their natural finish.
Maintenance of American Tin Ceilings
Maintaining your tin ceiling is straightforward. Here are some tips to keep your ceiling looking beautiful for years to come:
- Regular Dusting: Use a soft cloth or microfiber duster to remove dust and cobwebs regularly.
- Cleaning: For deeper cleaning, use a damp cloth with mild soap. Avoid abrasive cleaners that could scratch the surface.
- Inspection: Periodically check for any signs of rust or damage, especially if you live in a humid climate. If rust appears, treat it immediately with a rust-inhibiting primer.
- Repainting: If you’ve painted your tiles and they begin to look dull, you can repaint them. Make sure to use a paint that is suitable for metal surfaces.
Conclusion
Installing American tin ceilings can transform your home, adding elegance and character while providing practical benefits. With the right preparation and installation techniques, you can achieve a stunning result that enhances your living space. Whether you’re undertaking a DIY project or hiring a professional, understanding the installation process will help ensure your success.
With their timeless beauty, durability, and low maintenance, tin ceilings are an excellent investment for any home. Embrace the charm of yesteryear while enjoying the benefits of modern design with American tin ceilings installation.