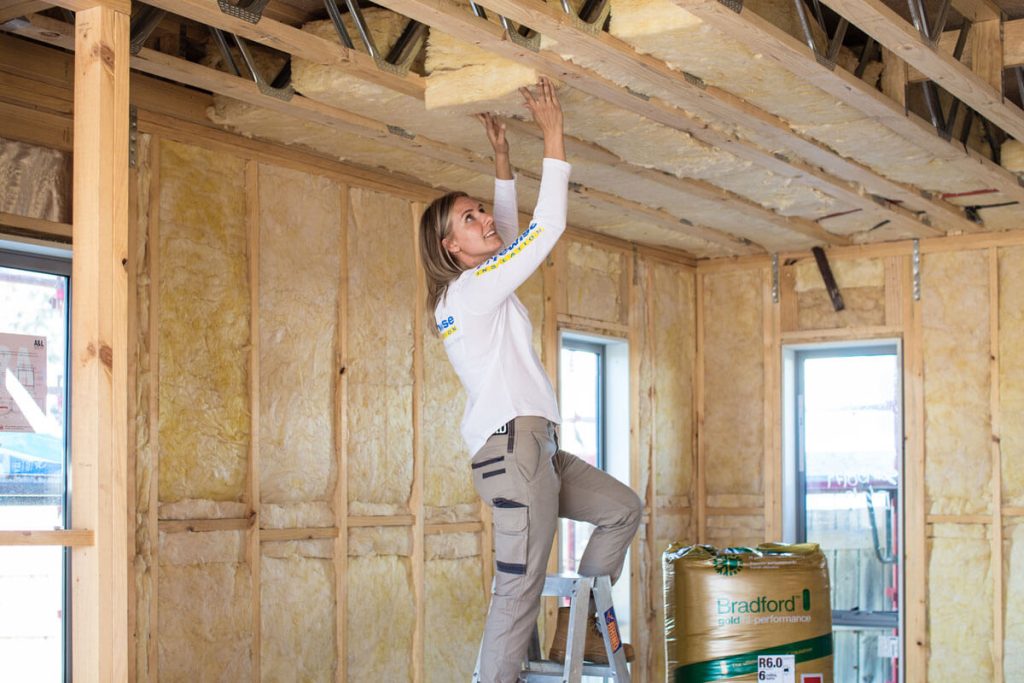
When it comes to optimizing your home’s energy efficiency, one often overlooked yet crucial aspect is proper insulation. Among the various insulation materials available, Rockwool stands out for its exceptional thermal and acoustic properties. In this comprehensive guide, we will walk you through the process of Installing Rockwool Insulation in your ceiling. Discover the benefits, step-by-step instructions, and why this could be the key to a more comfortable and energy-efficient home.

Why Rockwool Insulation?
Before delving into the installation process, let’s understand why Rockwool insulation is an excellent choice for your ceiling. Rockwool, also known as mineral wool, is made from volcanic rock and steel slag. This composition results in a material with remarkable fire resistance, sound absorption capabilities, and thermal insulation properties. Installing Rockwool insulation in your ceiling can significantly enhance your home’s energy efficiency, providing a more sustainable and comfortable living environment.
Benefits of Installing Rockwool Insulation in Ceiling
- Thermal Insulation: Rockwool’s dense and fibrous structure makes it an exceptional thermal insulator. By Installing Rockwool Insulation in your ceiling, you create a barrier that reduces heat transfer, keeping your home cooler in the summer and warmer in the winter.
- Sound Absorption: Beyond thermal benefits, Rockwool is renowned for its sound absorption qualities. If you’re looking to minimize noise from outside or between rooms, Installing Rockwool Insulation can create a quieter and more peaceful indoor environment.
- Fire Resistance: Safety is paramount, and Rockwool insulation excels in this aspect. It has a high melting point, making it highly resistant to fire. Installing Rockwool Insulation in your ceiling adds an extra layer of protection, enhancing the overall safety of your home.
- Moisture Resistance: Rockwool is hydrophobic, meaning it repels water. This quality prevents the insulation from absorbing moisture, reducing the risk of mold and mildew. Installing Rockwool Insulation in your ceiling safeguards your home against potential moisture-related issues.
Read too: Understanding the Causes and Solutions for a Crack Between Ceiling and Wall: Navigating Home Woes
Step-by-Step Guide to Installing Rockwool Insulation in Ceiling
Now, let’s dive into the practical aspect of Installing Rockwool Insulation. Follow these step-by-step instructions for a seamless installation process:
- Safety First: Before you begin, ensure you have the necessary safety gear, including gloves, safety glasses, and a dust mask. Safety should always be the top priority during any home improvement project.
- Assess the Space: Evaluate your ceiling space to determine the amount of Rockwool insulation needed. Measure the dimensions of the area and consider the desired thickness of the insulation for optimal performance.
- Prepare the Area: Clear the ceiling space of any obstructions or debris. Ensure that the area is clean and ready for the insulation installation.
- Cut the Insulation: Using a sharp utility knife, cut the Rockwool insulation batts to fit the dimensions of your ceiling space. Be precise in your measurements to achieve a snug and effective fit.
- Install the Insulation: Place the cut Rockwool insulation between the ceiling joists, ensuring a tight fit. The friction fit of Rockwool makes installation relatively straightforward. Avoid compressing the insulation, as this can reduce its effectiveness.
- Seal Gaps and Joints: Inspect the installed insulation for any gaps or joints. Seal these areas using appropriate materials to prevent air leakage, ensuring maximum energy efficiency.
- Observe Safety Precautions: Throughout the installation process, adhere to safety guidelines. Be cautious of any electrical wiring or fixtures in the ceiling, and take necessary precautions to avoid potential hazards.
Conclusion: A Cozier, More Energy-Efficient Home
Installing Rockwool Insulation in your ceiling is a practical and effective way to enhance your home’s energy efficiency. Beyond the environmental benefits, you’ll enjoy improved thermal comfort, reduced energy bills, and a quieter living space. Follow the step-by-step guide outlined in this article, and take the first step towards creating a cozier, more sustainable home. Don’t let the opportunity to boost your home’s insulation and energy efficiency pass you by—get started on Installing Rockwool Insulation in your ceiling today!