When designing or upgrading your kitchen, one crucial element that often gets overlooked is the ceiling range hood over island. This kitchen appliance serves not only as a functional tool to keep your kitchen air clean and fresh but also as a stylish focal point for your cooking space. If you’re considering adding a range hood over your kitchen island, there are a variety of factors to consider, from design to functionality.
In this guide, we’ll explore the benefits of a ceiling range hood over island, key considerations when selecting one, installation tips, and how to maintain it for long-lasting performance.
What is a Ceiling Range Hood Over Island?
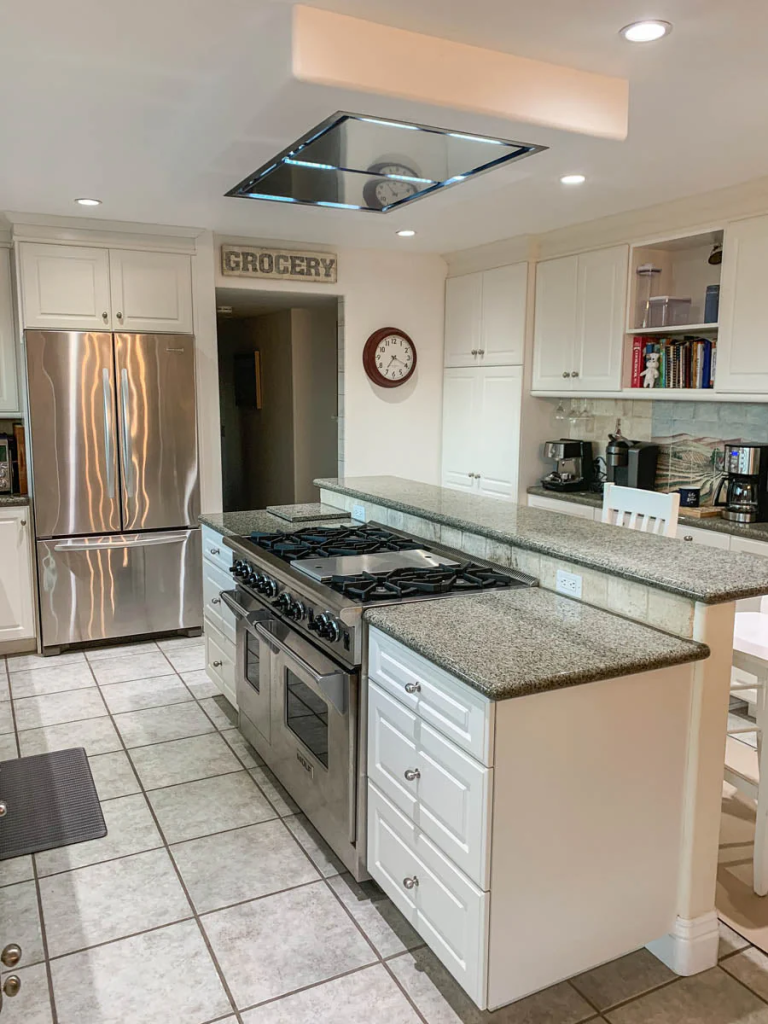
A ceiling range hood over island is an exhaust system installed above a kitchen island cooktop or stove. Unlike traditional range hoods that are mounted to the wall or cabinetry, a ceiling-mounted range hood is suspended from the ceiling, offering a sleek and modern look while effectively removing smoke, steam, grease, and cooking odors from the air.
These range hoods are particularly popular in open-concept kitchens where the stove or cooktop is placed in the center of the room, such as in an island configuration. Their placement ensures that there is no obstruction to the view, and they create a more open, airy feel in the kitchen.
Read too: Kitchen Lighting For A Vaulted Ceiling: Illuminating Your Space with Style and Functionality
Benefits of a Ceiling Range Hood Over Island
A ceiling range hood over island can significantly enhance the functionality and aesthetics of your kitchen. Here are several key benefits of installing one:
1. Improved Ventilation
The primary purpose of a range hood is to remove smoke, grease, and odors from the air, and a ceiling-mounted hood excels in this area. A ceiling range hood offers superior air circulation, ensuring that your kitchen stays fresh while cooking. Whether you’re frying, grilling, or sautéing, a ceiling range hood helps eliminate airborne grease and cooking smells efficiently.
2. Aesthetic Appeal
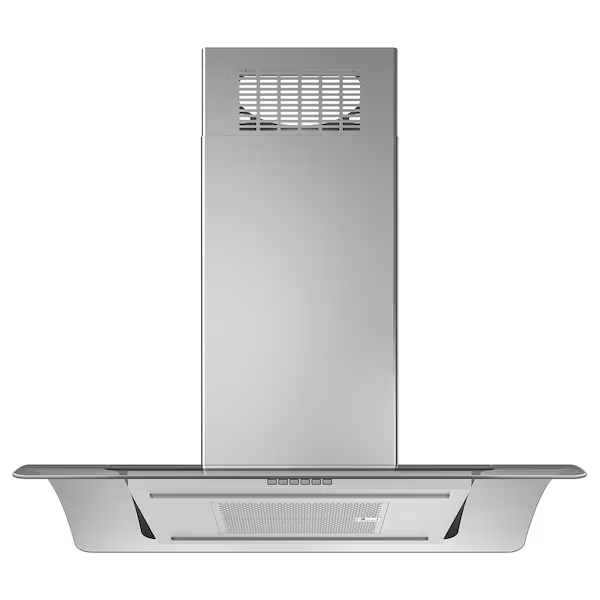
A ceiling range hood over island often becomes a statement piece in modern kitchens. With various design options, from sleek stainless steel to customizable finishes that complement your kitchen’s style, it enhances both the look and feel of your kitchen. The clean, unobtrusive lines of a ceiling-mounted hood provide a contemporary, minimalist appearance that integrates seamlessly with the room’s overall design.
3. Maximized Space
Unlike wall-mounted range hoods, a ceiling-mounted model frees up valuable wall space, which can be used for additional cabinetry or open shelving. Since it’s suspended from the ceiling, it doesn’t take up any counter space, making it a perfect choice for smaller kitchens where maximizing space is essential.
4. Noise Reduction
Ceiling range hoods tend to be quieter than their wall-mounted counterparts. Many high-quality ceiling hoods are designed with noise-reduction technology, meaning that even with high-performance ventilation, the noise levels are kept to a minimum. This is especially beneficial in open kitchens where sound can carry throughout the home.
Factors to Consider When Choosing a Ceiling Range Hood Over Island
Selecting the right ceiling range hood over island for your kitchen requires careful thought. The following factors will help you choose the perfect one for your space and cooking needs.
1. Size of the Hood
The size of the ceiling range hood over island should correspond with the size of your cooktop or stove. For maximum efficiency, your range hood should be at least as wide as the cooking surface, if not slightly wider. A hood that is too small will be less effective at venting smoke and odors, while a hood that is too large can overwhelm the space and dominate the kitchen’s aesthetic.
Generally, a ceiling range hood over island should extend a few inches beyond the perimeter of your cooktop to ensure that smoke and steam are captured effectively.
2. Ventilation Power (CFM)
The power of the fan in the ceiling range hood over island is measured in CFM (cubic feet per minute). This rating indicates how much air the hood can move per minute. For kitchens with a high-output cooktop or for those who frequently cook heavy or aromatic meals, you’ll need a higher CFM.
For most home kitchens, a range hood with a CFM rating between 600 and 900 should suffice. However, larger kitchens or those with professional-grade appliances may require more powerful units.
3. Filtration Type
There are two main types of filtration systems to consider for your ceiling range hood over island:
- Ducted (vented) systems: These range hoods vent air to the outside of your home, removing smoke and odors completely. Ducted systems are generally more effective at ventilation, but installation may require modifications to your kitchen and additional ductwork.
- Ductless (recirculating) systems: These hoods use charcoal filters to trap smoke, grease, and odors before recirculating clean air back into the kitchen. Ductless systems are easier to install but tend to be less powerful than ducted systems and may require more frequent filter changes.
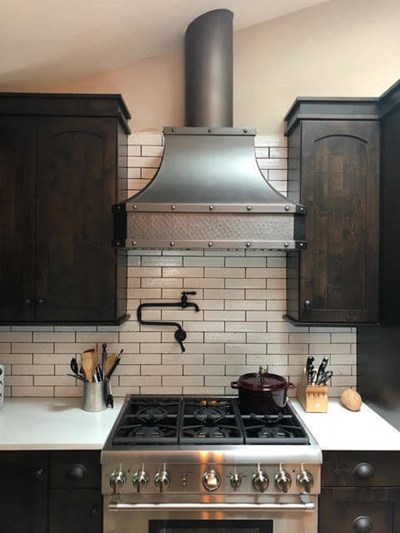
4. Design and Style
A ceiling range hood over island is often the focal point of the kitchen, so design matters. Choose a hood that complements your kitchen’s overall style. Popular finishes include stainless steel, matte black, glass, and custom cabinetry that matches your kitchen’s decor. Consider whether you want a hood with exposed ductwork for an industrial look or one with concealed ducting for a more streamlined design.
Additionally, look for features such as lighting integrated into the range hood for extra functionality, as well as smart controls and remote operation options for ease of use.
5. Installation and Maintenance
Installation of a ceiling range hood over island is more complex than wall-mounted units, as it requires proper ceiling support and potentially additional electrical work. Ensure you hire a professional installer with experience in mounting ceiling units to ensure stability and safe operation.
In terms of maintenance, be sure to clean your range hood regularly, including the filters, fan blades, and exterior surfaces. Ducted systems require periodic duct cleaning to maintain ventilation efficiency.
How to Install a Ceiling Range Hood Over Island
Installing a ceiling range hood over island requires some expertise, as it involves both electrical work and proper mounting to ensure that the range hood is secure and works efficiently. Here’s a general overview of the installation process:
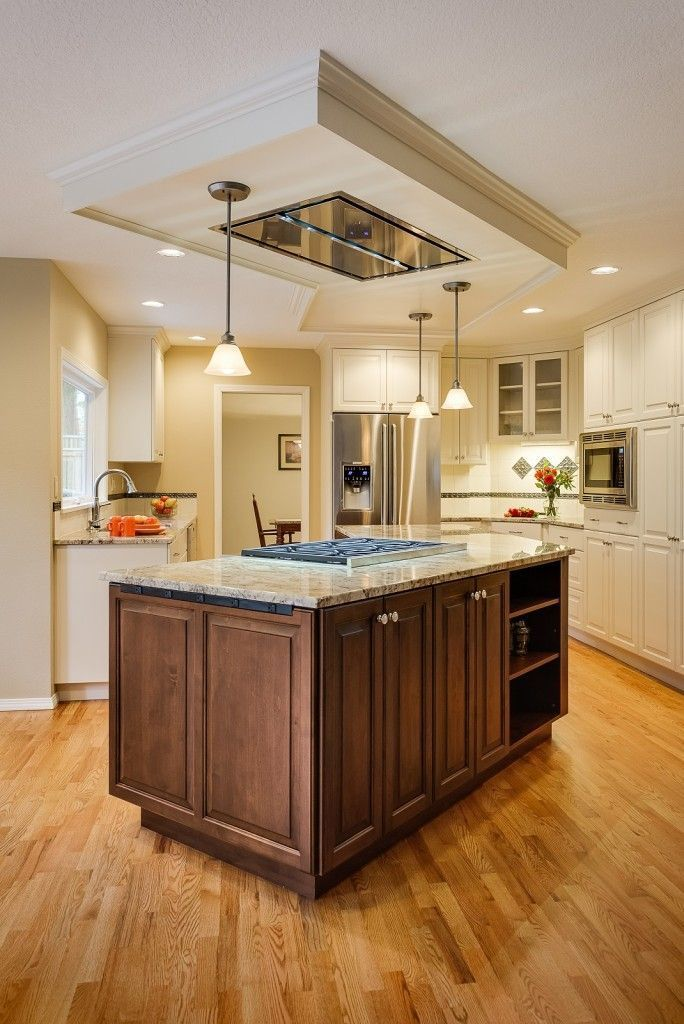
1. Determine the Location
First, determine the ideal location for your hood. The center of the island is usually the best spot to ensure the hood provides maximum coverage over the cooktop.
2. Mount the Hood
You will need to suspend the range hood from the ceiling using sturdy brackets or support beams. The installation will depend on whether the unit is ducted or ductless, as a ducted system will require a path for the ductwork to the outside.
3. Electrical Wiring
Most ceiling-mounted range hoods require an electrical connection, either to power the fan, lights, or other features. It’s important to hire a licensed electrician to ensure proper wiring, especially if it requires connecting to the home’s electrical system.
4. Connect Ductwork (if applicable)
If you’re installing a ducted ceiling range hood, you’ll need to connect the unit to the ductwork that will carry the air outside. This step may require cutting holes in your ceiling, so it’s essential to hire a professional if you’re unsure about the process.
5. Test the Hood
Once the range hood is installed, test the fan speed, lighting, and other functions to ensure they’re working correctly.
Conclusion
A ceiling range hood over island can elevate your kitchen both functionally and aesthetically. When choosing a range hood, consider factors like size, CFM, filtration type, and design to find the perfect match for your kitchen. Installation should be handled by professionals to ensure proper functionality, and regular maintenance will help prolong the lifespan of the appliance. Whether you’re remodeling your kitchen or building a new home, a ceiling range hood over island is a valuable addition that combines style with practicality.