Are you looking to safeguard your garage against moisture and humidity? Consider installing a vapor barrier garage ceiling. In this comprehensive guide, we’ll explore the benefits, installation process, and maintenance tips for maintaining a dry and protected garage environment.

Understanding the Importance of a Vapor Barrier Garage Ceiling
A vapor barrier garage ceiling serves as a protective layer that prevents moisture from infiltrating the space below. Garages are susceptible to moisture intrusion due to factors such as fluctuating temperatures, condensation, and exposure to the elements. Without proper protection, moisture can lead to a host of problems, including mold growth, wood rot, and corrosion of metal surfaces.
The Role of a Vapor Barrier in Moisture Control
A vapor barrier is designed to control the movement of moisture vapor through building materials, such as drywall and insulation. By installing a vapor barrier garage ceiling, you create a barrier that prevents moisture from penetrating the ceiling and entering the garage space. This helps maintain a stable indoor environment and protects valuable belongings stored in the garage from moisture-related damage.
Read too: Discovering the Charm of Nautical Outdoor Ceiling Fans for Your Coastal Retreat: Sail into Style
Benefits of Installing a Vapor Barrier Garage Ceiling
There are several benefits to installing a vapor barrier garage ceilings, including:
- Moisture Prevention: By effectively blocking moisture vapor from entering the garage space, a vapor barrier helps prevent mold growth, wood decay, and corrosion of metal surfaces.
- Improved Air Quality: By reducing moisture levels in the garage, a vapor barrier can help improve indoor air quality and create a healthier living environment.
- Enhanced Energy Efficiency: A vapor barrier garage ceiling can also improve energy efficiency by reducing the workload on HVAC systems and helping to maintain consistent indoor temperatures.
- Protects Belongings: By keeping the garage dry and free from moisture-related damage, a vapor barrier protects valuable belongings such as tools, equipment, and vehicles stored in the garage.
Installation Process for a Vapor Barrier Garage Ceiling
Installing a vapor barrier garage ceilings is a relatively straightforward process that can be completed with basic tools and materials. Here’s a general overview of the installation process:
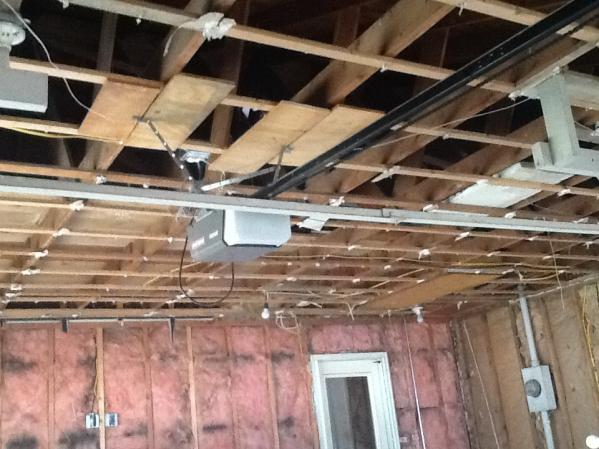
- Preparation: Begin by clearing out the garage and removing any existing insulation or ceiling materials.
- Measurements: Measure the dimensions of the garage ceiling to determine the amount of vapor barrier material needed.
- Installation: Install the vapor barrier material by stapling or adhering it directly to the ceiling joists, ensuring a tight seal around the edges and seams.
- Sealing: Use tape or caulk to seal any gaps or seams in the vapor barrier to prevent moisture from seeping through.
- Finishing: Once the vapor barrier is installed, you can proceed to add insulation and finish the ceiling with drywall or other ceiling materials as desired.
Maintaining Your Vapor Barrier Garage Ceiling
To ensure optimal performance and longevity of your vapor barrier garage ceilings, it’s essential to perform regular maintenance tasks, such as:
- Inspection: Periodically inspect the vapor barrier for any signs of damage or deterioration, such as tears, punctures, or water stains.
- Repair: Promptly repair any damage to the vapor barrier to prevent moisture infiltration and maintain its effectiveness.
- Ventilation: Ensure proper ventilation in the garage to help reduce humidity levels and prevent moisture buildup.
- Cleanliness: Keep the garage clean and free from clutter to allow for proper airflow and ventilation around the vapor barrier.
Conclusion
A vapor barrier garage ceilings is an essential component of a moisture control strategy for your garage. By preventing moisture infiltration and protecting against mold, rot, and corrosion, a vapor barrier helps maintain a dry, comfortable, and functional garage space. With proper installation and maintenance, you can enjoy the benefits of a well-protected garage for years to come.
