If you own a Kichler ceiling fan and are considering an LED light replacement, you’re in the right place. Whether your current light fixture has burned out, or you simply want to upgrade to more energy-efficient lighting, this guide will walk you through everything you need to know about Kichler ceiling fan LED light replacement. From choosing the right replacement to installation tips, we’ve got you covered.
Understanding Kichler Ceiling Fans and Their Lighting Systems
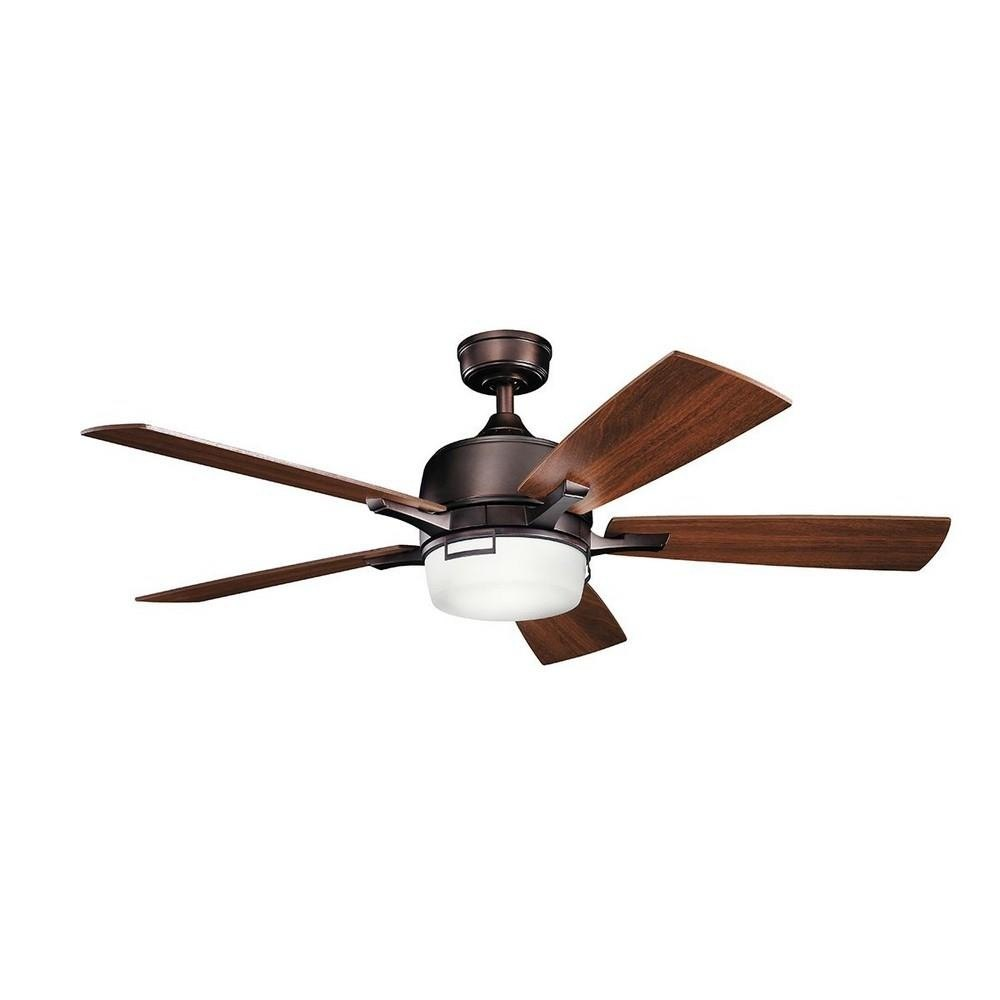
Kichler ceiling fans are renowned for their stylish designs and functional performance. They often come equipped with integrated lighting systems that can be replaced or upgraded. Here’s what you need to know about the lighting systems in these fans:
1. Integrated LED Lighting
Many Kichler ceiling fans feature integrated LED lighting. These lights are built into the fan and offer a sleek, modern look. LEDs are known for their energy efficiency and long lifespan, making them a popular choice for ceiling fans.
Read too: Kitchen Lighting For A Vaulted Ceiling: Illuminating Your Space with Style and Functionality
2. Replaceable Light Kits
In some models, the light kit can be replaced or upgraded. This allows homeowners to switch out the existing light for a new one, whether for a change in style or improved lighting performance.
3. Compatibility
When replacing the LED light in your Kichler ceiling fan, it’s crucial to choose components that are compatible with your fan model. Not all LED lights will fit every fan, so checking compatibility is essential.
How to Choose the Right Kichler Ceiling Fan LED Light Replacement
Choosing the right LED light replacement for your Kichler ceiling fan involves several considerations. Here’s a step-by-step guide to help you make an informed decision:
1. Identify Your Fan Model
Before purchasing a replacement light, identify the model of your Kichler ceiling fan. You can usually find the model number on the fan’s motor or in the user manual. Knowing your fan model will help you select compatible replacement parts.
2. Determine Light Type
Kichler ceiling fans come with various types of LED lights, including:
- Downlight Fixtures: These are installed to direct light downwards and are common in many ceiling fans.
- Reversible Light Kits: These allow you to change the direction of the light or adjust its brightness.
- Globe Light Kits: Often used for a more decorative appearance, globe kits can add a touch of elegance to your fan.
3. Select the Right Brightness and Color Temperature
LED lights come in different brightness levels and color temperatures. Consider the following:
- Brightness: Measured in lumens, choose a brightness level that suits the room’s needs. For example, a living room may require higher lumens than a bedroom.
- Color Temperature: LED lights are available in warm white, cool white, and daylight options. Warm white creates a cozy atmosphere, while cool white and daylight offer a more vibrant and natural light.
4. Check Compatibility
Ensure that the replacement LED light is compatible with your Kichler ceiling fan. This includes checking the size, mounting type, and electrical compatibility. Refer to your fan’s manual or consult with a professional if unsure.
5. Consider Energy Efficiency
One of the advantages of LED lights is their energy efficiency. Look for LED lights that offer high efficiency and low energy consumption to maximize savings and reduce your environmental impact.
Installation Guide for Kichler Ceiling Fan LED Light Replacement
Once you’ve chosen the right replacement, follow these steps for installation:
1. Turn Off Power
Safety first—turn off the power to the ceiling fan at the circuit breaker to avoid any electrical hazards.
2. Remove the Existing Light Fixture
Carefully remove the old light fixture. This typically involves unscrewing the fixture from the ceiling fan and disconnecting the wiring. Keep the screws and mounting hardware as you may need them for the new installation.
3. Install the New LED Light
Follow the manufacturer’s instructions for the new LED light. Generally, this involves:
- Connecting Wires: Connect the wires from the new light to the wires in the ceiling fan. Match the colors and secure them with wire nuts.
- Mounting the Fixture: Align the new LED light with the mounting brackets and secure it in place with screws.
4. Test the New Light
Turn the power back on at the circuit breaker and test the new LED light to ensure it’s functioning correctly. Check for proper illumination and ensure there are no flickers or issues.
5. Adjust Light Settings
If your new LED light has adjustable settings, such as brightness or color temperature, make the necessary adjustments to fit your preference.
Troubleshooting Common Issues
Sometimes, issues may arise with your Kichler ceiling fan LED light replacement. Here are some common problems and their solutions:
1. Light Flickers or Doesn’t Turn On
- Check Connections: Ensure that all wiring connections are secure and properly connected.
- Inspect the Light Bulb: Verify that the LED light bulb is correctly installed and compatible with your fan.
- Reset the Circuit Breaker: Sometimes, a reset can resolve electrical issues.
2. Uneven Lighting
- Check for Obstructions: Make sure there are no obstructions blocking the light.
- Adjust the Light Fixture: Some light fixtures can be adjusted to direct light more evenly.
3. Noise Issues
- Tighten Mounting Screws: Ensure that all mounting screws are tight and secure.
- Check for Loose Parts: Inspect the fan and light fixture for any loose parts that may be causing noise.
Maintenance Tips for LED Lights in Ceiling Fans
Proper maintenance can extend the lifespan of your LED lights and keep them performing optimally:
1. Regular Cleaning
Dust and debris can accumulate on LED lights, affecting their performance. Clean the light fixture regularly with a soft, dry cloth to keep it free of dust.
2. Inspect for Damage
Periodically check the LED lights and the fan for any signs of damage or wear. Address any issues promptly to prevent further problems.
3. Replace Faulty Components
If you notice any issues with the LED lights, such as flickering or dimming, replace the faulty components as needed to maintain proper lighting.
4. Follow Manufacturer Recommendations
Adhere to the manufacturer’s maintenance guidelines for your Kichler ceiling fan and LED light replacement. This can help ensure optimal performance and longevity.
Conclusion
Kichler ceiling fan LED light replacement is a straightforward process that can enhance the functionality and appearance of your ceiling fan. By choosing the right replacement light, following proper installation procedures, and performing regular maintenance, you can enjoy efficient and effective lighting in your home. If you encounter any issues or need assistance, don’t hesitate to consult with a professional to ensure your ceiling fan and LED lights continue to perform at their best.