Insulate Garage Ceiling With Foam Board. Insulating your garage ceiling with foam board is a smart investment that can help you save energy, improve comfort, and reduce noise transmission. In this comprehensive guide, we’ll explore the benefits of insulating your garage ceiling with foam board and provide you with step-by-step instructions and expert tips to ensure a successful insulation project.
Why Insulate Garage Ceiling With Foam Board?
Insulating your garage ceiling with foam board offers several advantages:
- Energy Efficiency: Insulation helps to regulate the temperature in your garage, reducing heat loss in the winter and heat gain in the summer. This can lead to lower energy bills and increased energy efficiency.
- Improved Comfort: By maintaining more consistent temperatures, insulation can make your garage more comfortable to work in, especially during extreme weather conditions.
- Noise Reduction: Foam board insulation can also help reduce noise transmission from the garage to the rest of your home, creating a quieter living environment.
- Moisture Resistance: Foam board insulation is resistant to moisture, which can help prevent mold and mildew growth in your garage.
Insulate Garage Ceiling With Foam Board: Step-by-Step Guide
Follow these steps to insulate your garage ceiling with foam board effectively:
1. Measure and Plan
- Measure the area of your garage ceiling to determine how much foam board insulation you’ll need.
- Plan the layout of the insulation, taking into account any obstacles such as light fixtures or garage door openers.
Read too: Discovering the Charm of Nautical Outdoor Ceiling Fans for Your Coastal Retreat: Sail into Style
2. Prepare the Surface
- Clean the surface of the garage ceiling to remove any dust, dirt, or debris.
- Repair any cracks or holes in the ceiling before installing the insulation.
3. Cut the Foam Board
- Use a utility knife or foam board cutter to cut the foam board insulation to fit the dimensions of your garage ceiling.
- Cut the insulation slightly smaller than the space to allow for expansion.
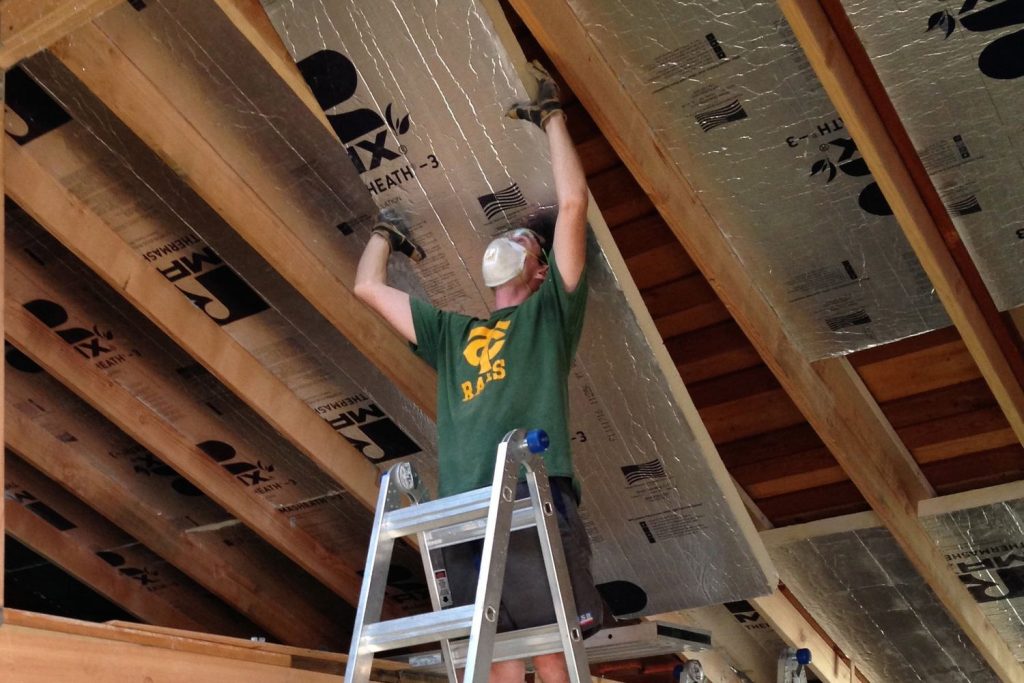
4. Install the Foam Board
- Apply construction adhesive to the back of the foam board panels.
- Press the panels firmly against the garage ceiling, starting from one corner and working your way across.
- Use screws or nails to secure the insulation in place, if necessary.
5. Seal the Joints
- Use foam board tape or caulking to seal any gaps or joints between the foam board panels.
- This will help prevent air leakage and maximize the insulation’s effectiveness.
6. Finish the Ceiling
- Once the foam board insulation is installed, you can finish the garage ceiling with drywall or other materials as desired.
Expert Tips for Insulating Garage Ceiling With Foam Board
Consider the following tips to ensure a successful insulation project:
- Wear protective gear, such as gloves and safety goggles, when handling foam board insulation.
- Choose high-density foam board insulation for maximum insulation value and durability.
- Consider adding a vapor barrier to further protect against moisture infiltration.
Conclusion
Insulating your garage ceiling with foam board is a cost-effective way to improve energy efficiency, comfort, and noise reduction in your home. By following the steps outlined in this guide and implementing expert tips, you can enjoy the benefits of a well-insulated garage for years to come.