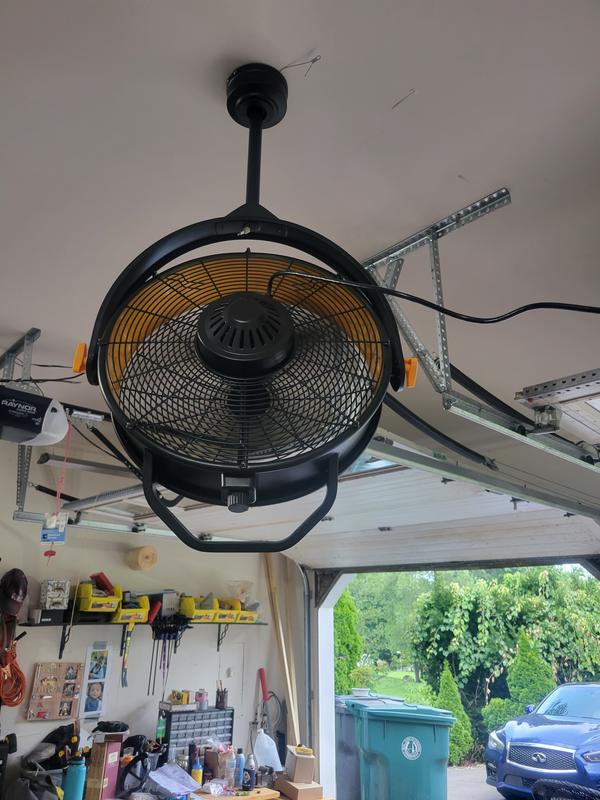
Garages are often overlooked when it comes to climate control and comfort. However, by installing a ceiling fan in the garage, you can transform this space into a more enjoyable and functional area. Here’s everything you need to know about the benefits and installation process of a ceiling fan in the garage.

Introduction
The garage is more than just a space to park your car or store belongings; it can serve as a workshop, recreational area, or even a makeshift gym. However, without proper ventilation and temperature control, it can become uncomfortable, especially during hot summer months or intense DIY projects. This is where installing a ceiling fan in the garage can make a significant difference.
Why Install a Ceiling Fan in the Garage?
Enhanced Air Circulation
One of the primary reasons to install a ceiling fan in the garage is to improve air circulation. Unlike standing fans or air conditioning units, ceiling fans are strategically positioned to distribute air evenly throughout the space. This helps alleviate stuffiness and prevents pockets of hot air from forming in certain areas of the garage.
Temperature Regulation
During the summer, garages can become unbearably hot, making it unpleasant to spend time working on projects or engaging in hobbies. A ceiling fan in the garage can help regulate the temperature by creating a gentle breeze that cools the space. This can make it more comfortable to work in and prevent heat-related fatigue.
Moisture Control
Garages are susceptible to moisture buildup, especially in humid climates or during rainy seasons. Excess moisture can lead to mold growth, rust on tools and equipment, and damage to stored items. By installing a ceiling fan in the garage, you can help circulate air and reduce humidity levels, minimizing the risk of moisture-related issues.
Choosing the Right Ceiling Fan
When selecting a ceiling fan for your garage, there are several factors to consider:
- Size: Ensure the fan is appropriately sized for the space. Larger garages may require multiple fans or larger blade spans to effectively circulate air.
- Durability: Opt for a fan specifically designed for garage use, as it will be built to withstand dust, moisture, and temperature fluctuations.
- Airflow: Look for fans with adjustable speed settings to customize airflow based on your comfort needs.
- Energy Efficiency: Choose an energy-efficient model to minimize electricity consumption and reduce utility costs over time.
Installation Process
Installing a ceiling fan in the garage is a relatively straightforward process, but it may require basic electrical knowledge and tools. Here’s a general overview of the installation steps:
- Prepare the Area: Clear the space where the fan will be installed and ensure there is proper electrical wiring available.
- Mounting Bracket Installation: Securely anchor the mounting bracket to the ceiling following the manufacturer’s instructions.
- Assemble the Fan: Follow the included instructions to assemble the fan components, including the blades, motor housing, and light fixture (if applicable).
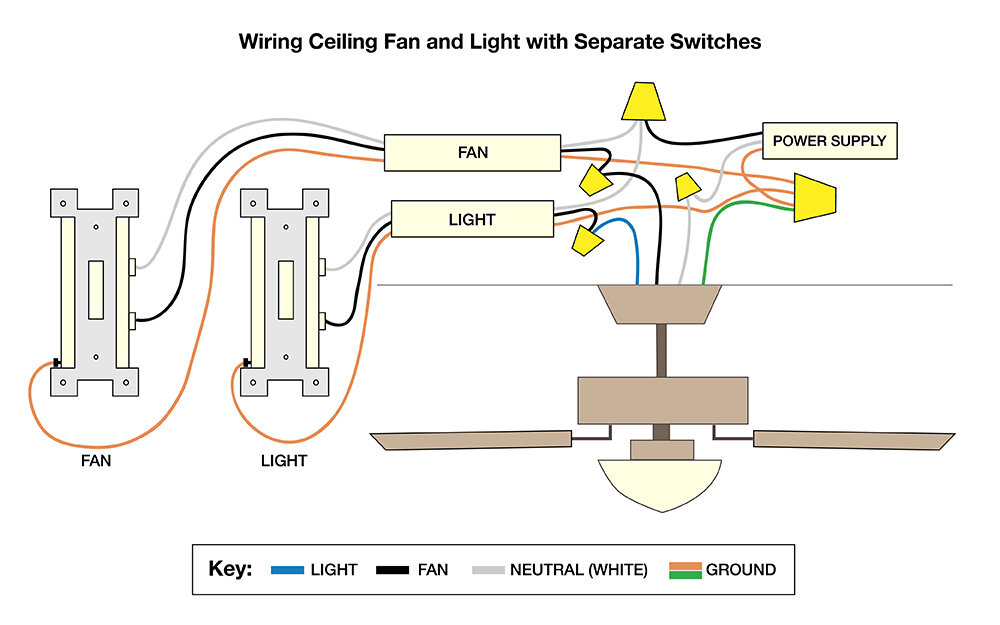
- Wiring: Connect the fan’s wiring to the electrical wiring in the ceiling, ensuring all connections are secure and insulated.
- Mount the Fan: Lift the fan assembly onto the mounting bracket and secure it in place using the provided hardware.
- Test Operation: Turn on the power and test the fan to ensure it is operating correctly, including adjusting the speed settings as needed.
Maintenance Tips
To keep your ceiling fan in the garage running smoothly and efficiently, consider the following maintenance tips:
- Regularly dust the fan blades and motor housing to prevent dust buildup.
- Check and tighten any loose screws or connections to ensure stability.
- Lubricate moving parts, such as the motor bearings, according to the manufacturer’s recommendations.
- Inspect the fan for any signs of damage or wear, such as warped blades or excessive wobbling, and address any issues promptly.
Read too: Striped Schoolhouse Ceiling Light Fixtures: Unveiling the Timeless Charm
Conclusion
Installing a ceiling fan in the garage can enhance comfort, improve air circulation, and prolong the life of your tools and equipment. Whether you use your garage for woodworking, automotive projects, or simply as a recreational space, a ceiling fan can make it a more enjoyable and functional environment. With the right fan selection and proper installation, you can maximize the potential of your garage and create a space that you’ll love spending time in.
